Before we get to drywall I’m going to hit on a few items that have been in process but don’t really warrant their own post.
Interior Doors
All of our interior doors are pre-hung, which means they arrive on site already hinged and set within a frame. Here’s one of our finish framers working his magic on a bathroom door.

During the install process the door is taken off its hinges and the frame is attached to the rough opening.
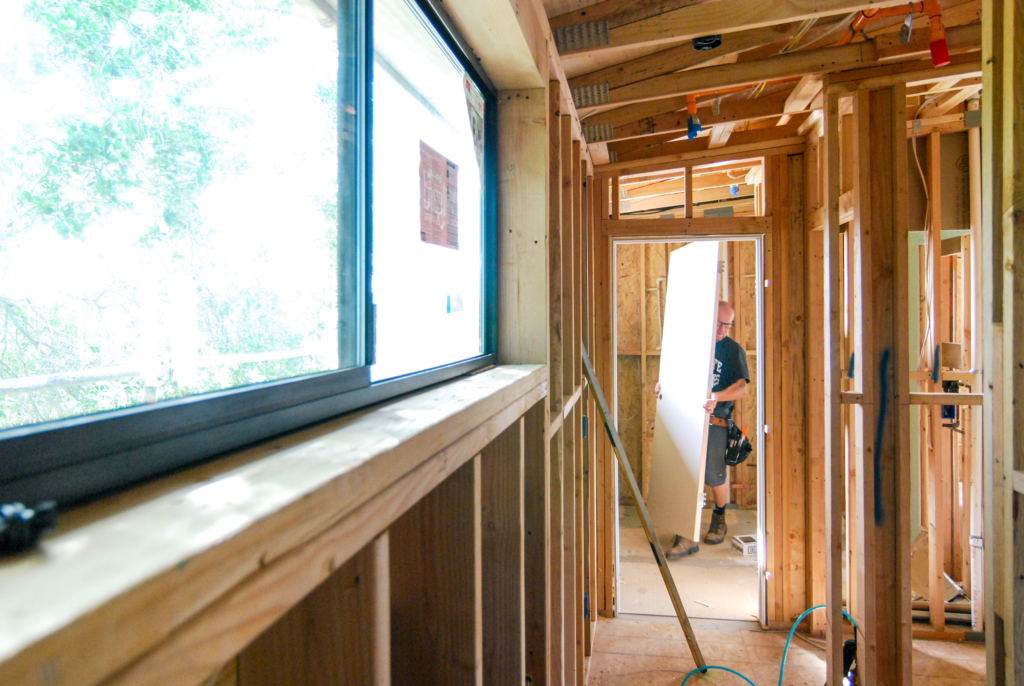
Once the frame is set plumb and level the door is then placed back on the hinges.
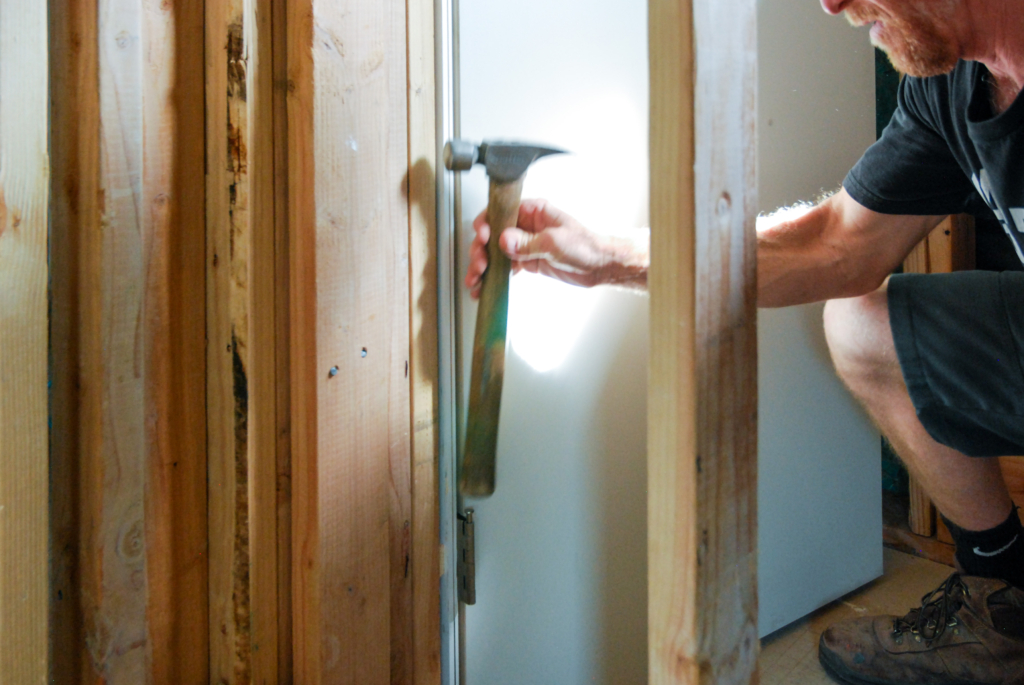
After the door panel is in place and found to be swinging smoothly, it is typically taken back off the hinges and set aside for safe keeping. All our interior doors are solid core, with the exception of the closets.
boxing in the eaves
Due to a bit of missed coordination with our roofer we had a ton of shiners at the eaves. A shiner occurs when the pointy end of the nail comes through the back of the material into which it had been driven. We had originally intended to leave the rafters exposed, but given the mess that was now visible overhead we went with plan B and boxed in the eaves.
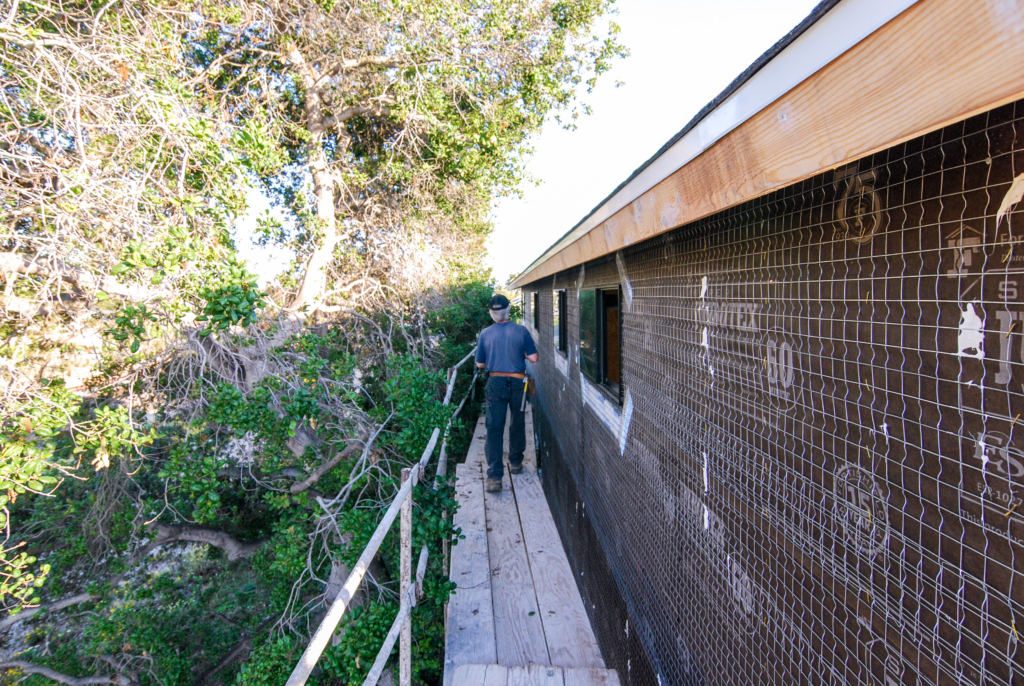
I actually prefer the boxed in detail from an aesthetic and maintenance perspective. The original design of exposed rafter tails is a more traditional approach and stemmed from concerns that the planning commission would deem our project too modern. Turned out that wasn’t such an issue during review but I never circled back and changed the detail in the construction documents.
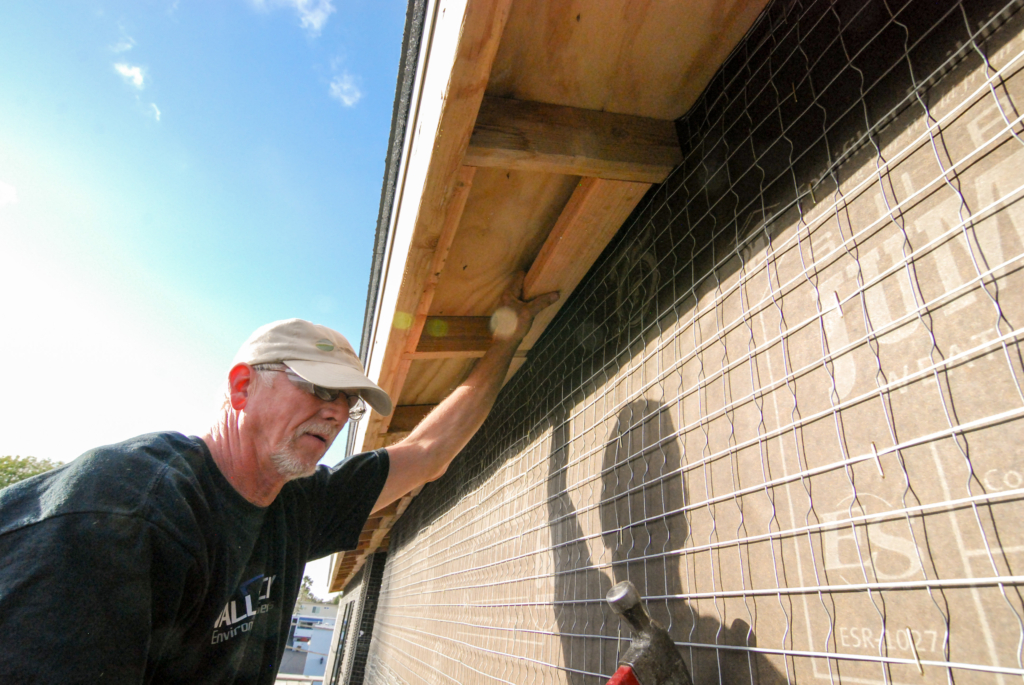
Bob and my sister Jill, along with Trish’s dad, Greg, spent the good part of a week framing in the eaves and getting a coat of primer on. A true family affair!
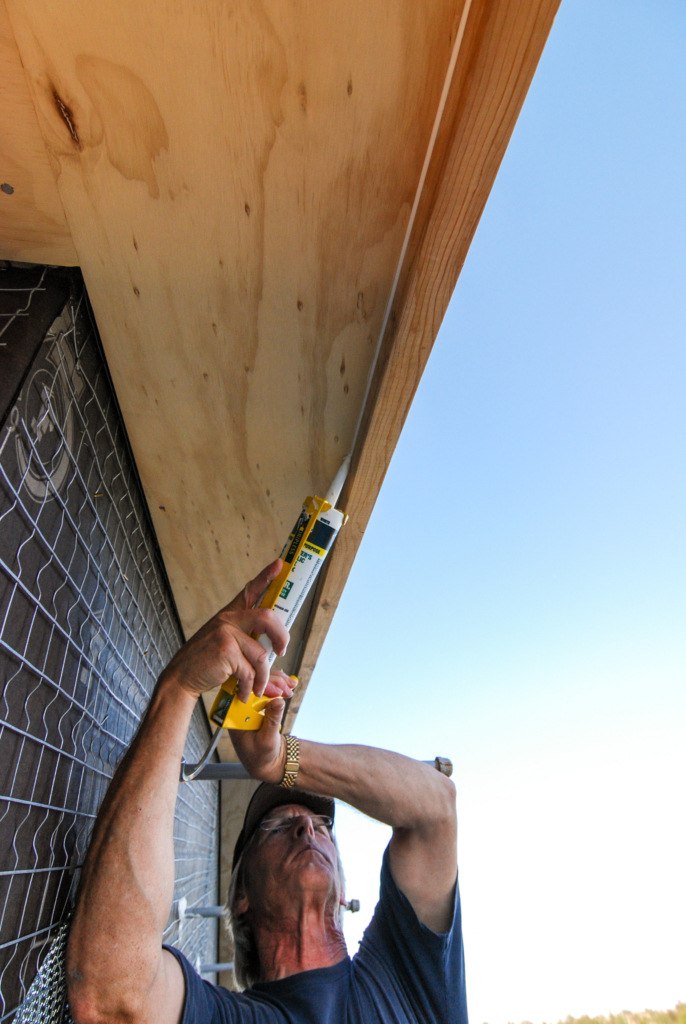
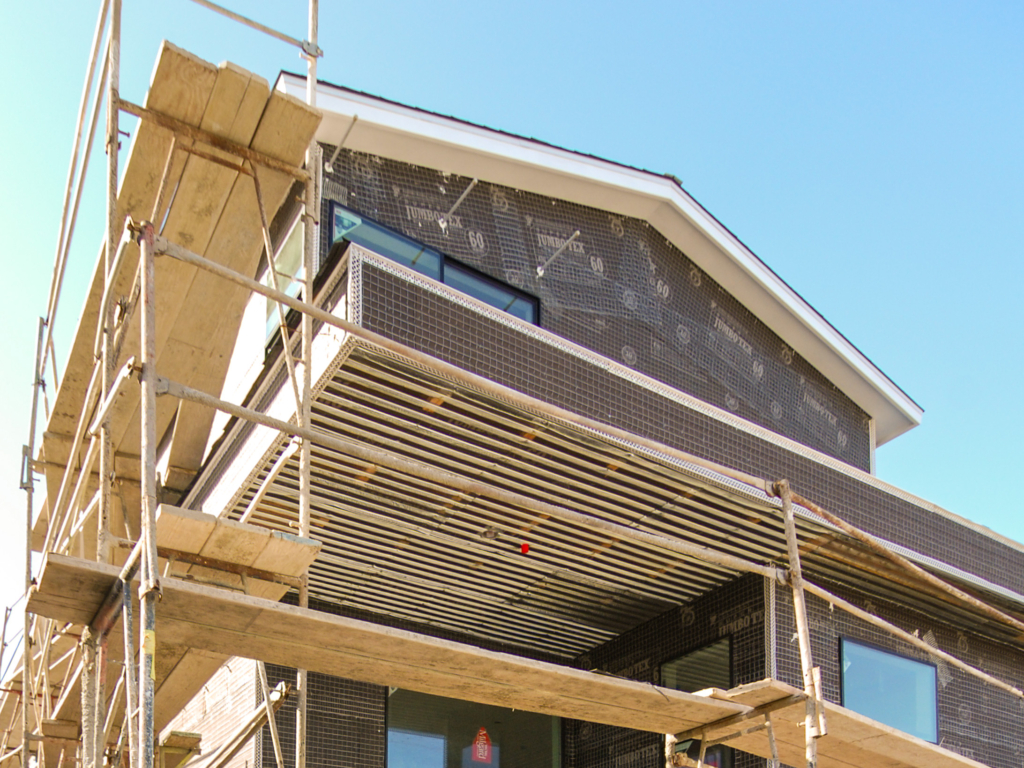
Finished up just before stucco got underway. More on the stucco install soon.
tile at shower walls
I feel the need to at least mention this area of work given the amount of time that Bob has already put in. I’m going to wait for a dedicated post on tile work when the floors are complete, but here’s a sneak peak.
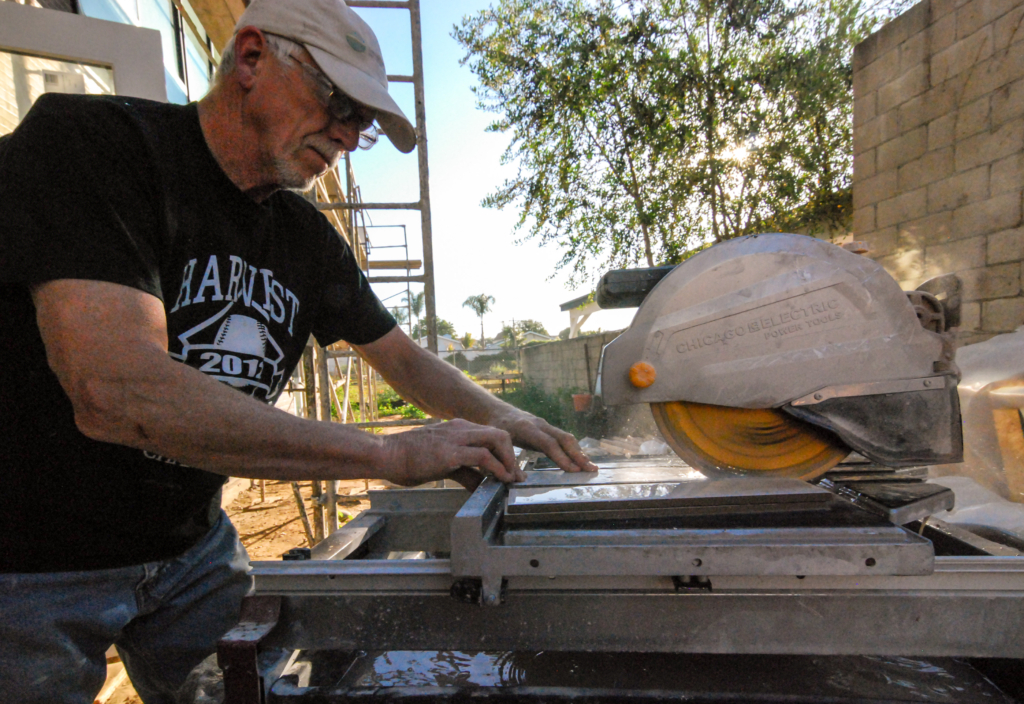
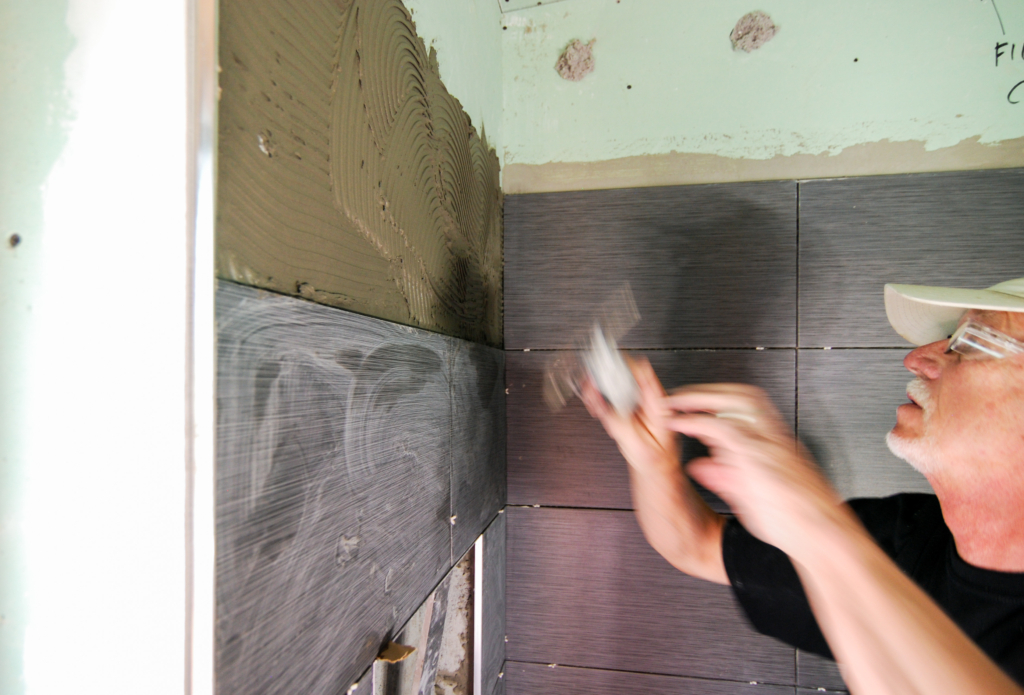
Bob is easily our hardest working subcontractor. He probably needs a raise.
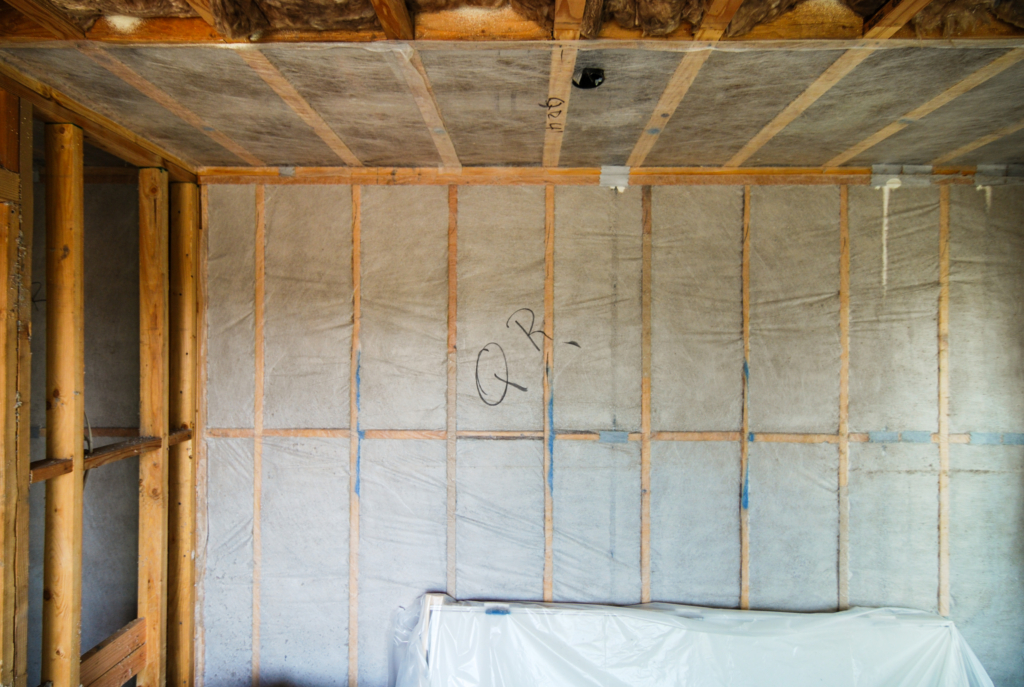
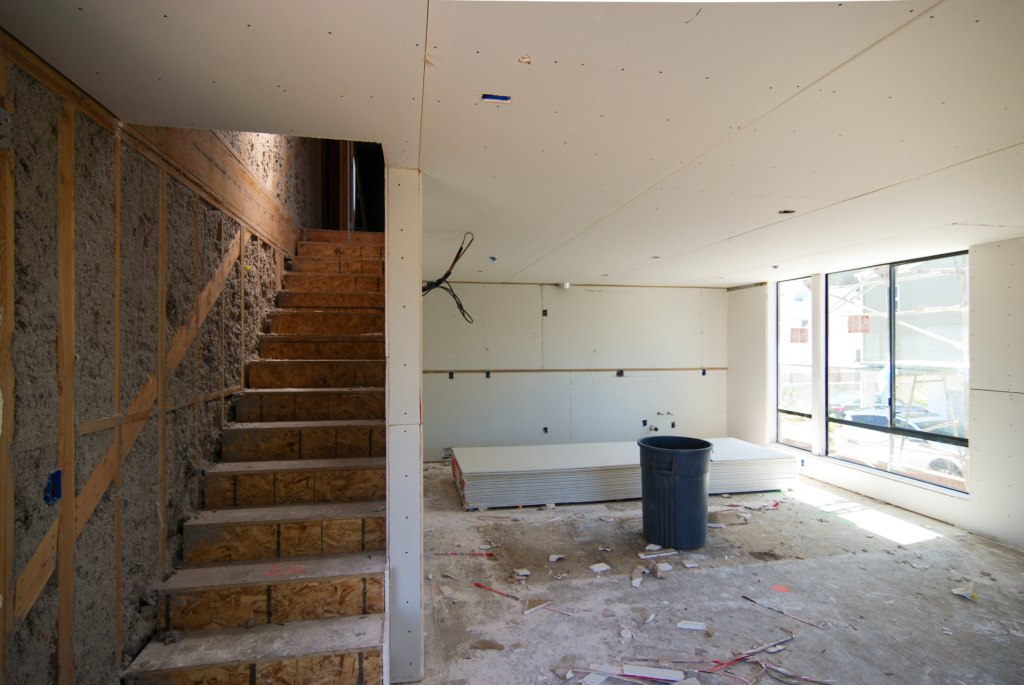
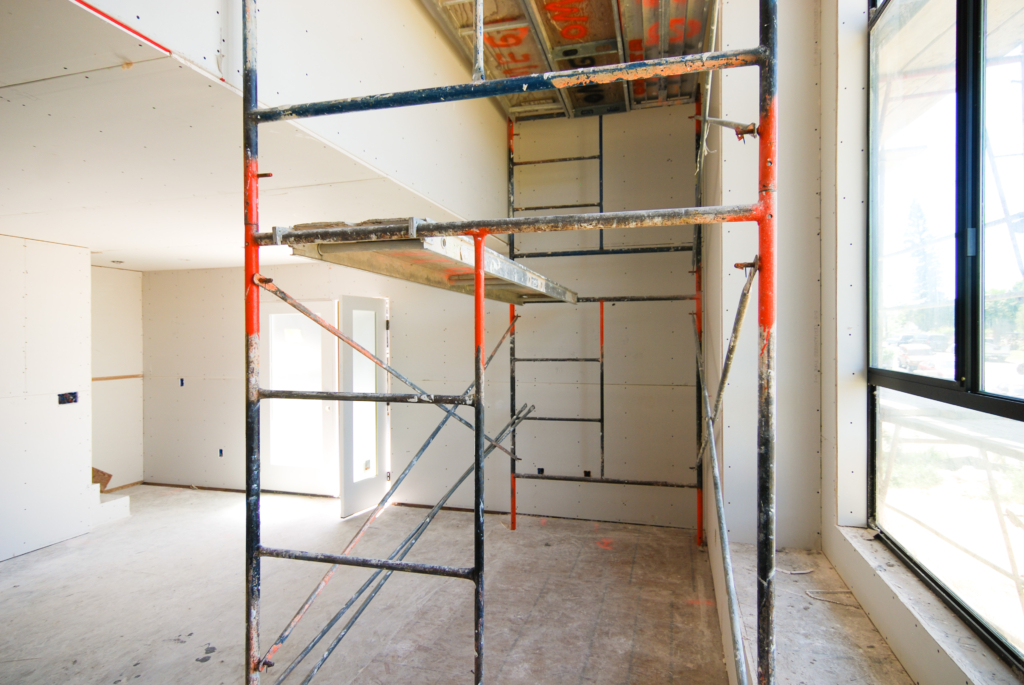
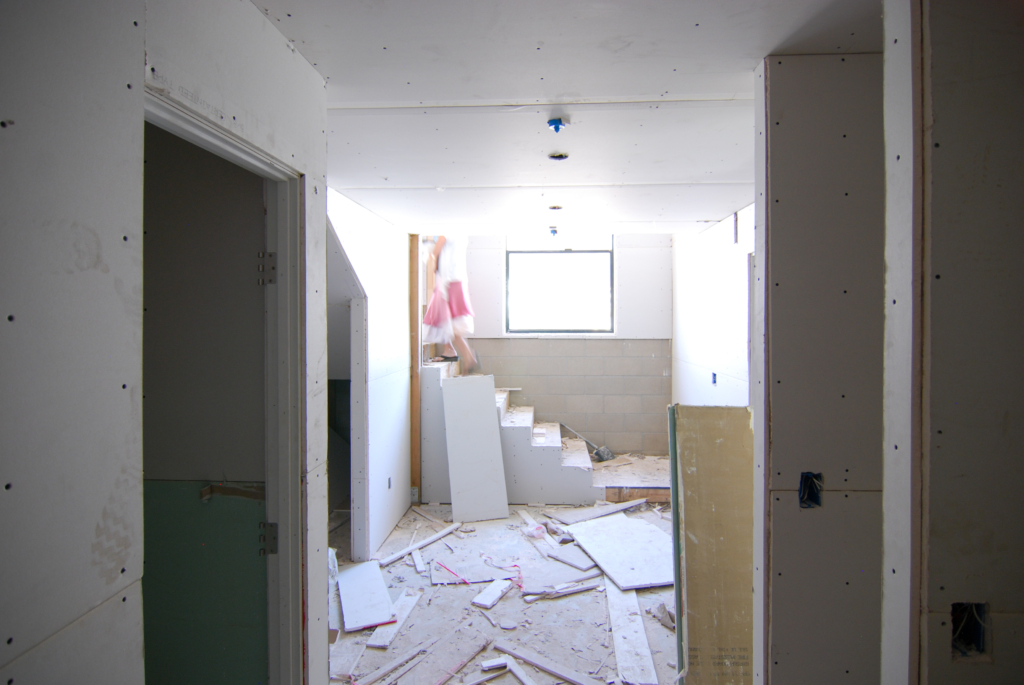
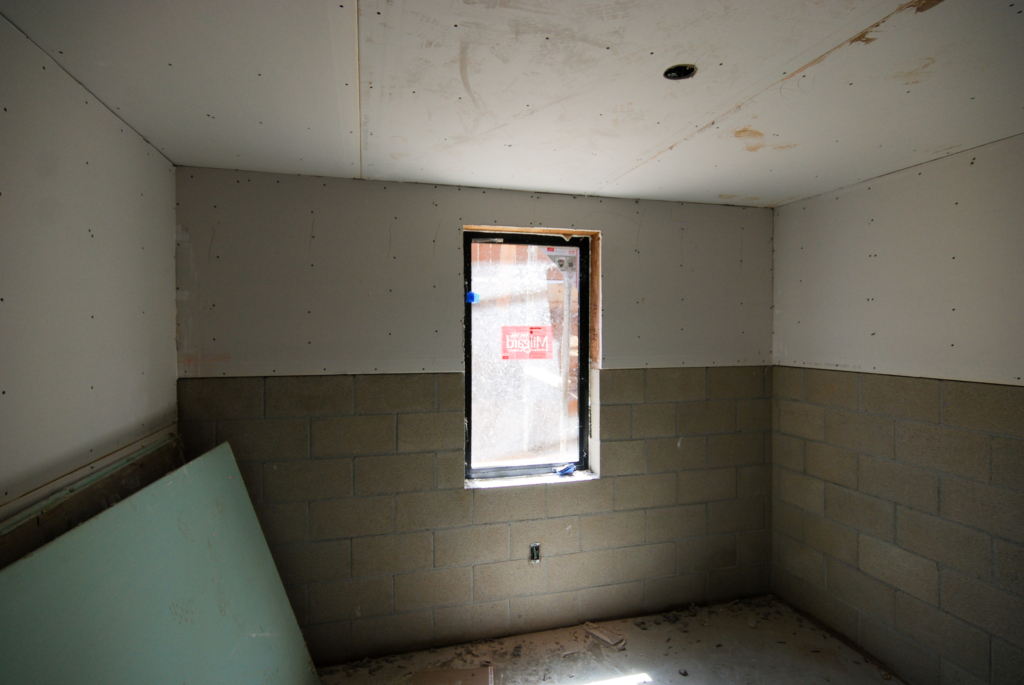
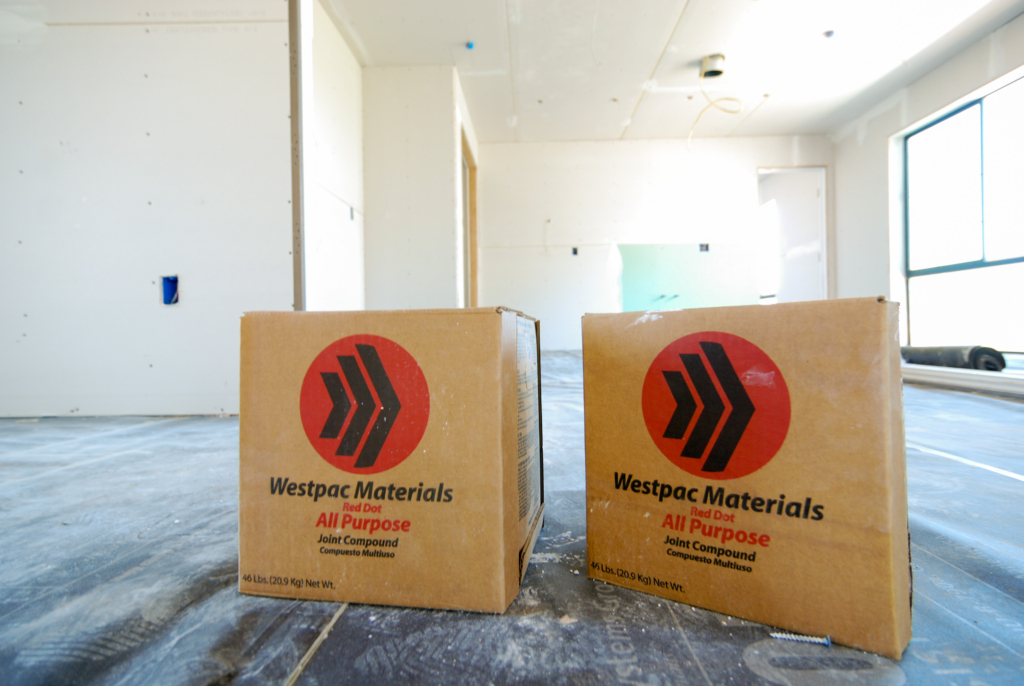
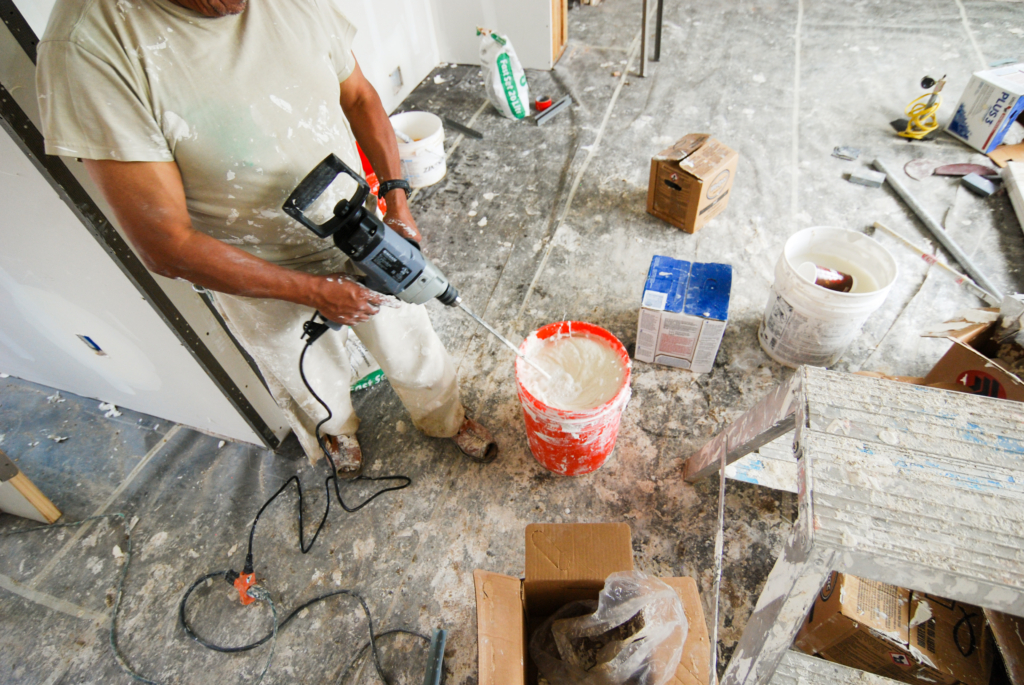
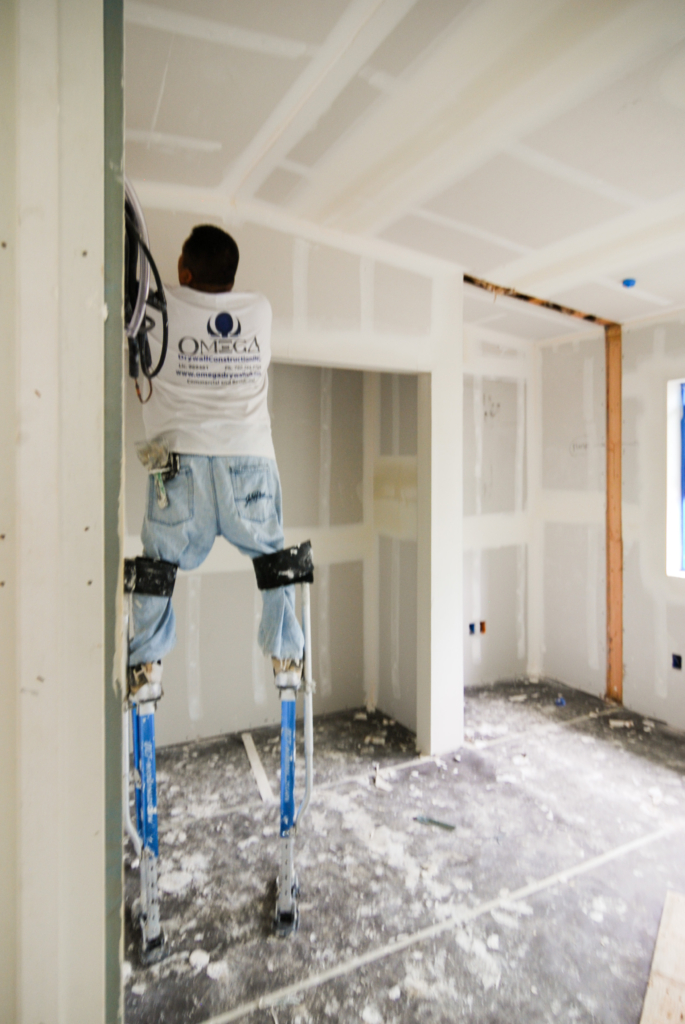
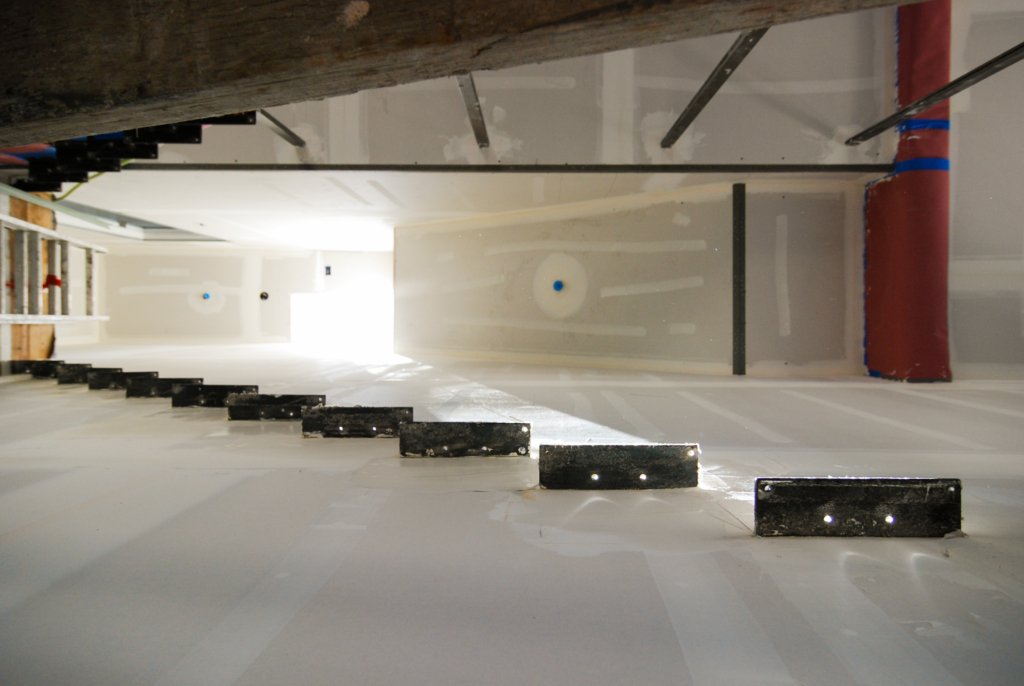
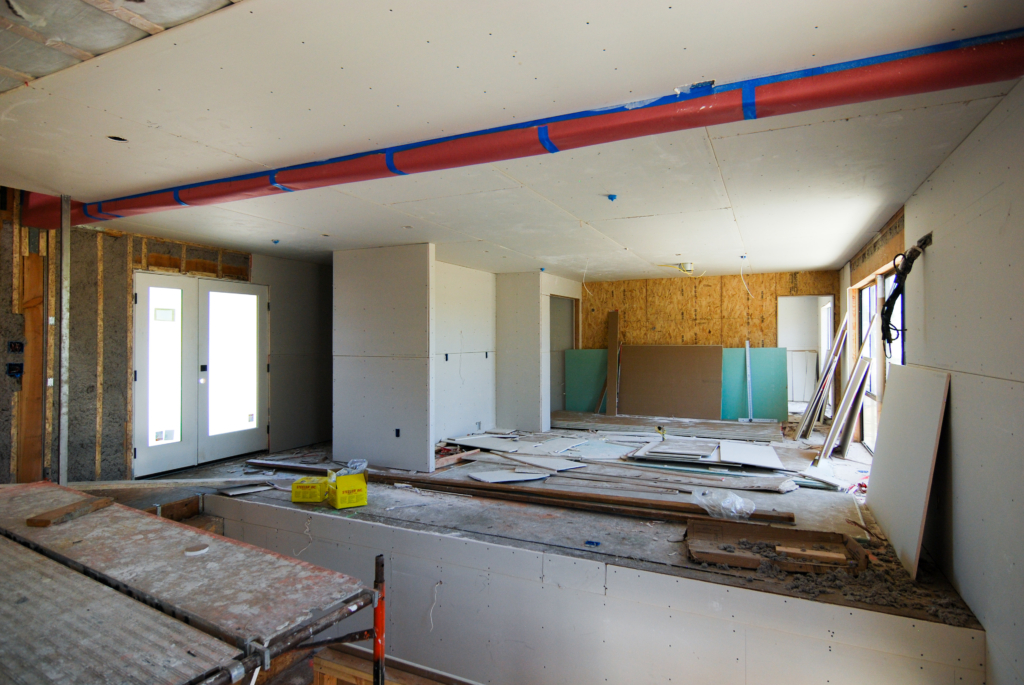
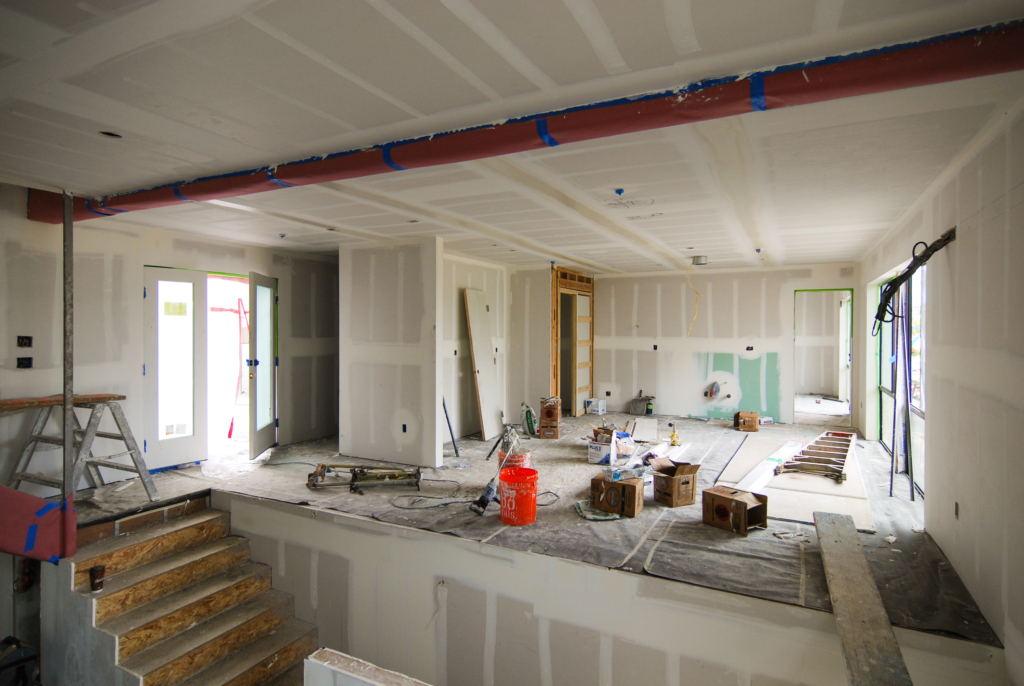
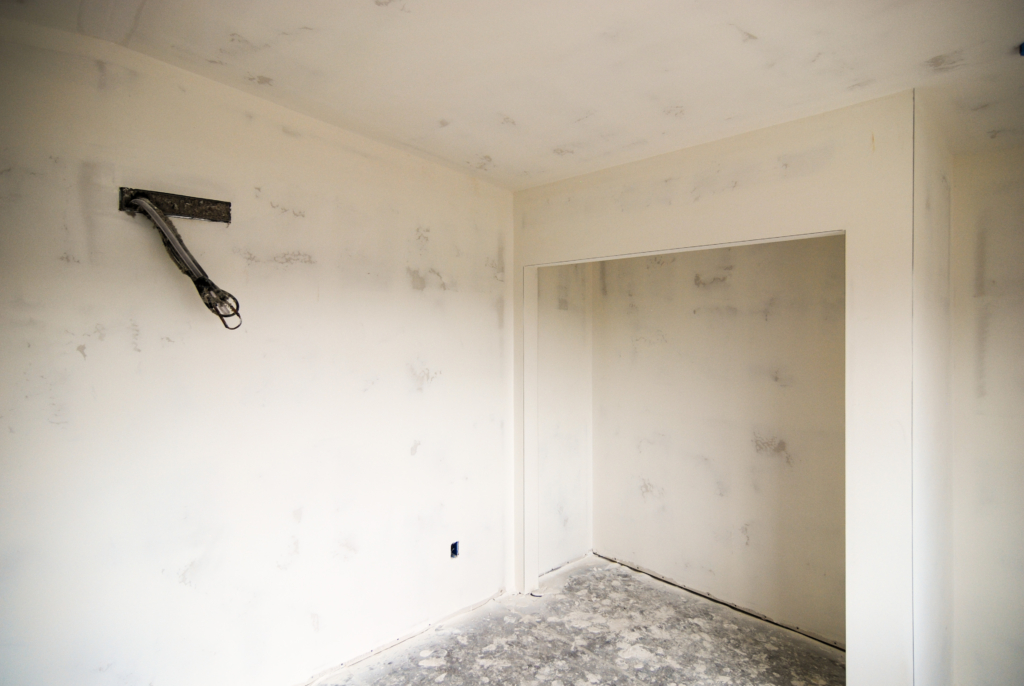
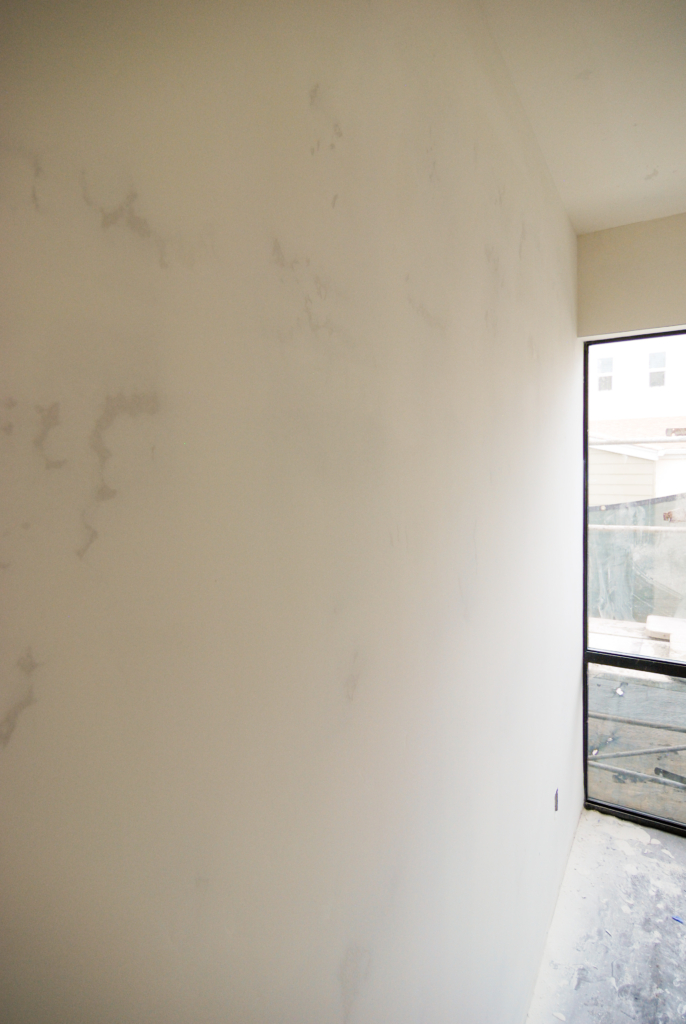
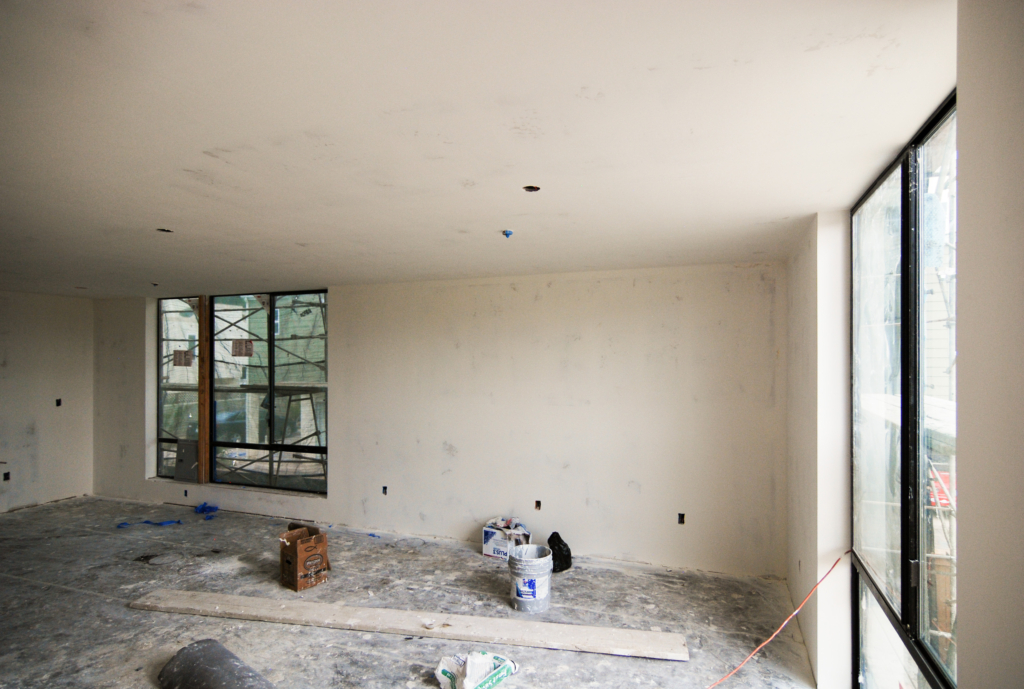
drywall
Drywall has been in process now for a few weeks. Overall it has gone really well and the guys are almost done. In fact, Units A and B already have the first coat of paint up and we’re off to the races on casework install, but more on that later. Units C and D will finish up by Tuesday of this week and hopefully be painted by the end of the week. We’re getting pretty excited at this point because suddenly there’s only finish work left on the interior. Here’s the photos of the beautiful mess.

Great progress Tyler! It is really coming together. It is great that your dad loves to do home projects.