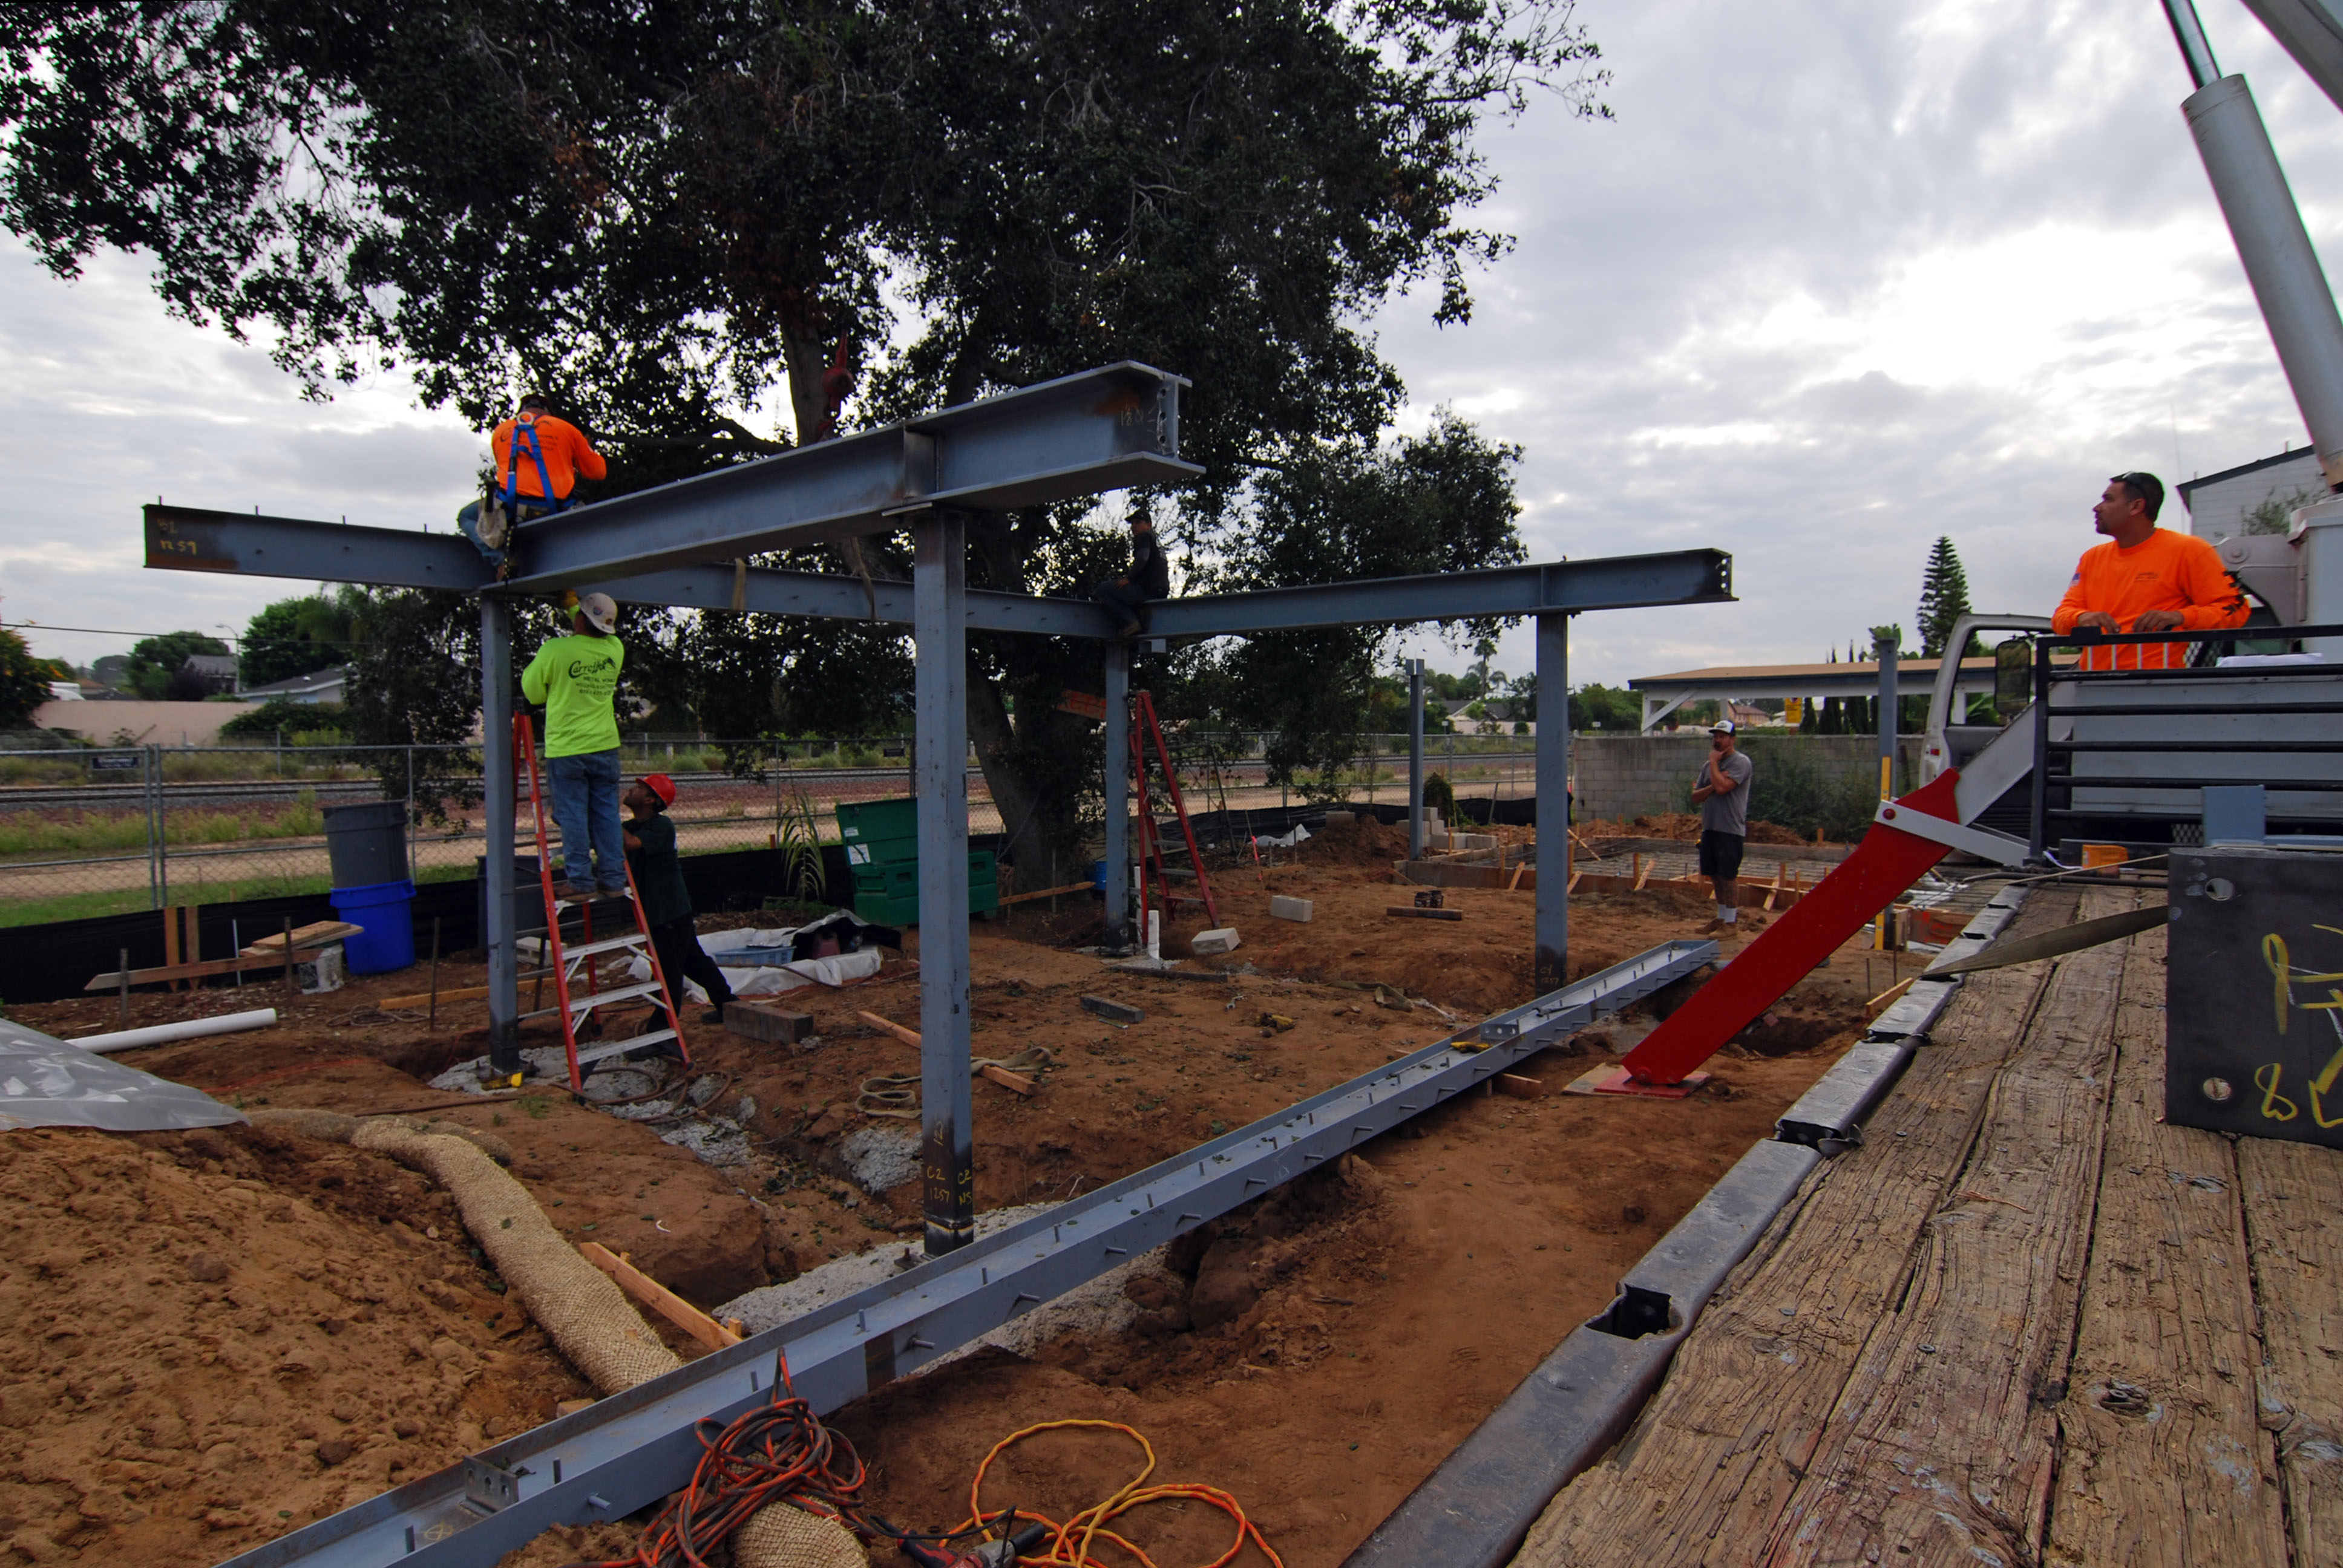
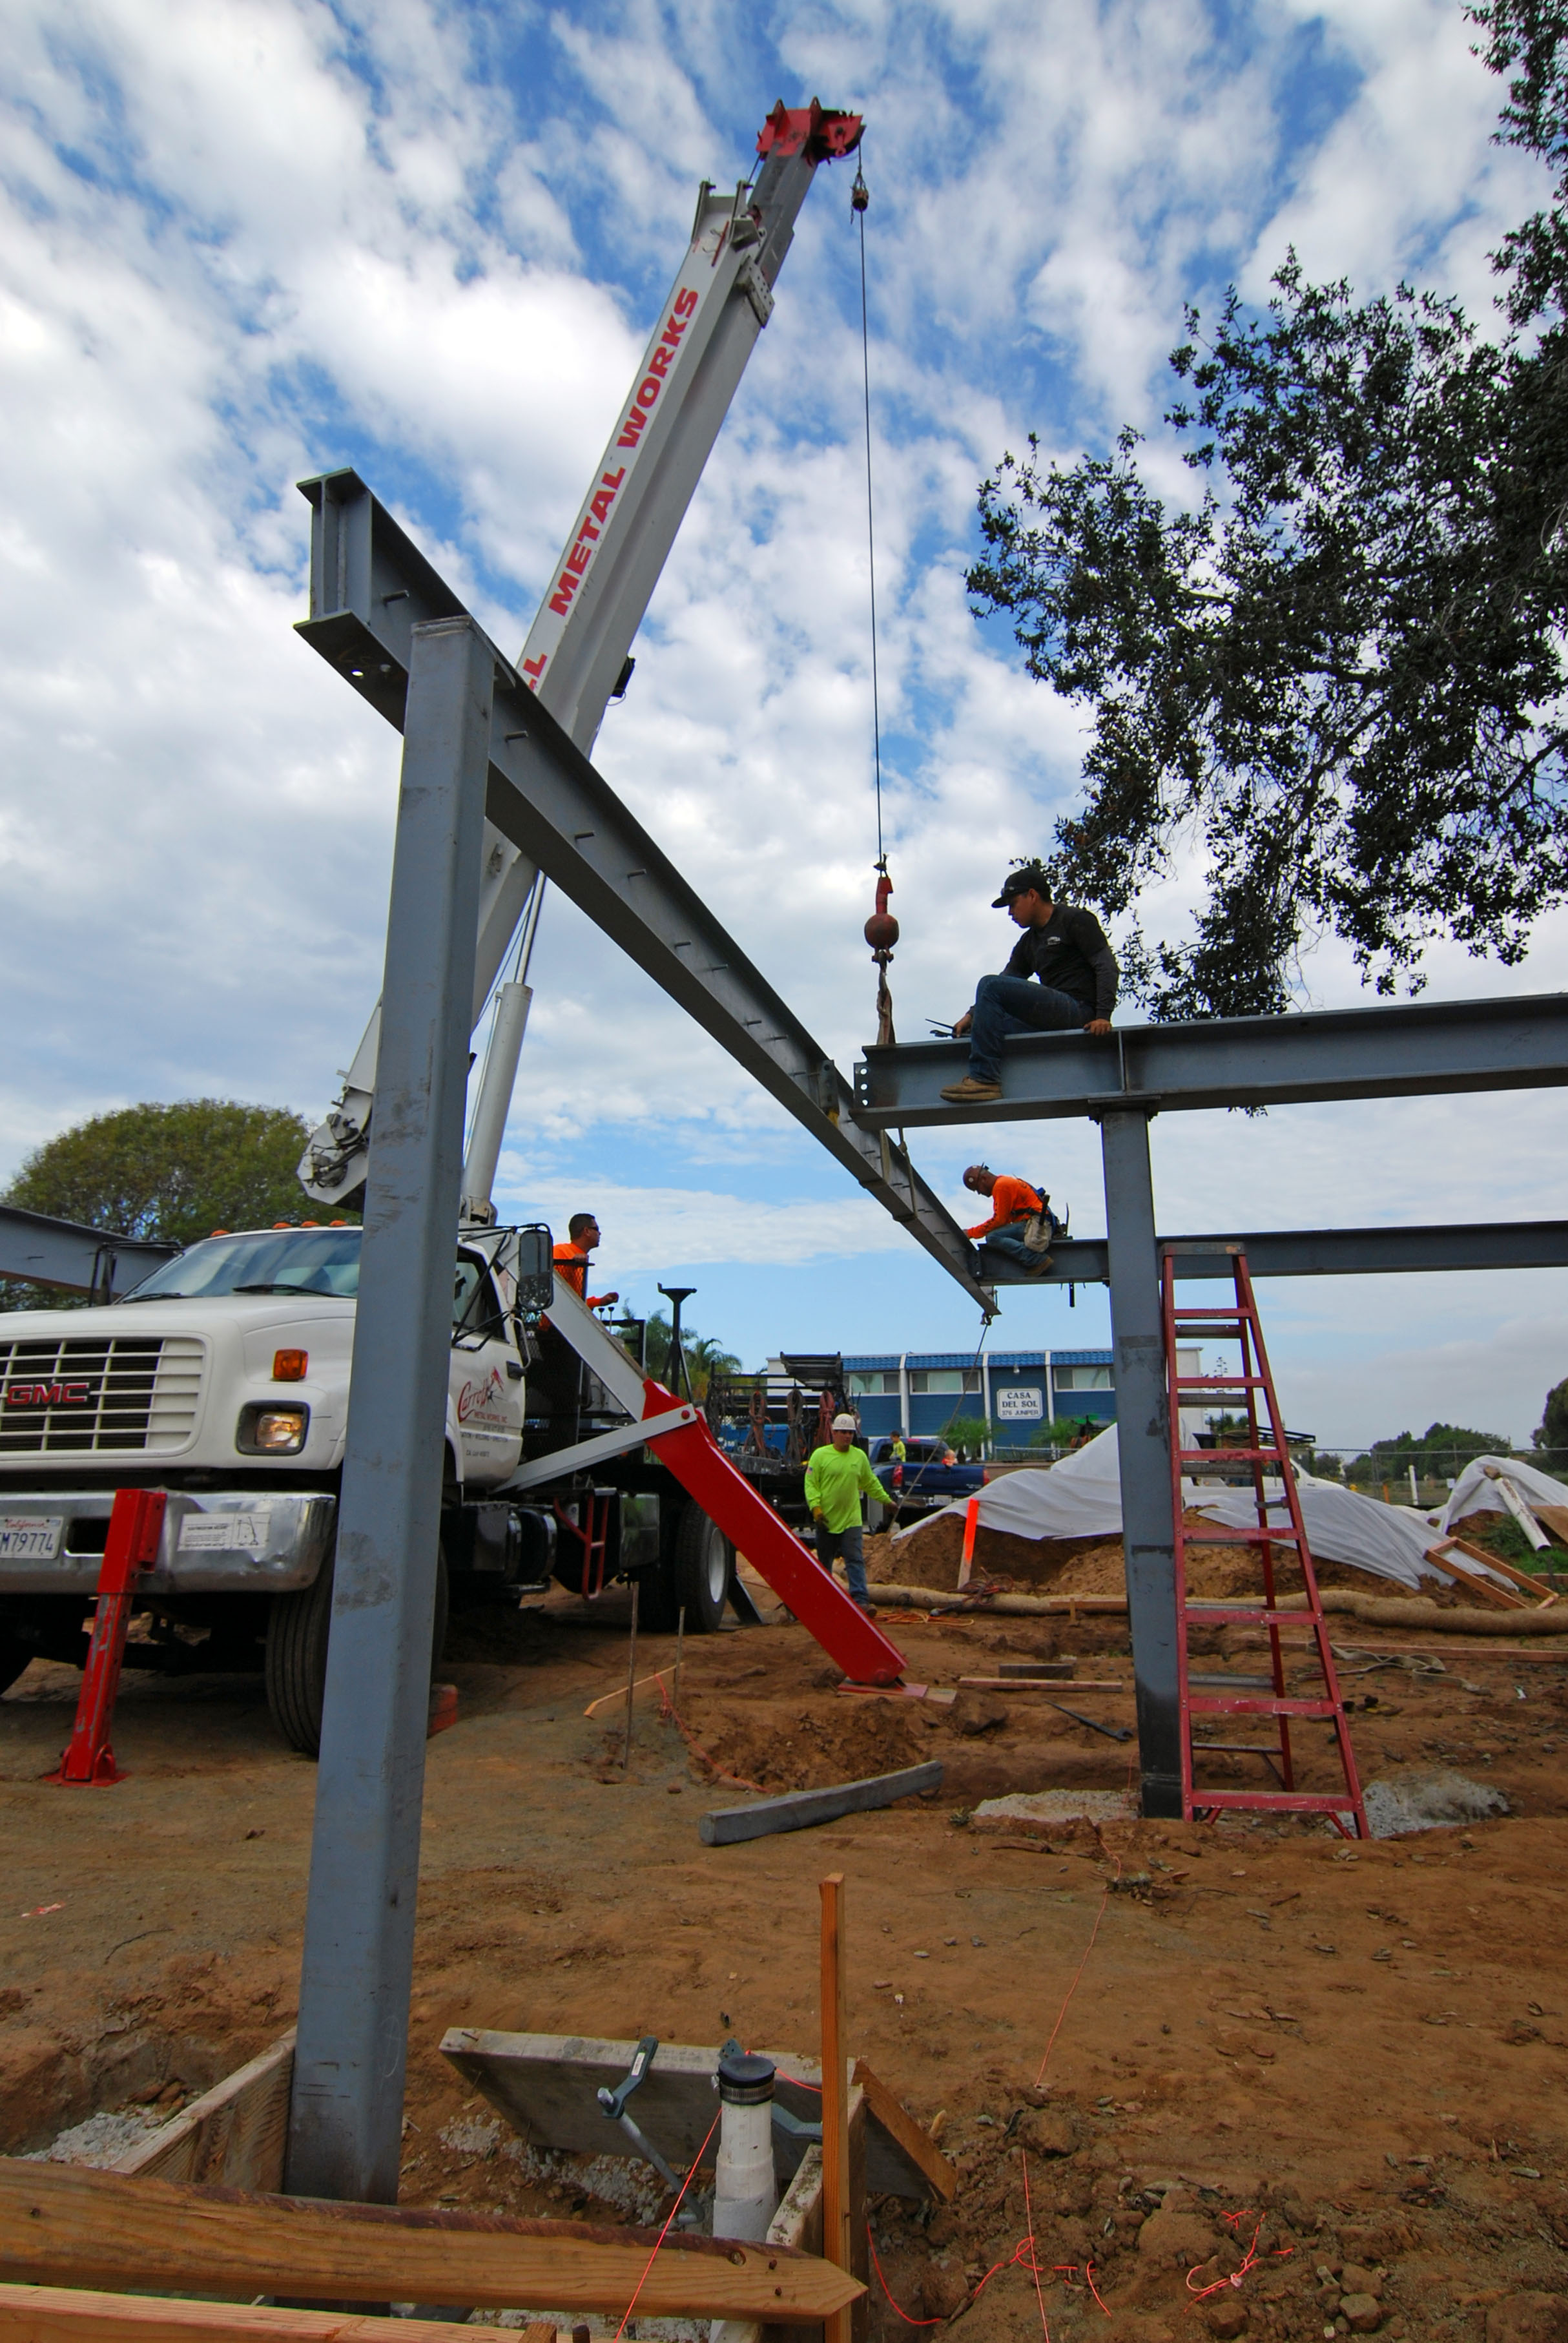
Well, despite the stats that would suggest it to be unlikely (0.24 inches avg rainfall for September!) we’ve had a bit of rain over the past week which delayed our concrete pour. City inspectors won’t sign off on your rebar install when there’s water sitting on the bottom of the footing, so while we dried out and dug out, the above-grade installation of structural steel was able to proceed.
The bolts that the steel columns attach to were installed a few weeks back.
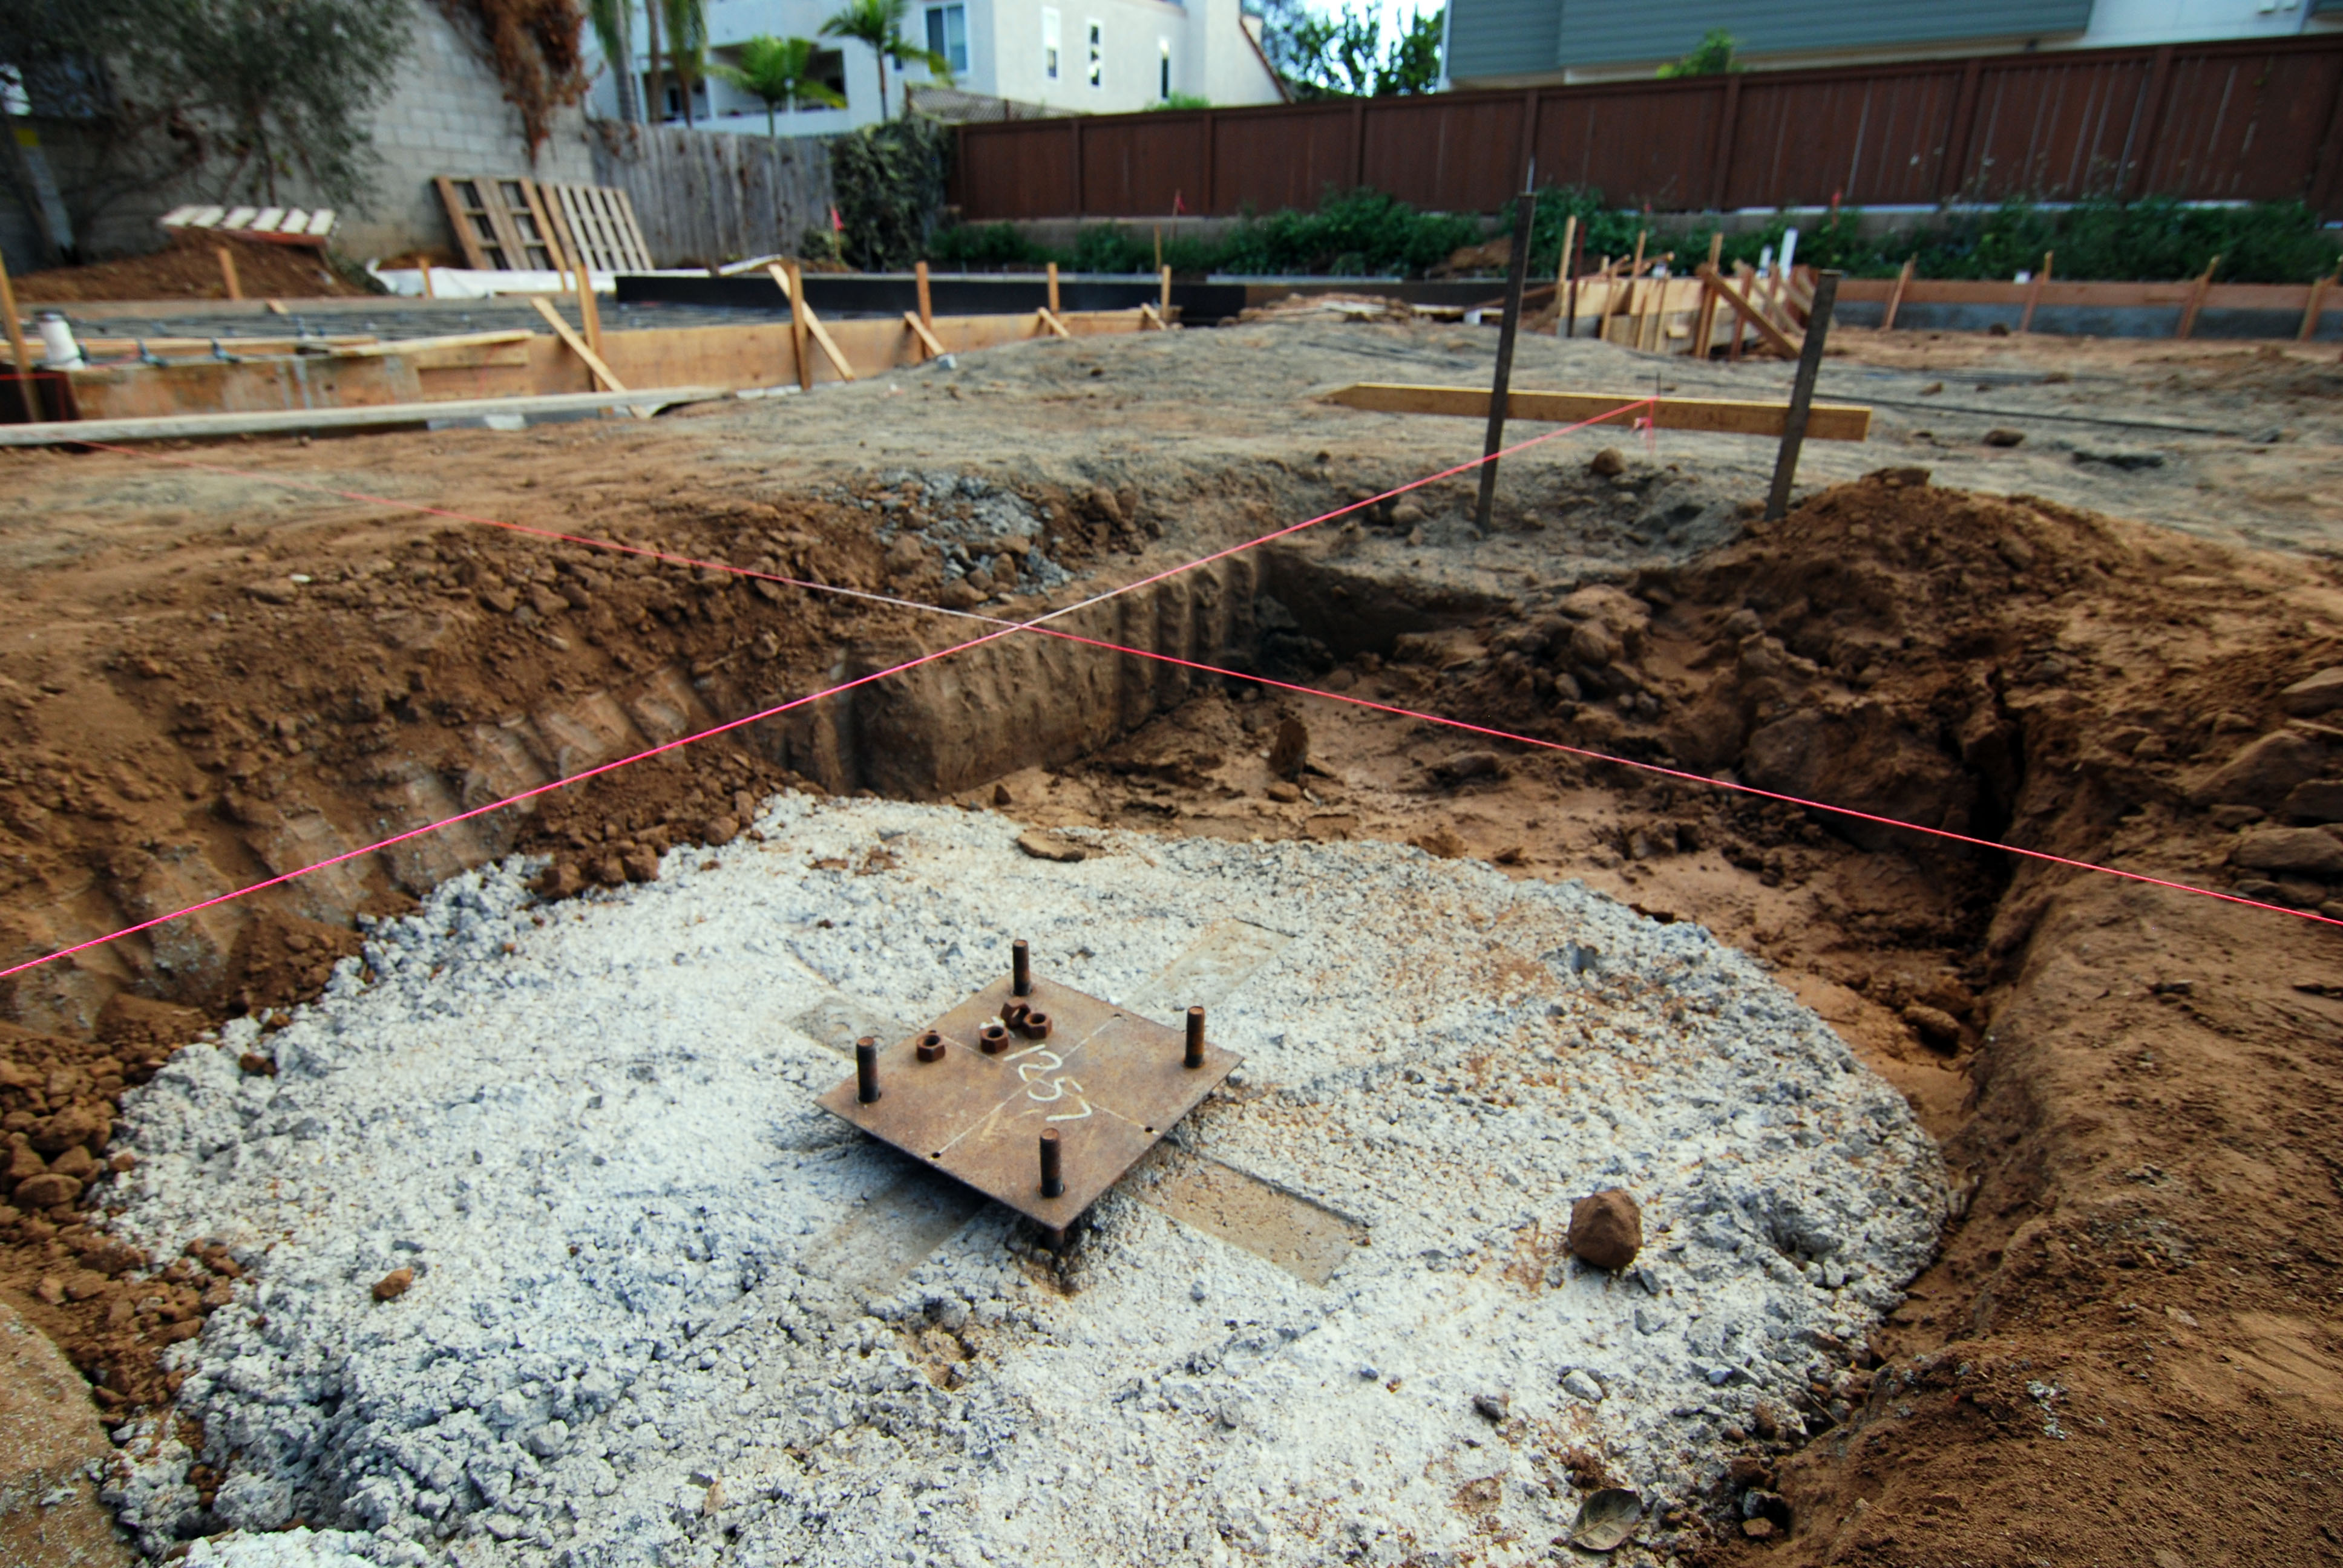
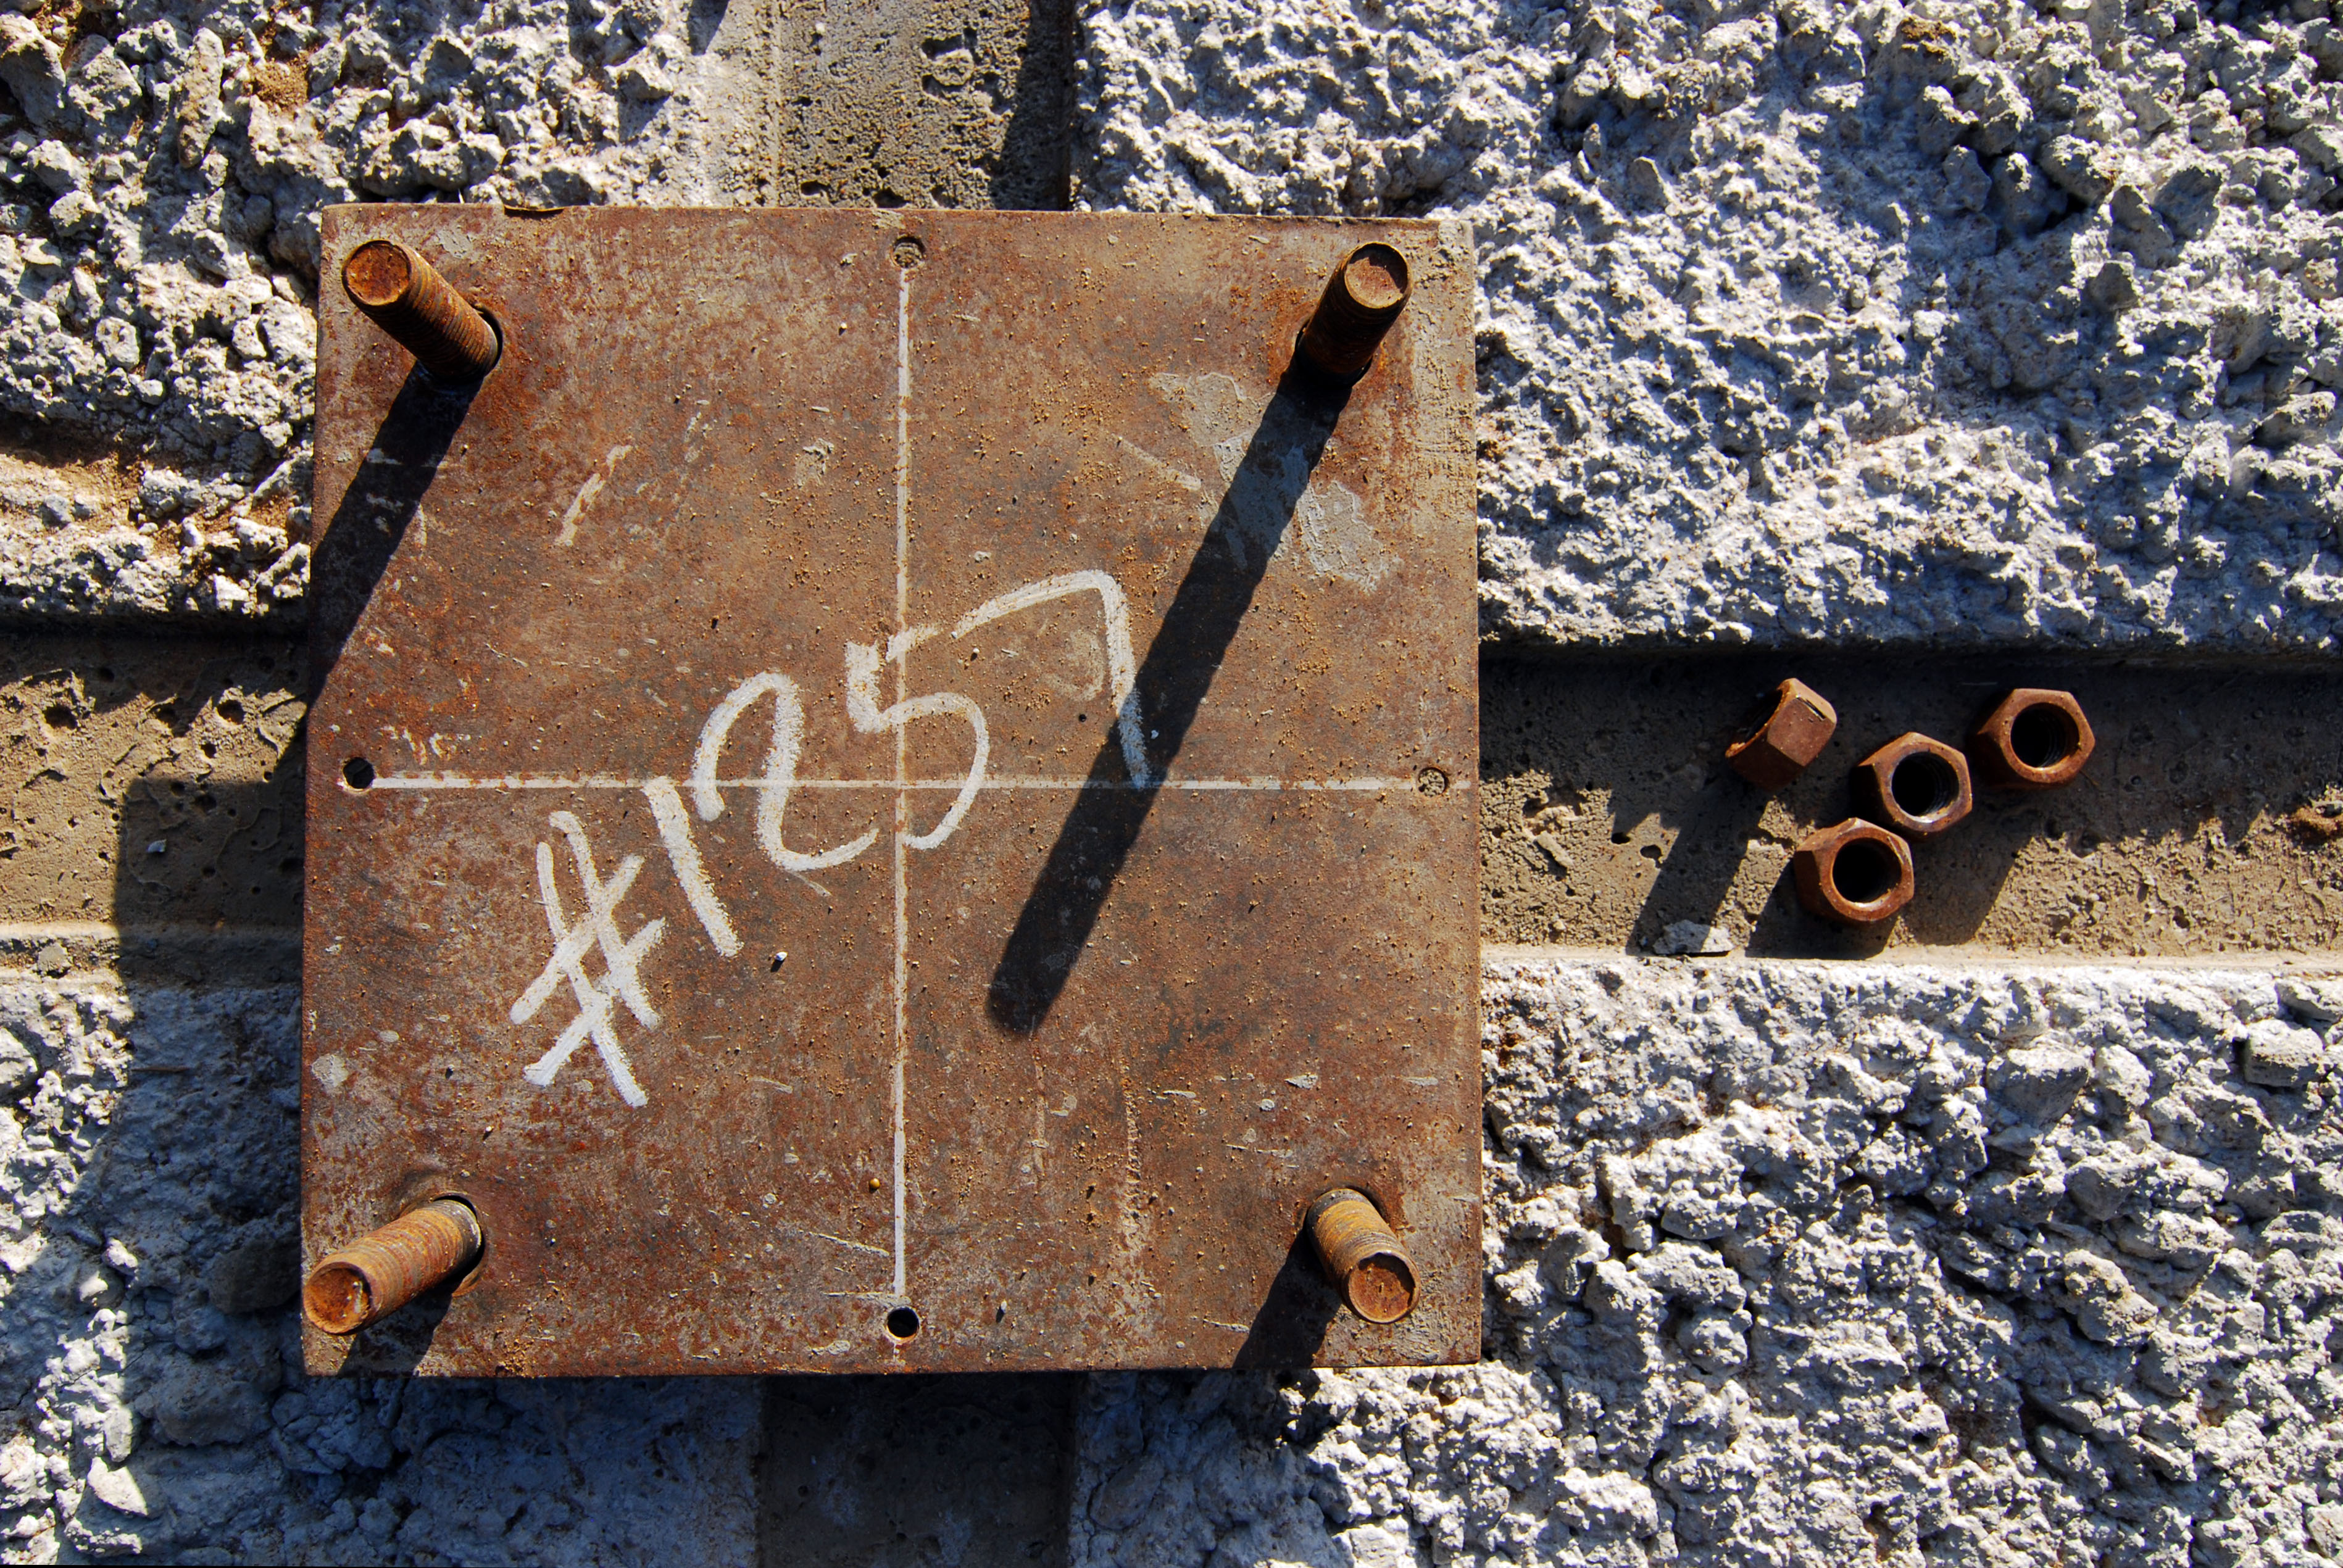
The plate shown on the above photos was just a placeholder to make sure the alignment remained correct during the footing pour. When the columns arrived they had a new plate already attached to the bottom of the column. In all cases these connections will be entirely hidden within the concrete slab of the building or the concrete driveway at the carport.
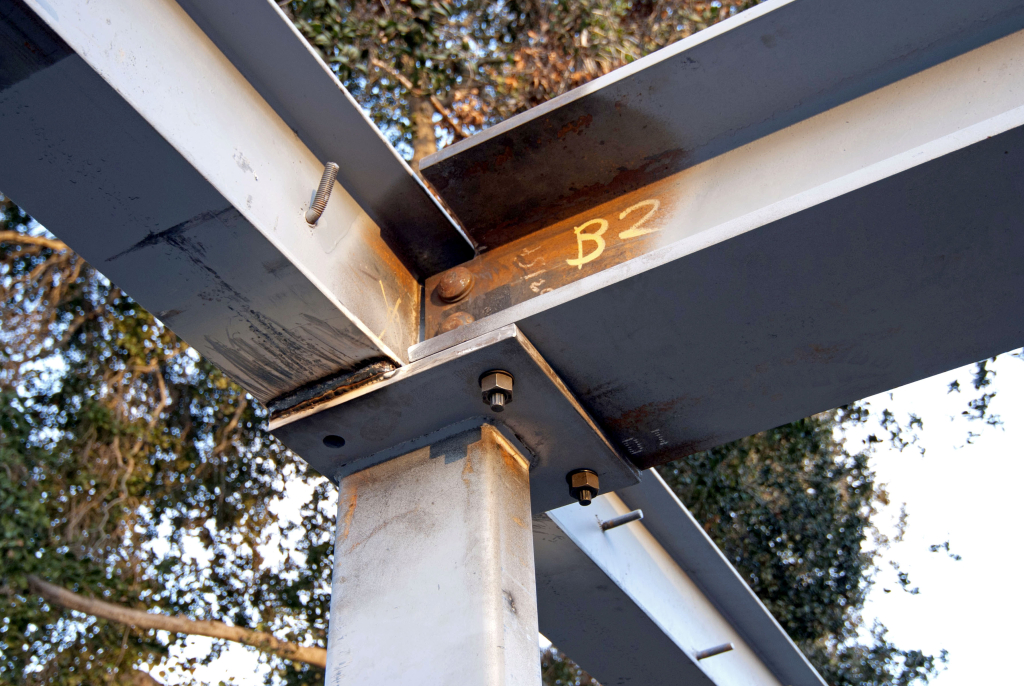
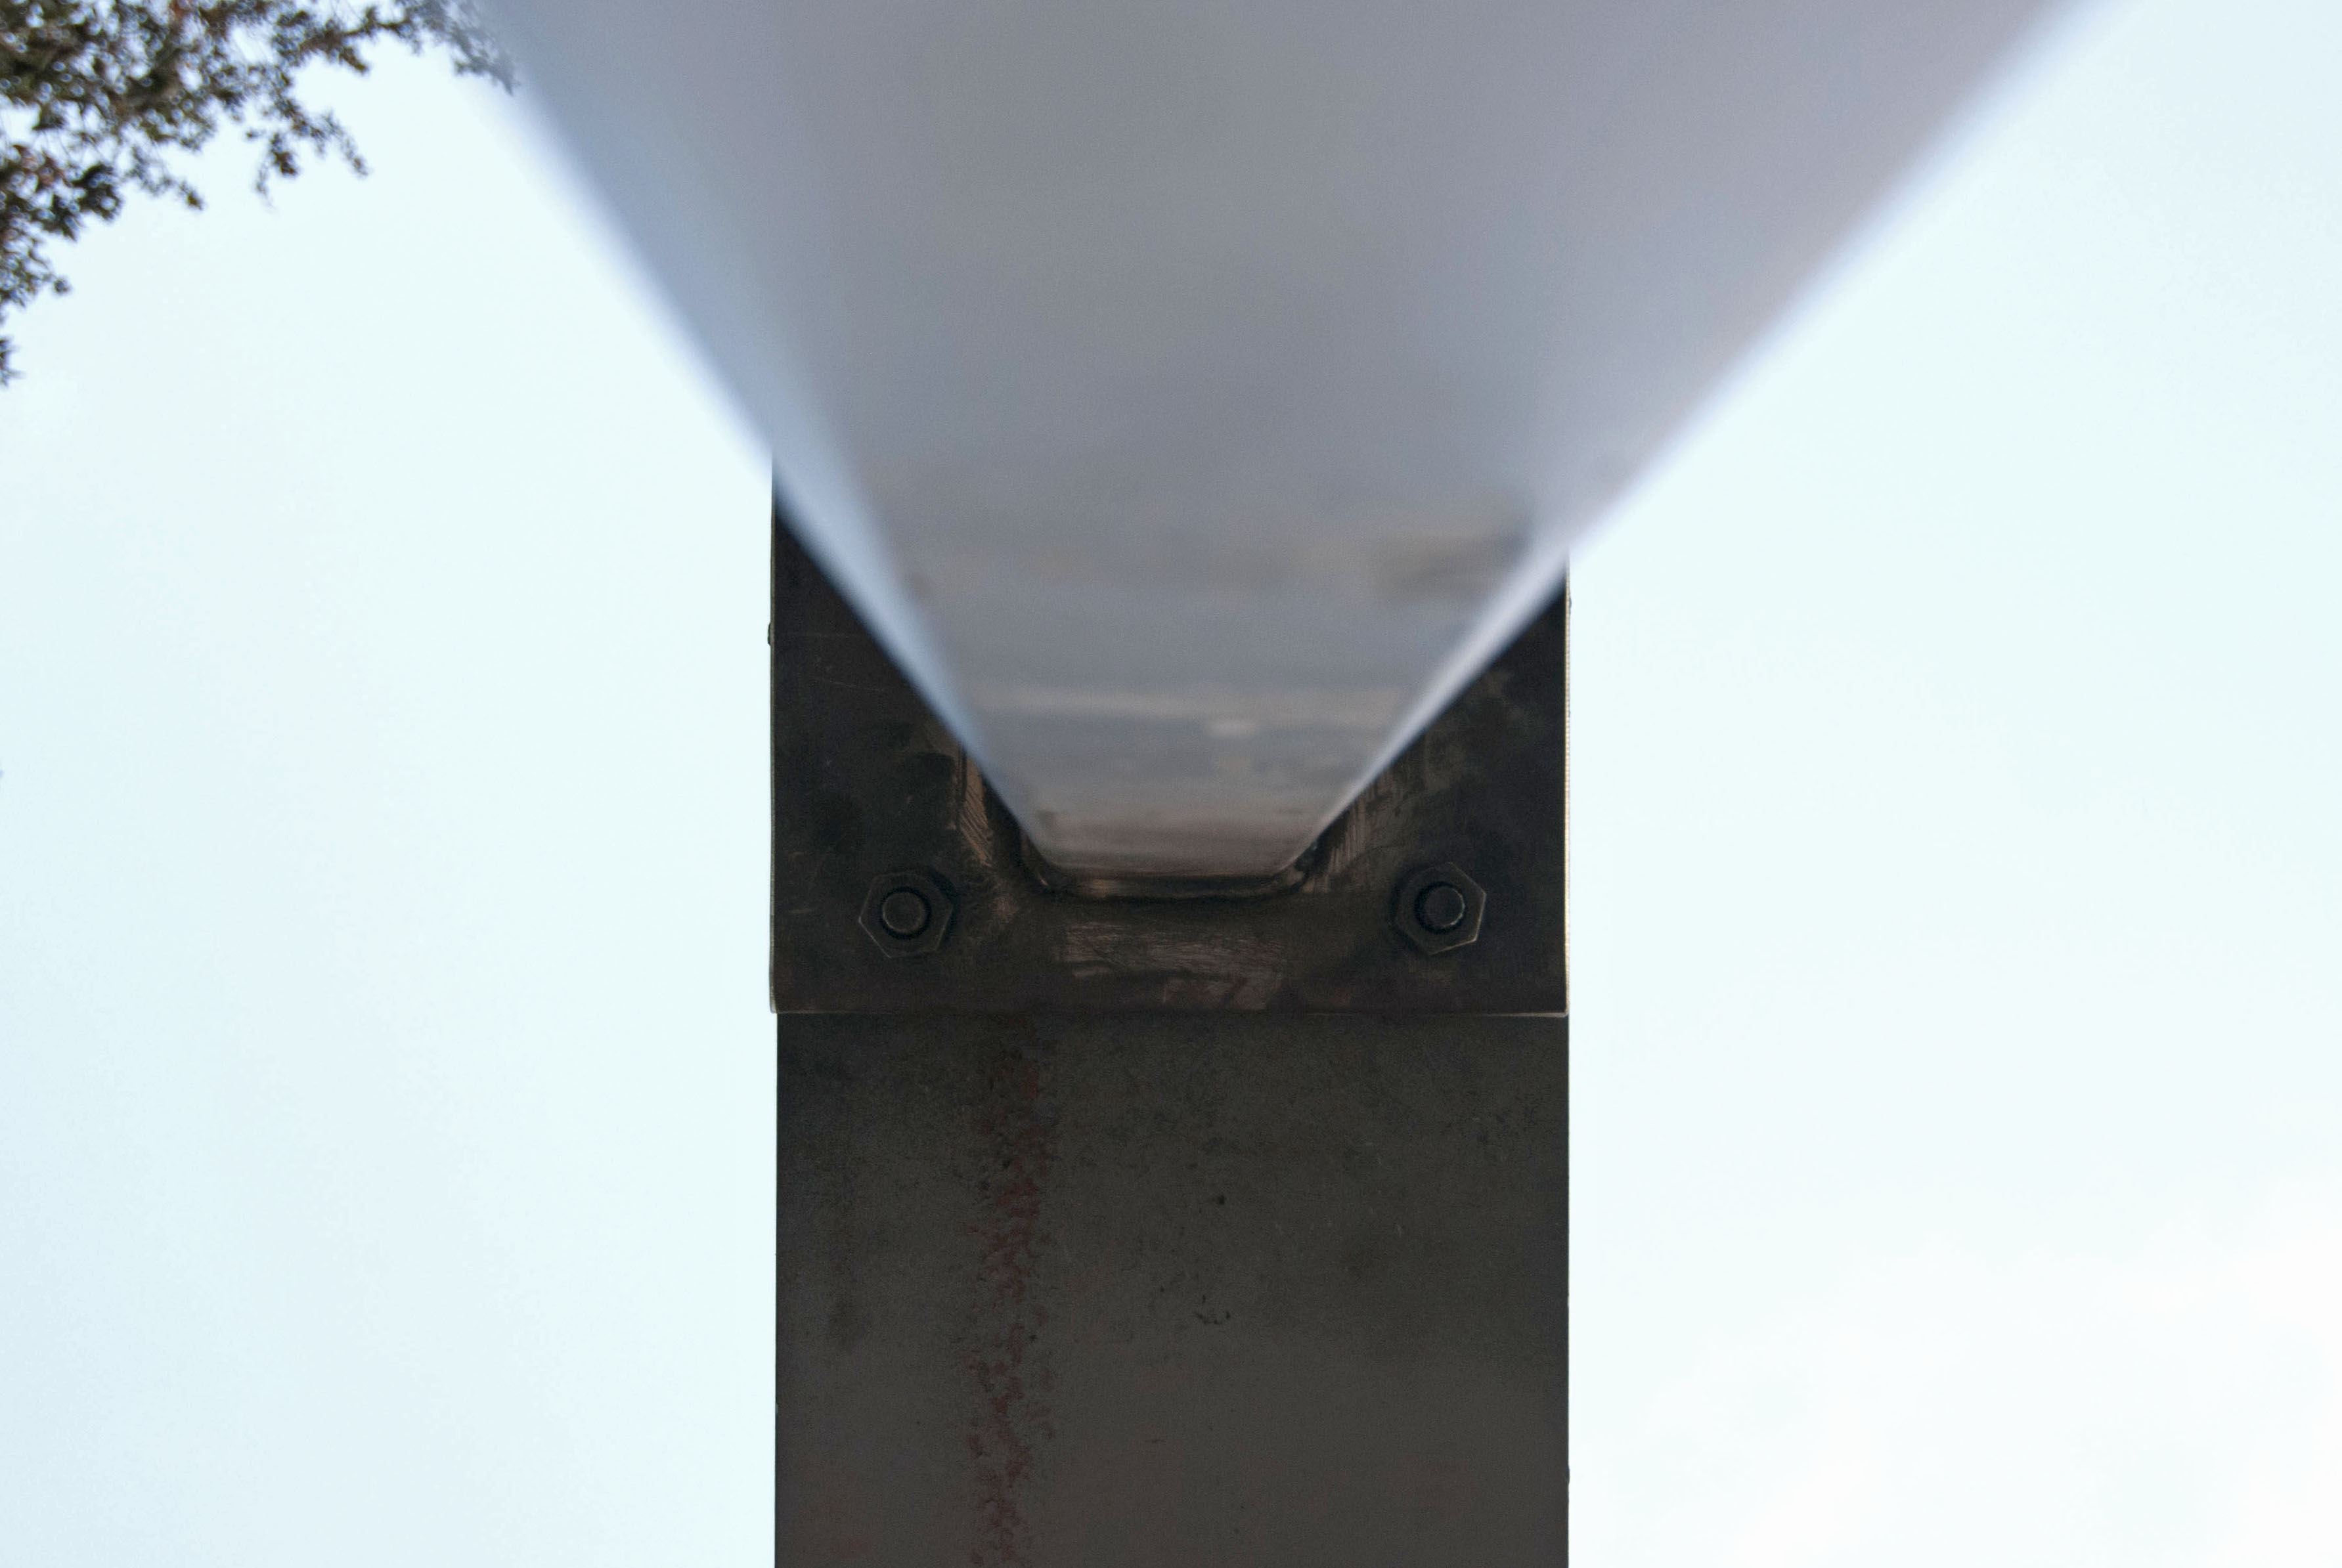
Here’s a shot of the column base after installation.
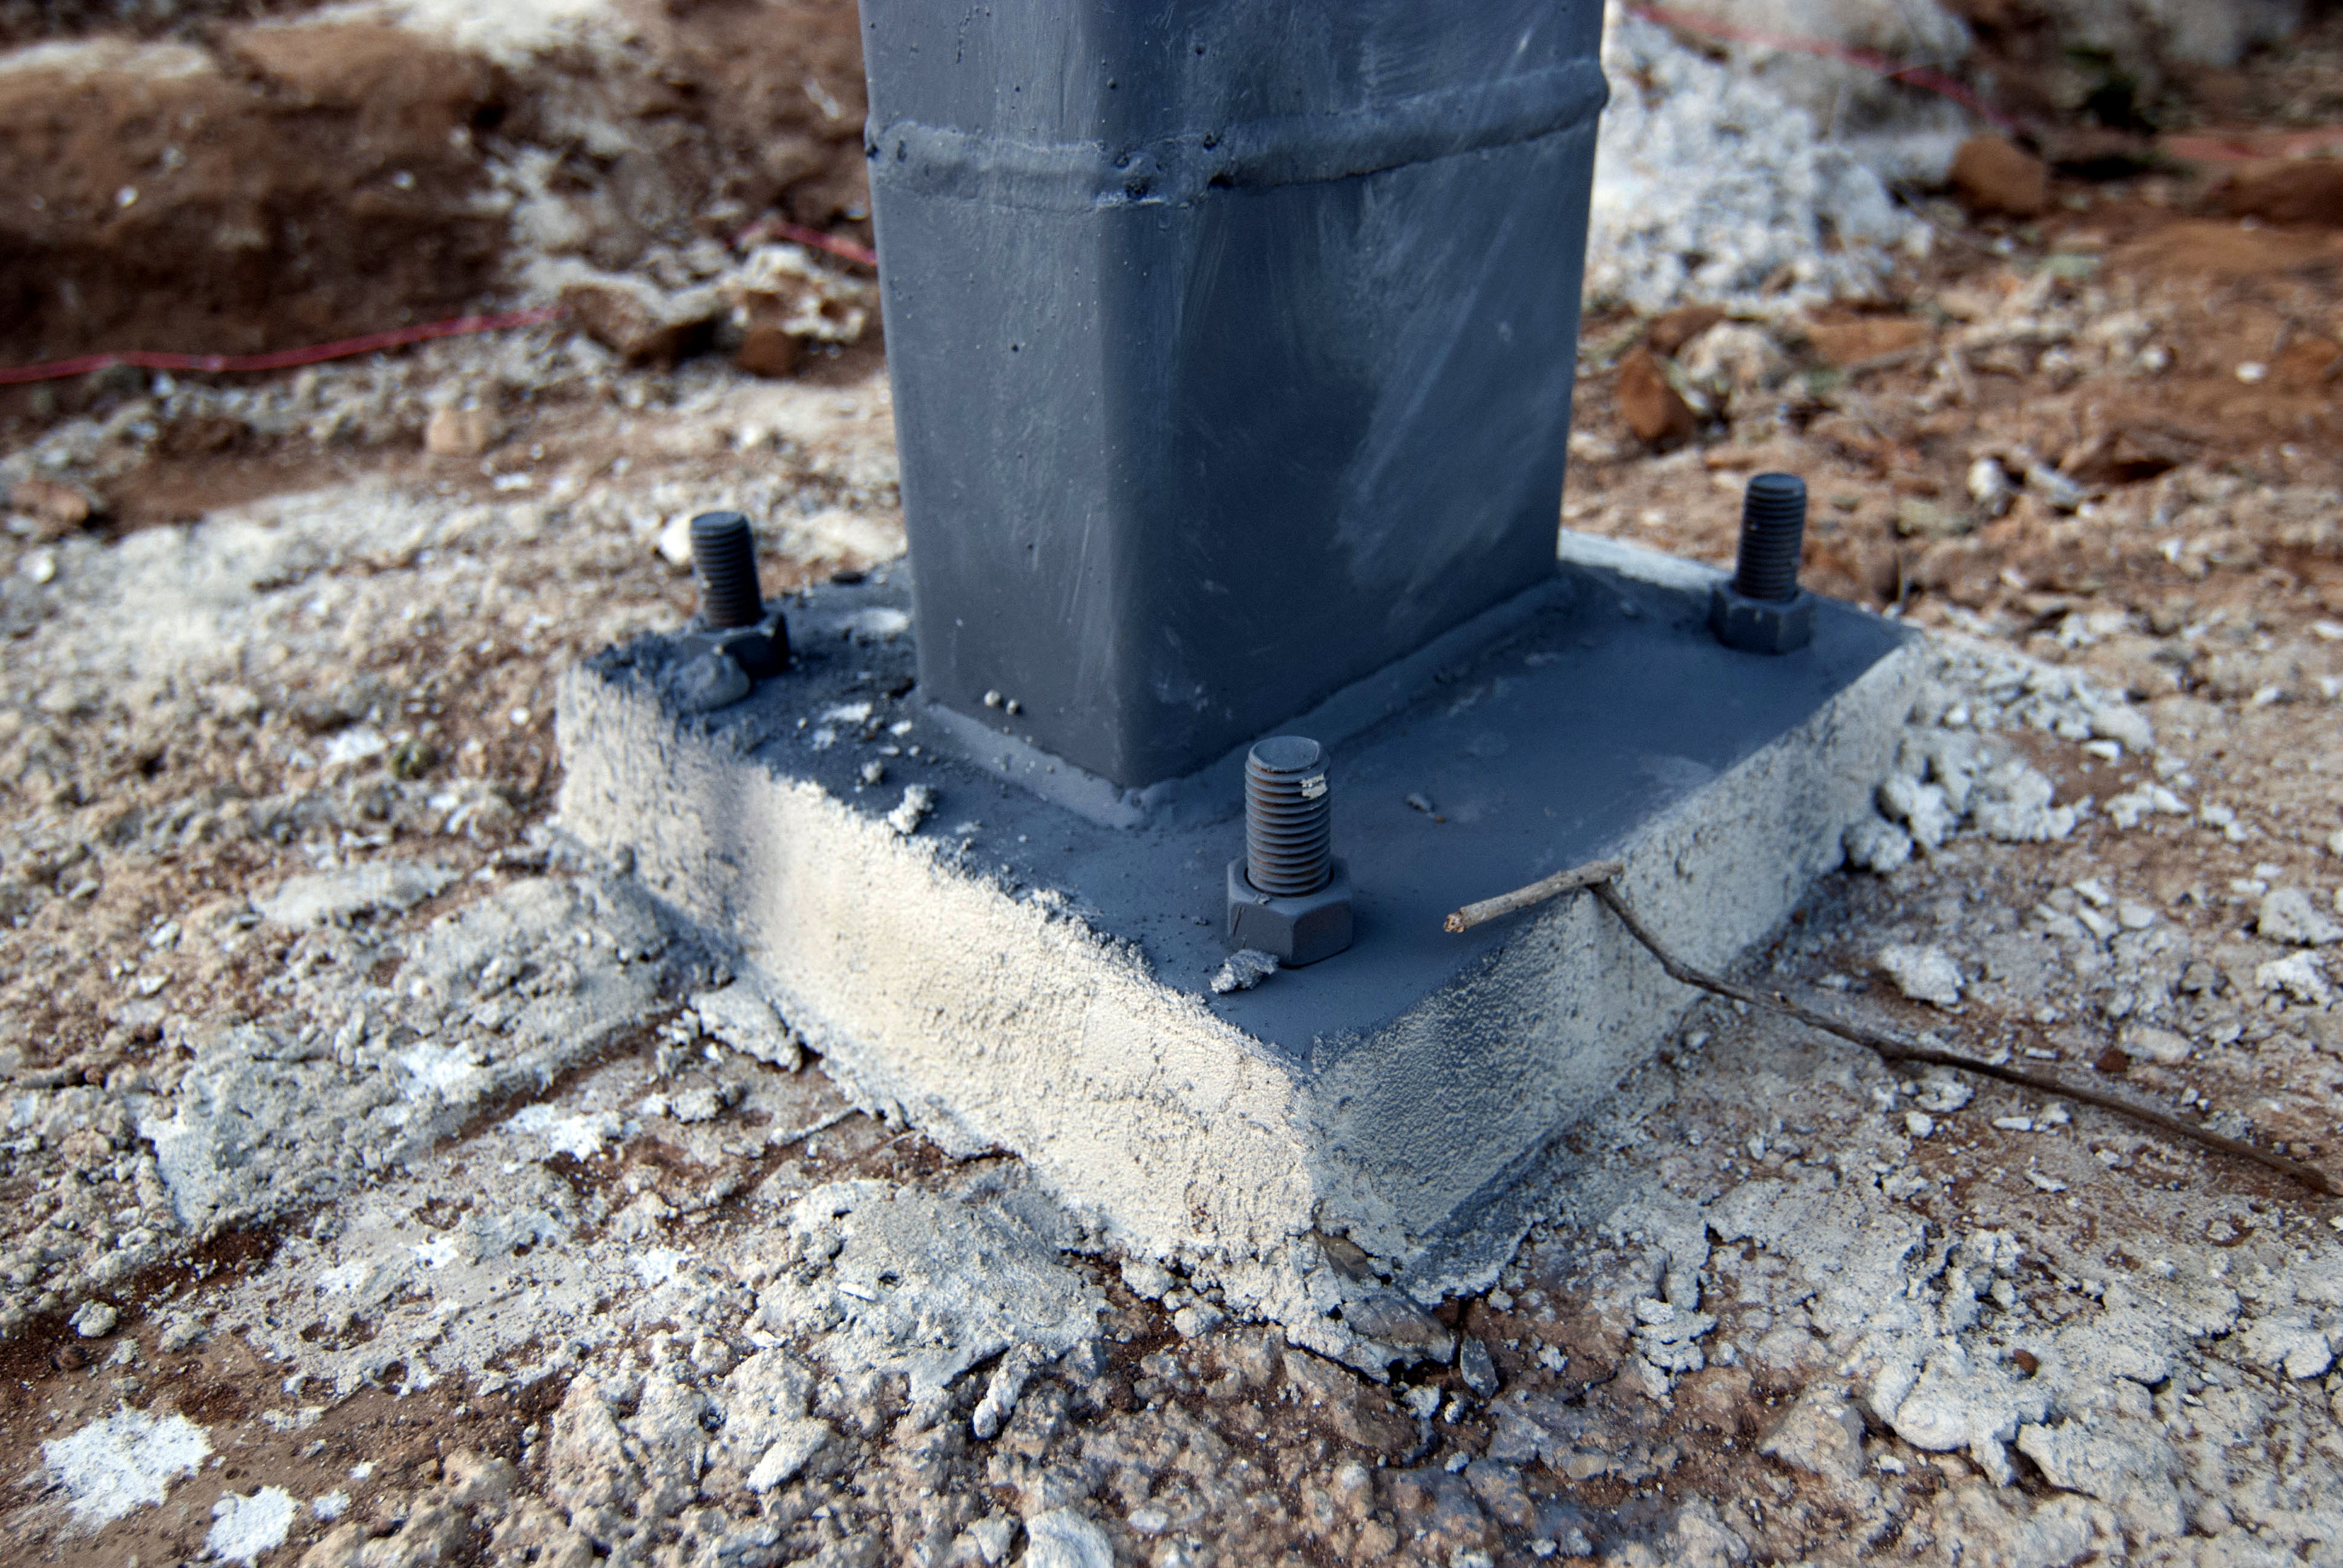
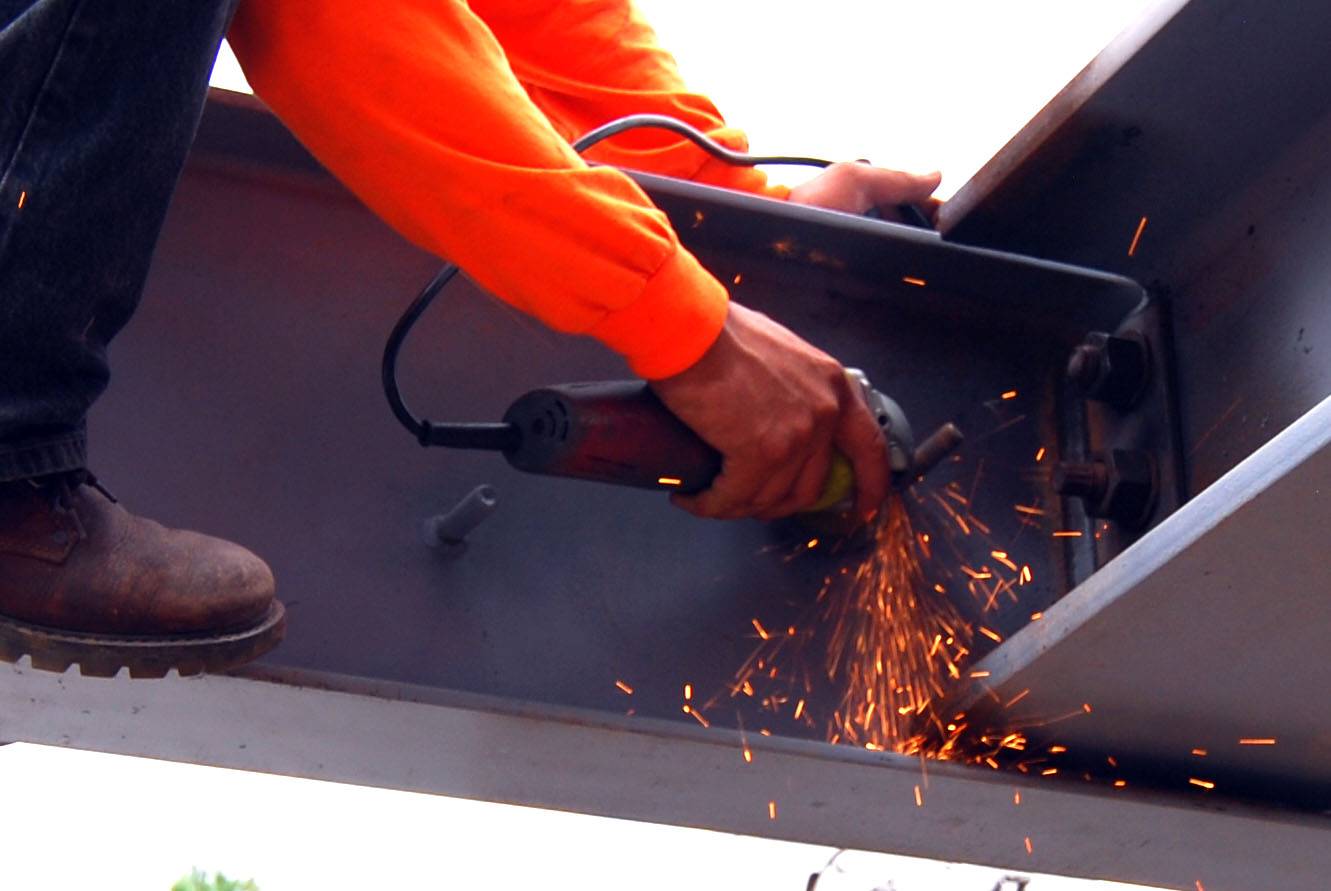
You might wonder what the weld joint above the plate is doing there. Well, that’s the additional six inches of length that was added to each column after they arrive six inches too short. We’re not exactly sure what happened except that the approved shop drawings showed the correct length and the fabrication simply didn’t line up. To their credit, the steel fabricator drove back to the shop, fixed the problem and installation went smoothly a couple days later.
I really love exposed steel connection details. There’s no hiding what’s going on.
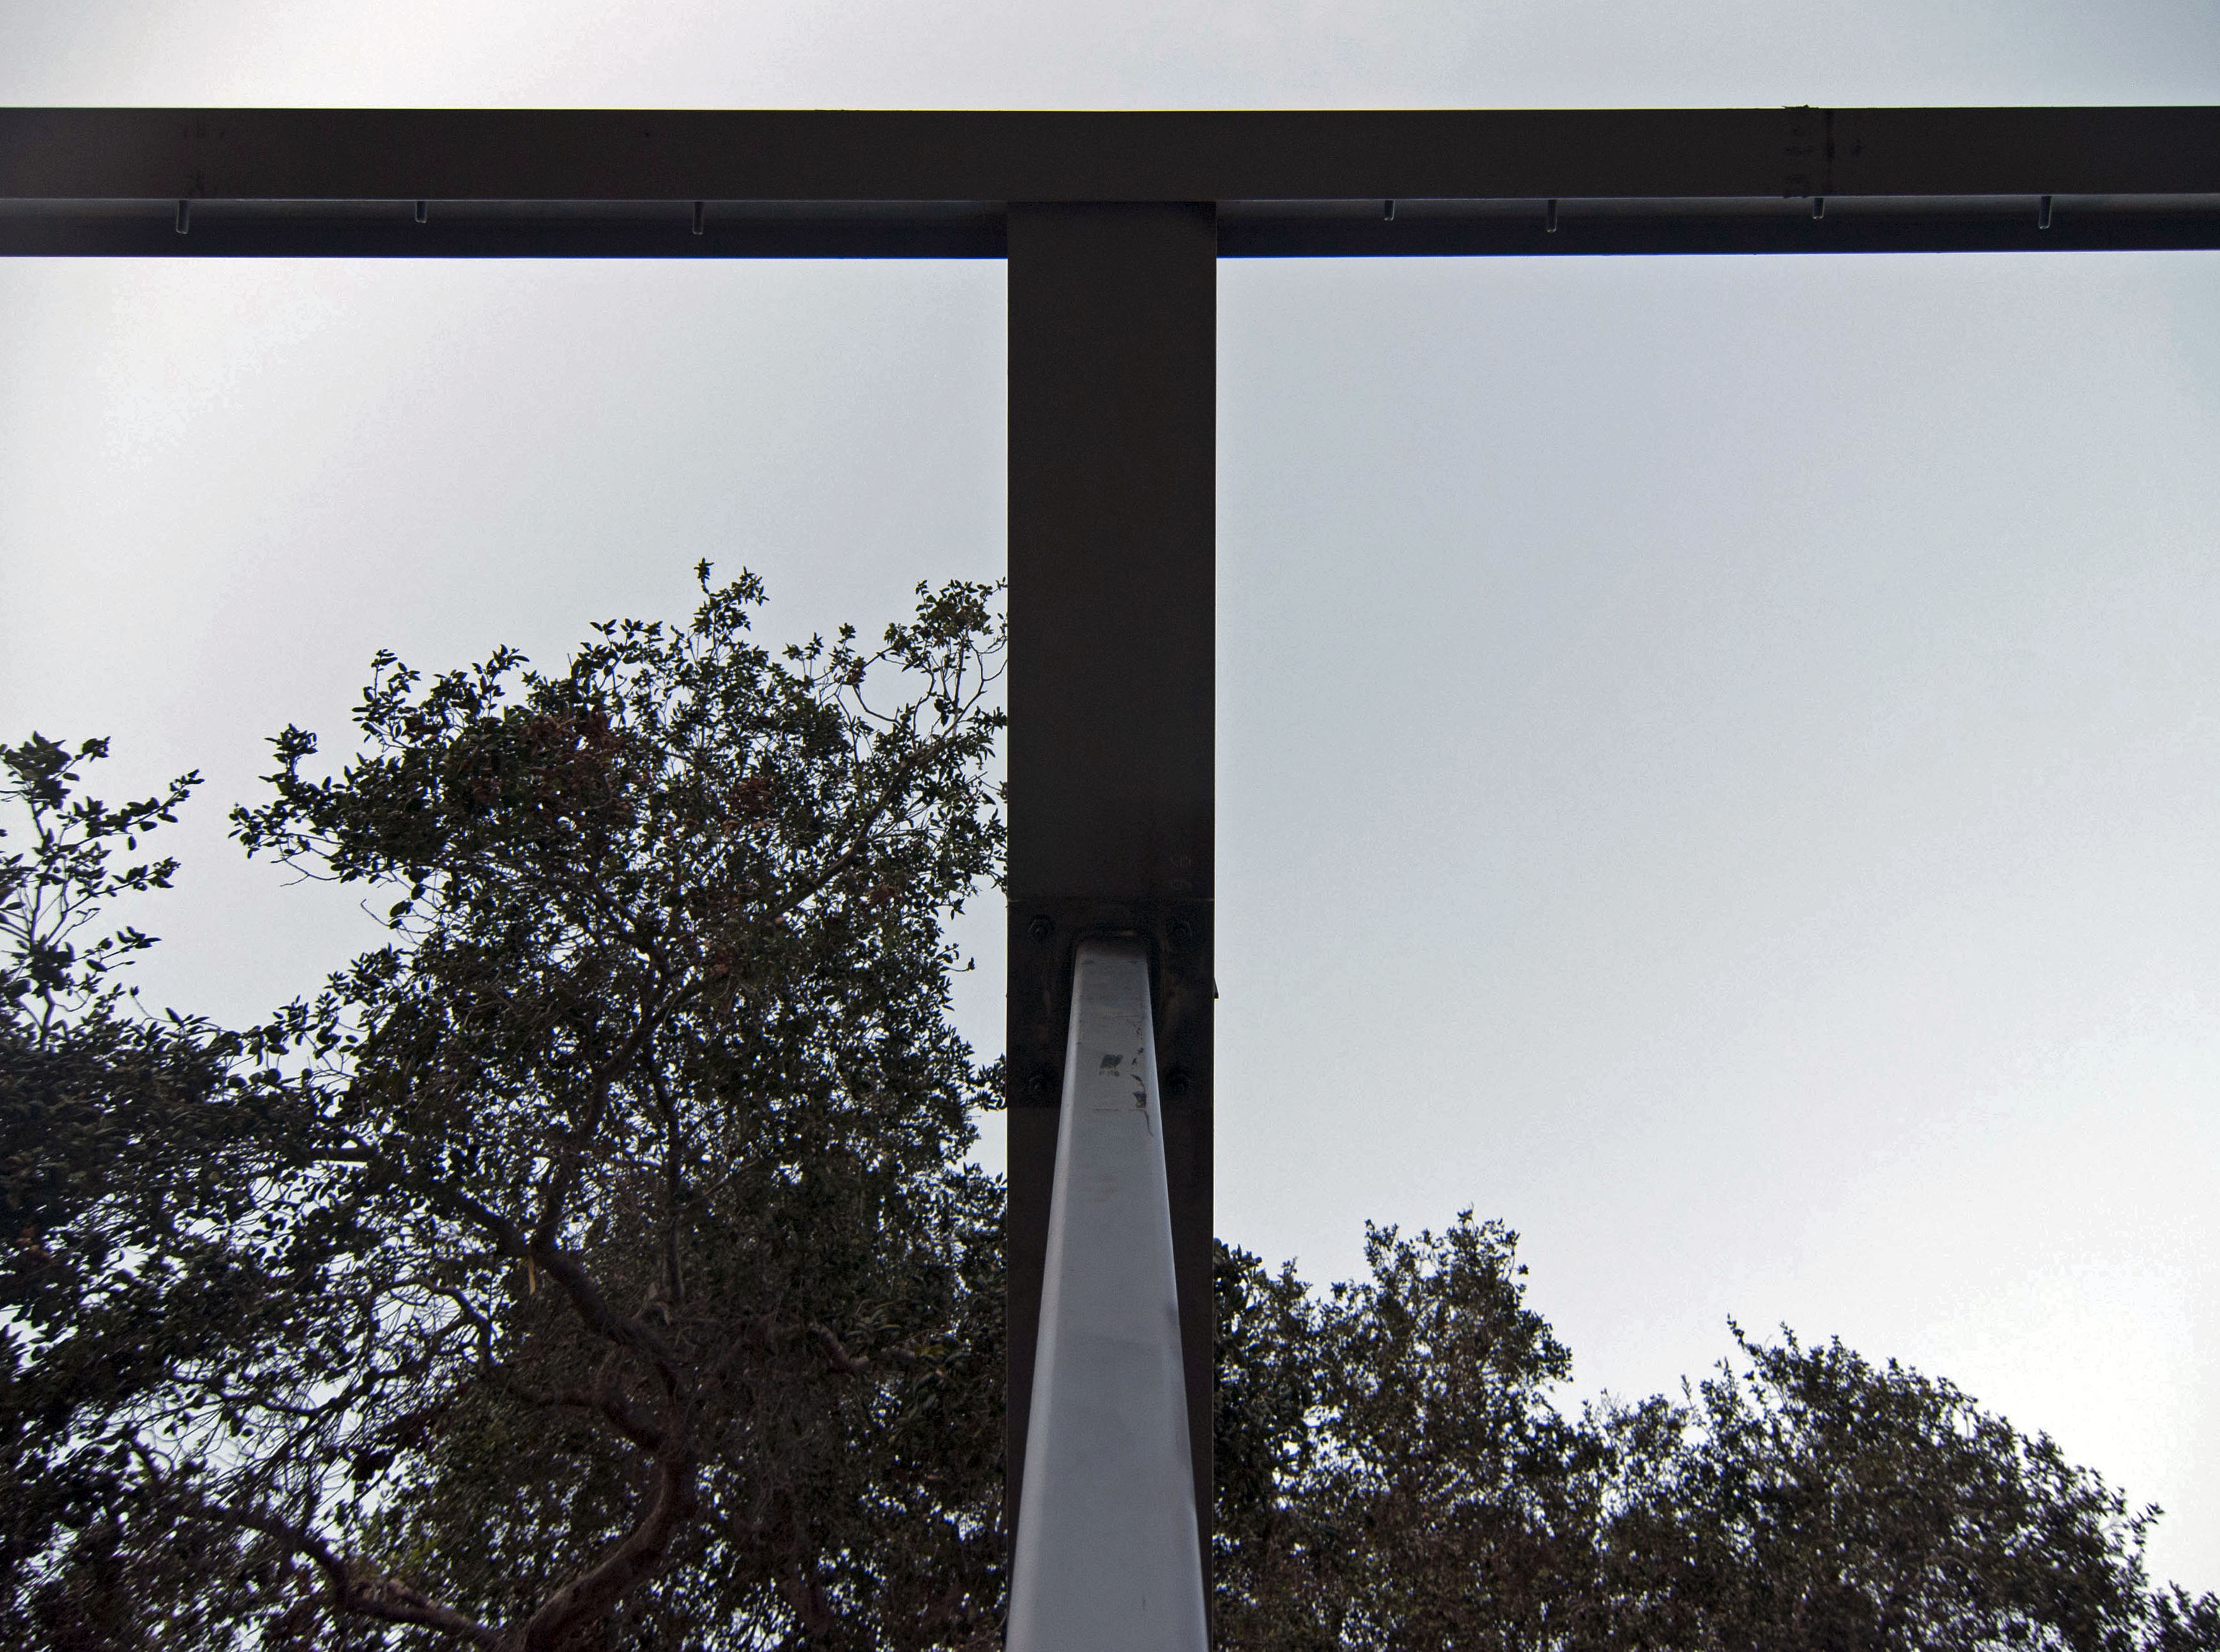
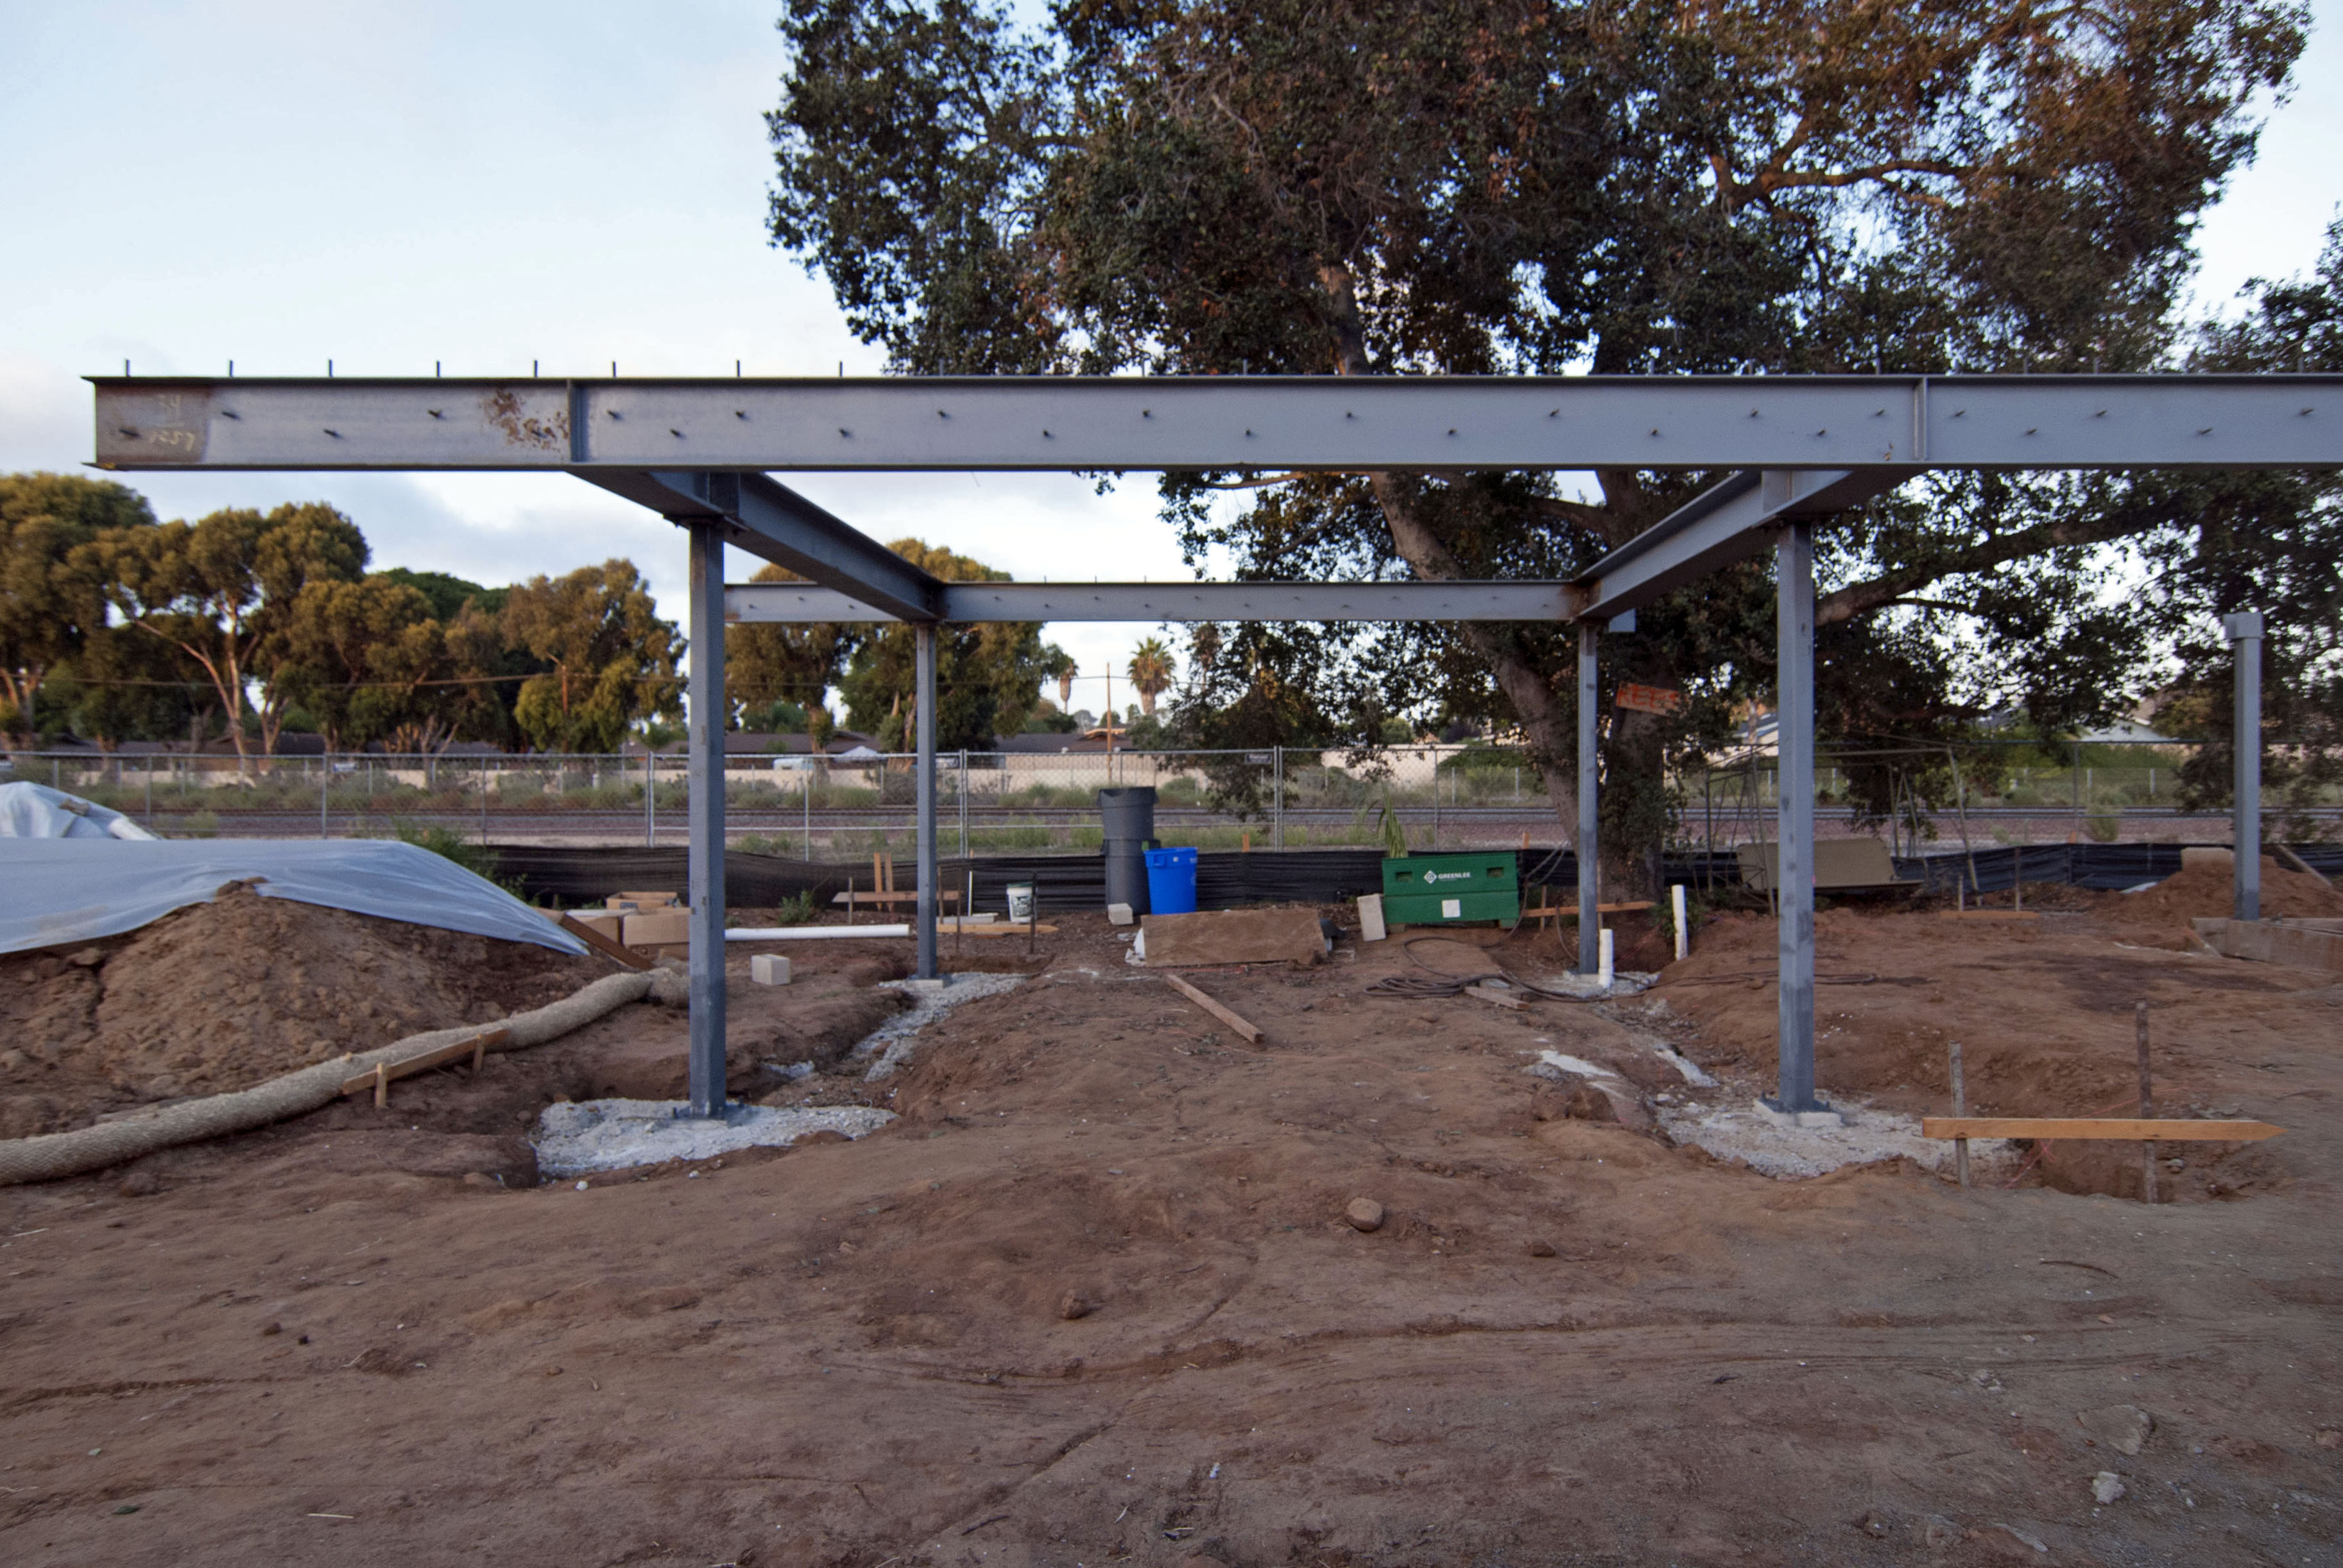
Unfortunately, hiding is exactly what we’re going to be doing to nearly every piece of steel in the project. Only the vertical portion of the four columns at the carport (square configuration on the left side of the photo below) will remain exposed at the end of construction.
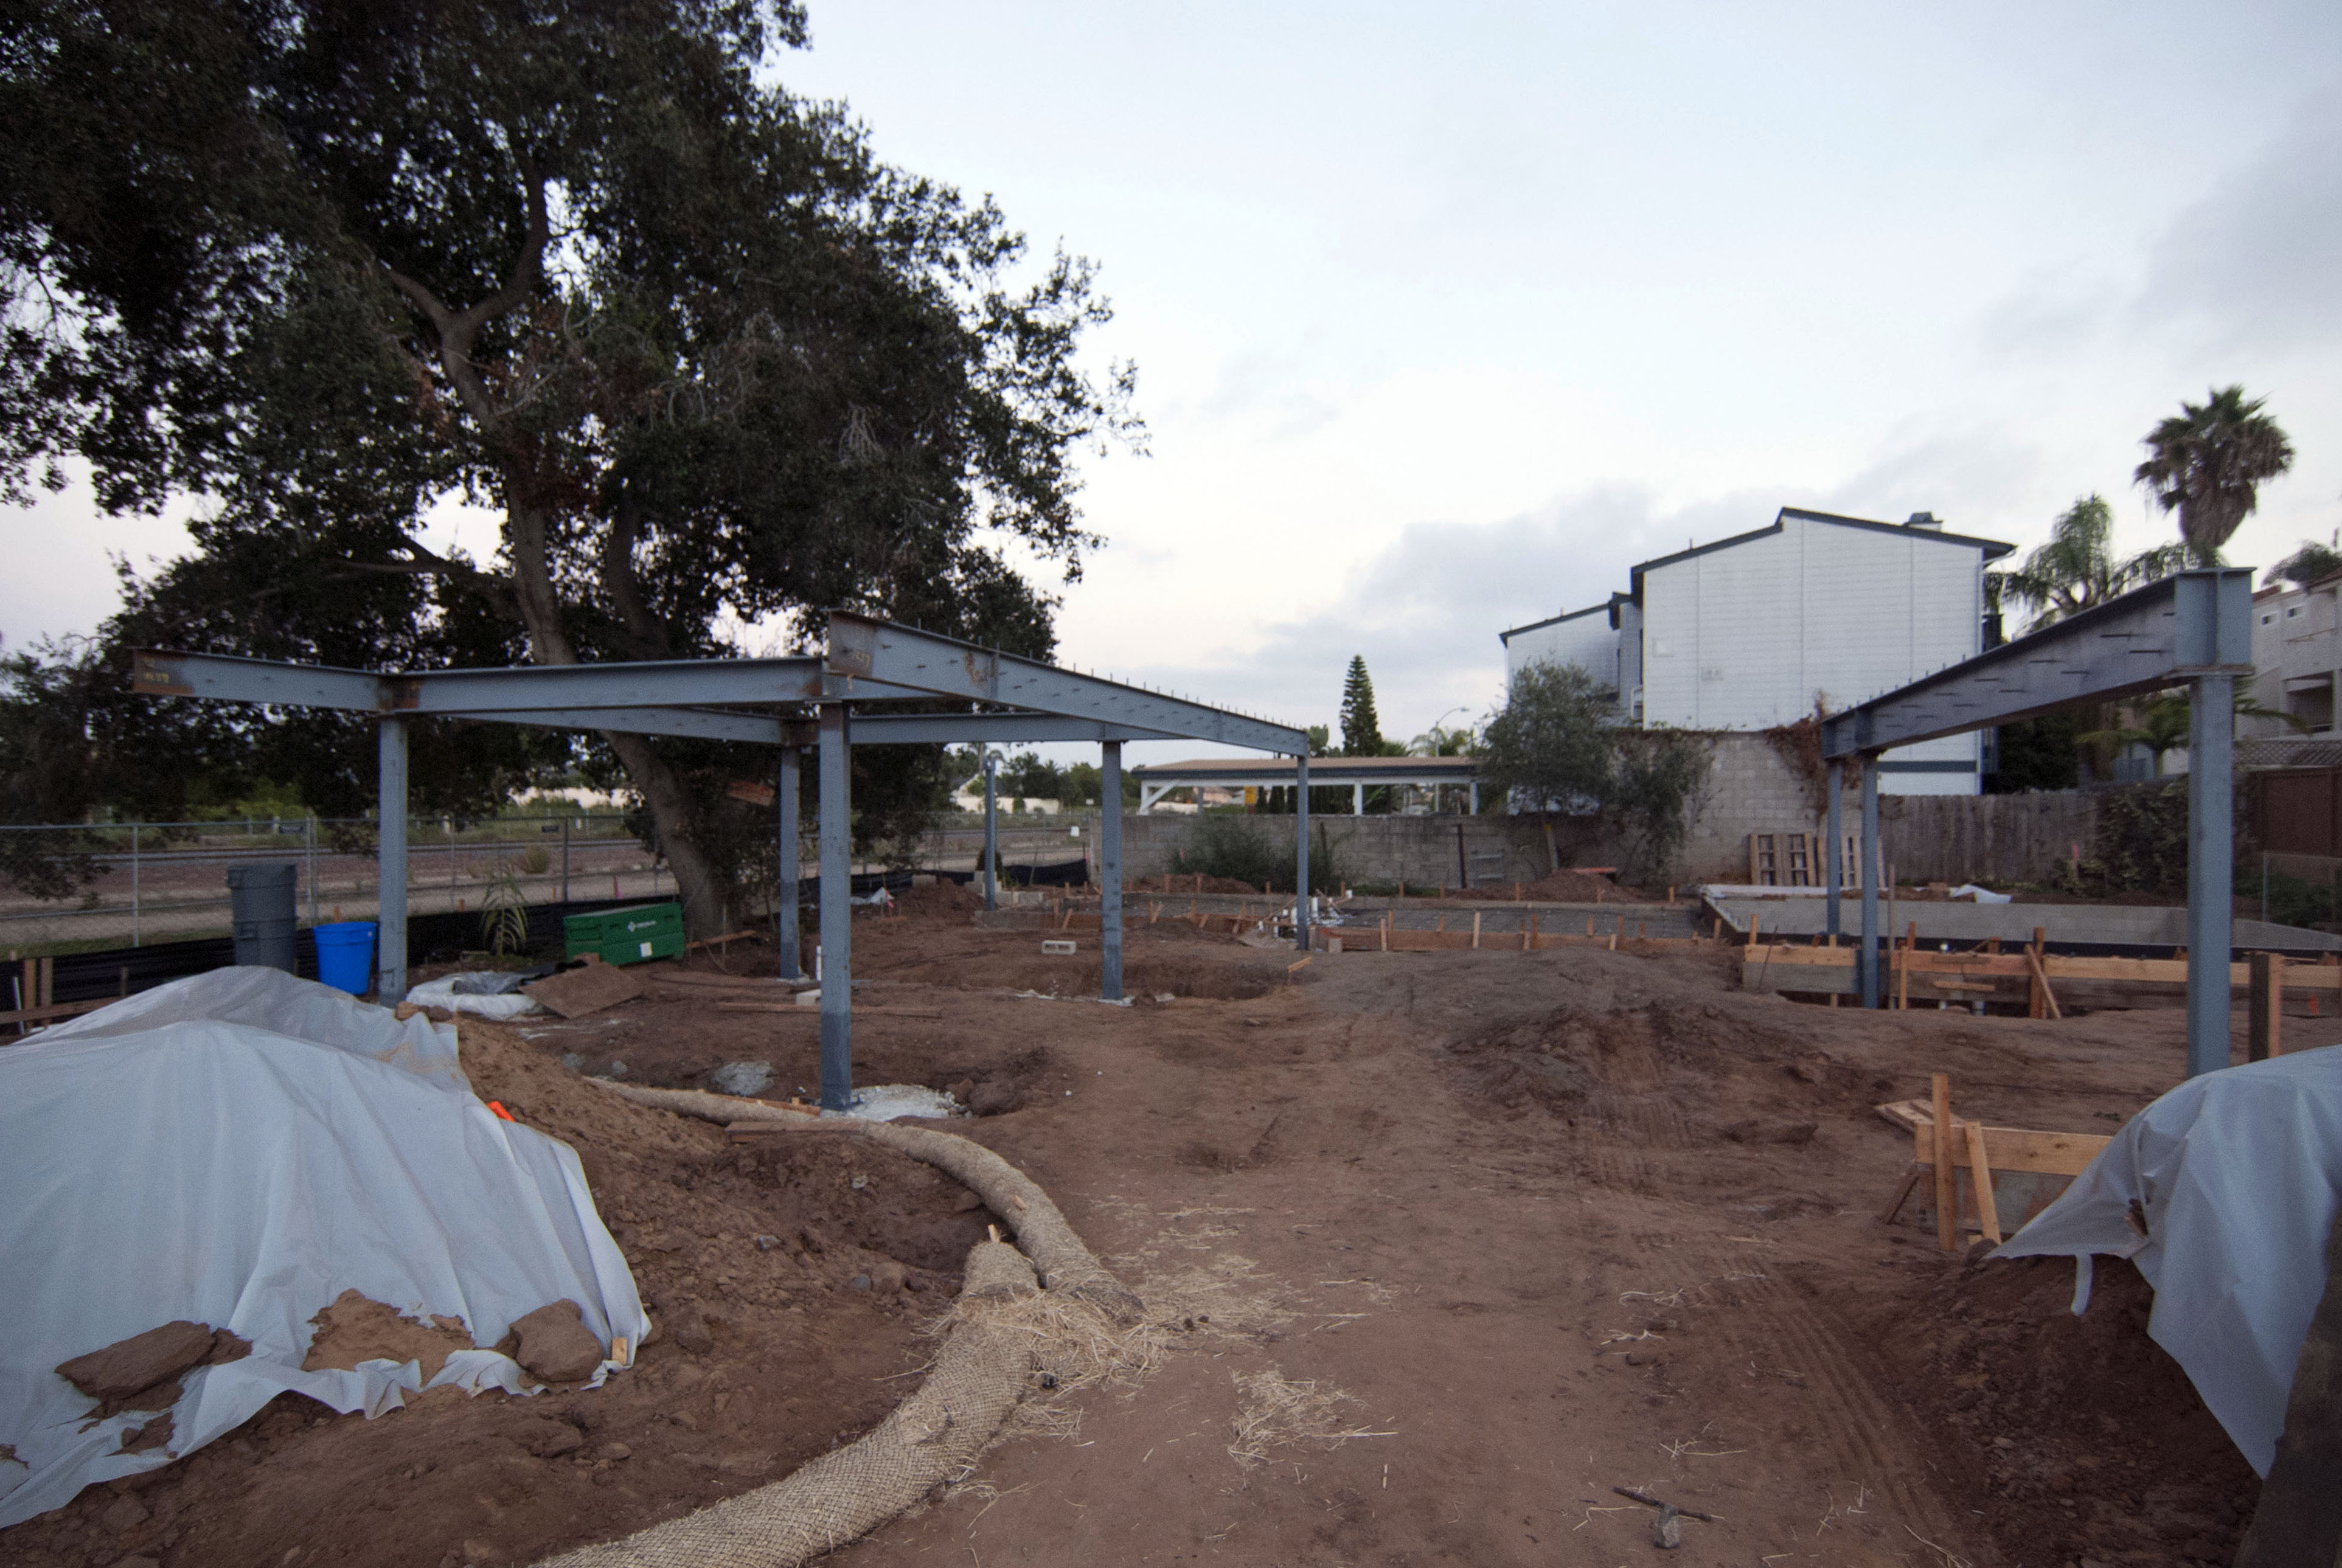
Concrete did end up getting poured the day after steel was installed, but I’ll cover that in the next post.