Lot’s going on over the past month. Here’s the highlights.
Waterproofing
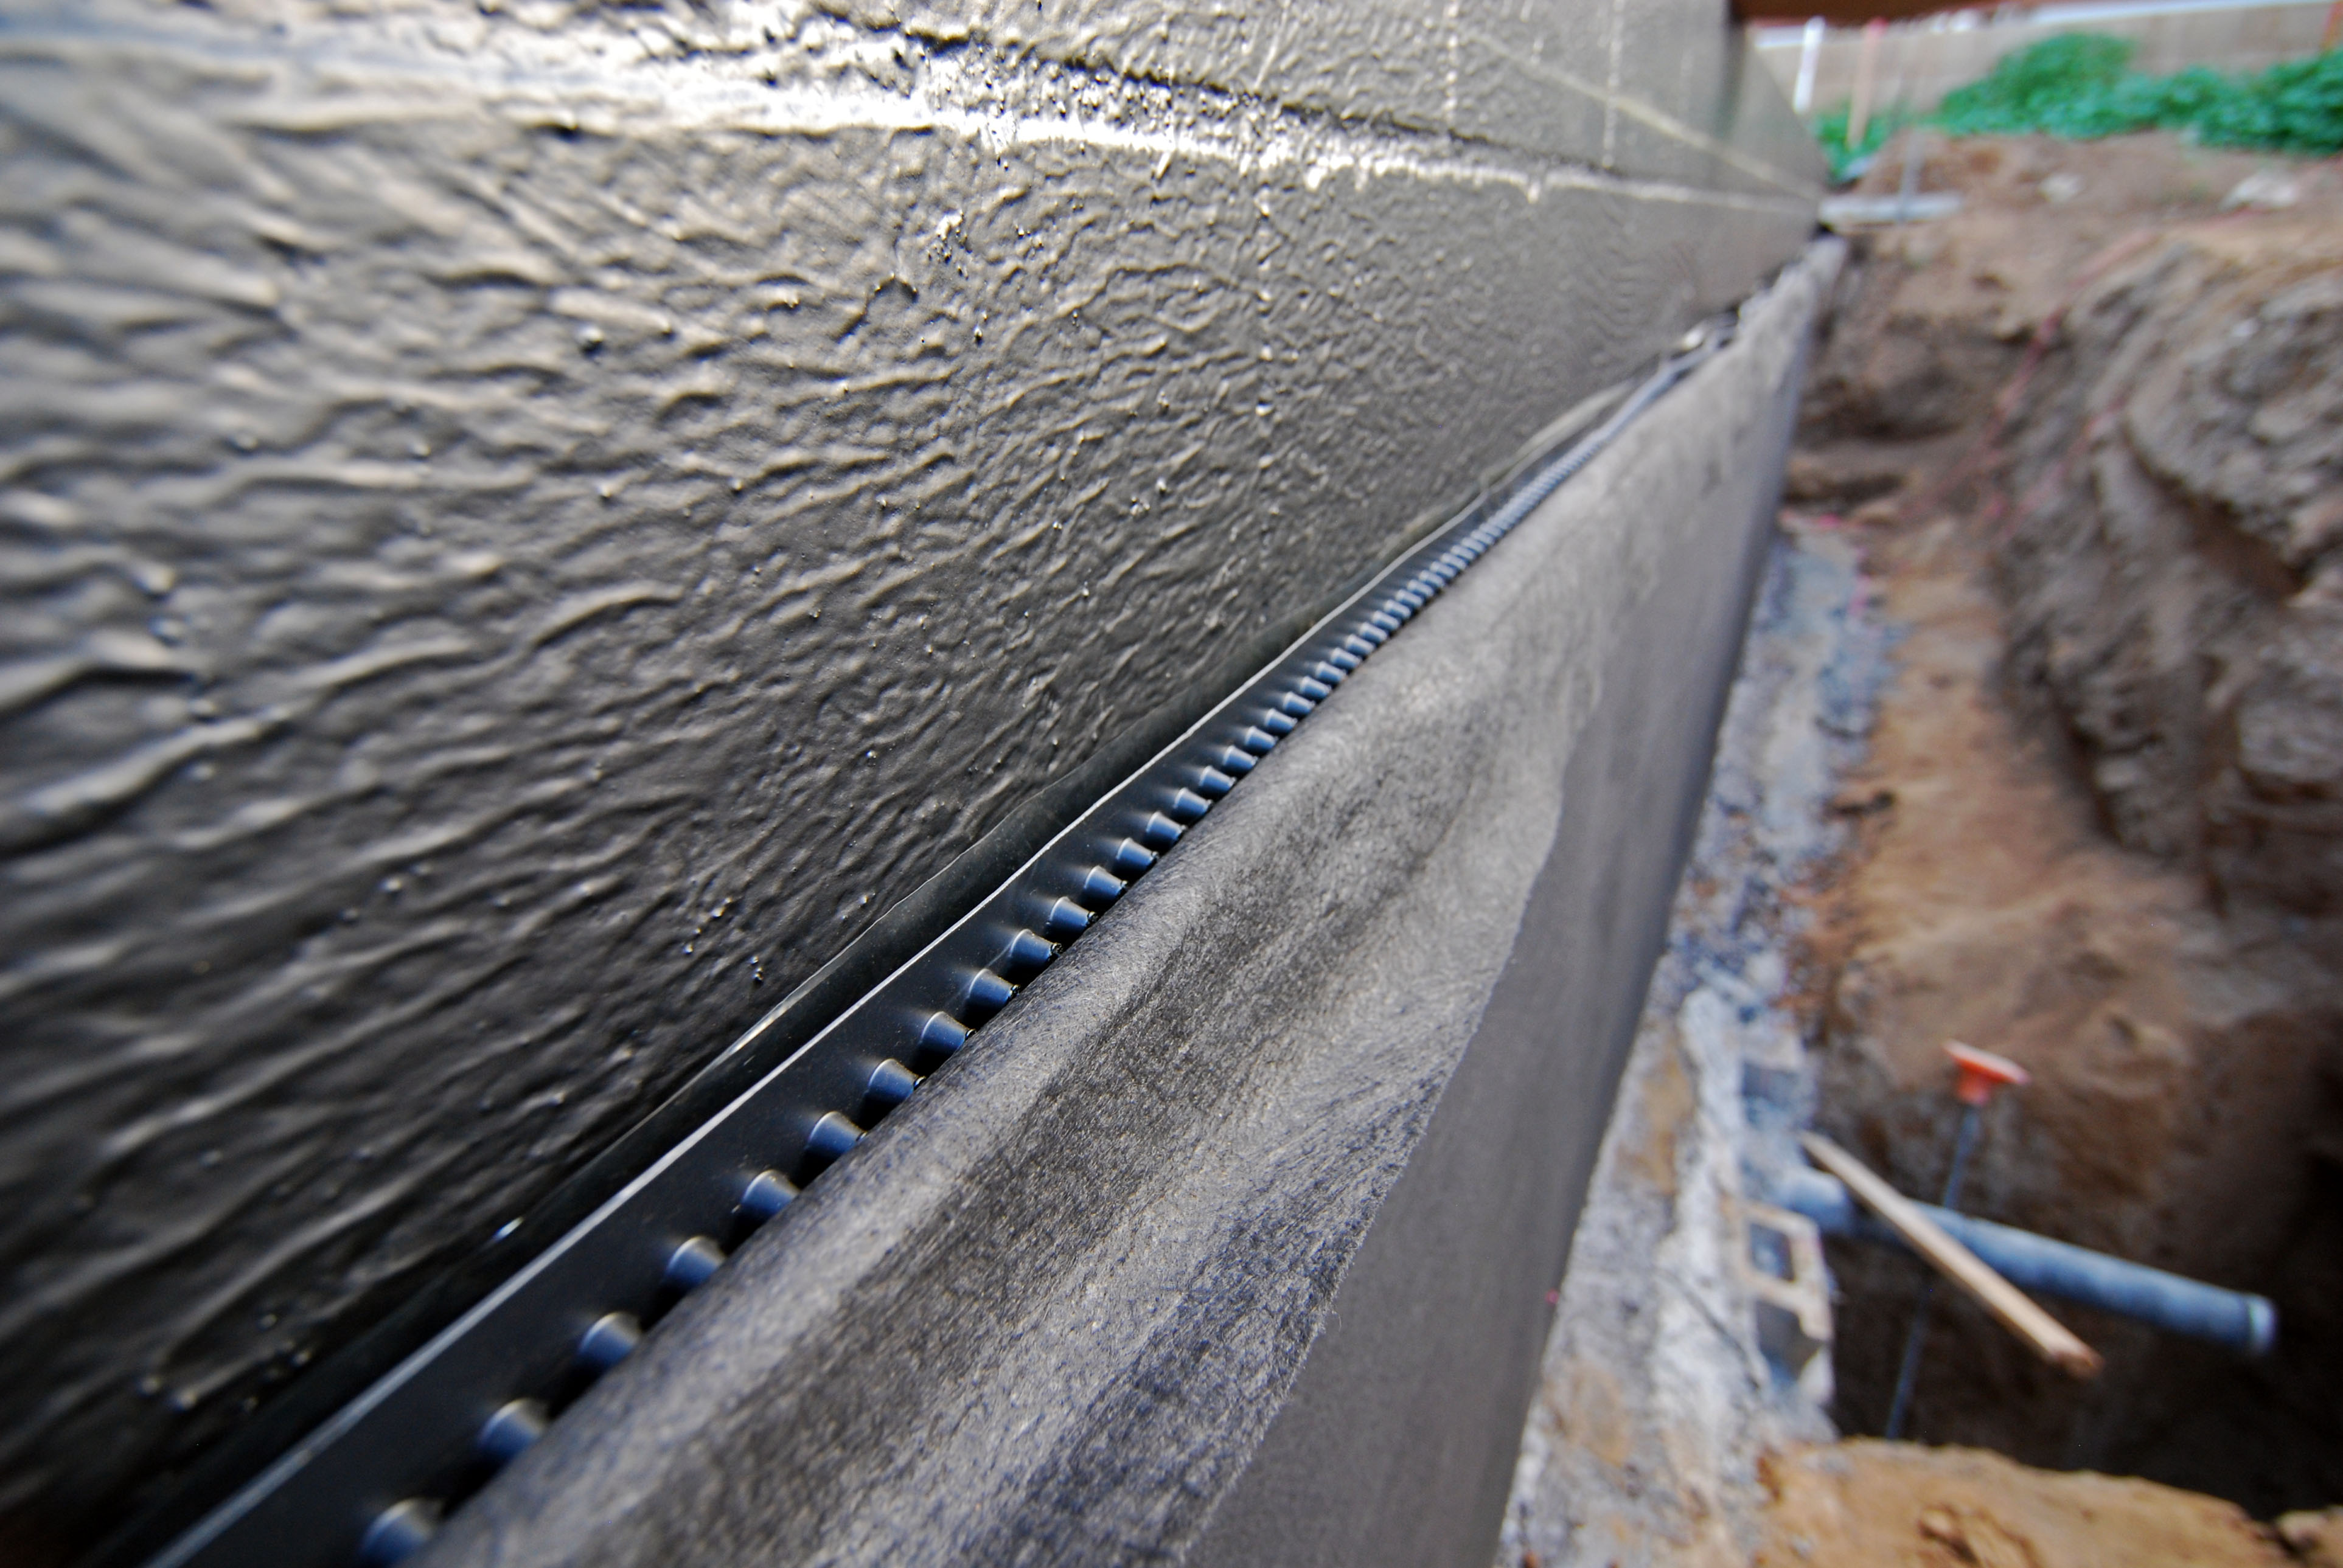
With the basement walls in place the next step was to waterproof them. We used a three part system consisting of a liquid applied membrane, plastic drainage mat and protection fabric.
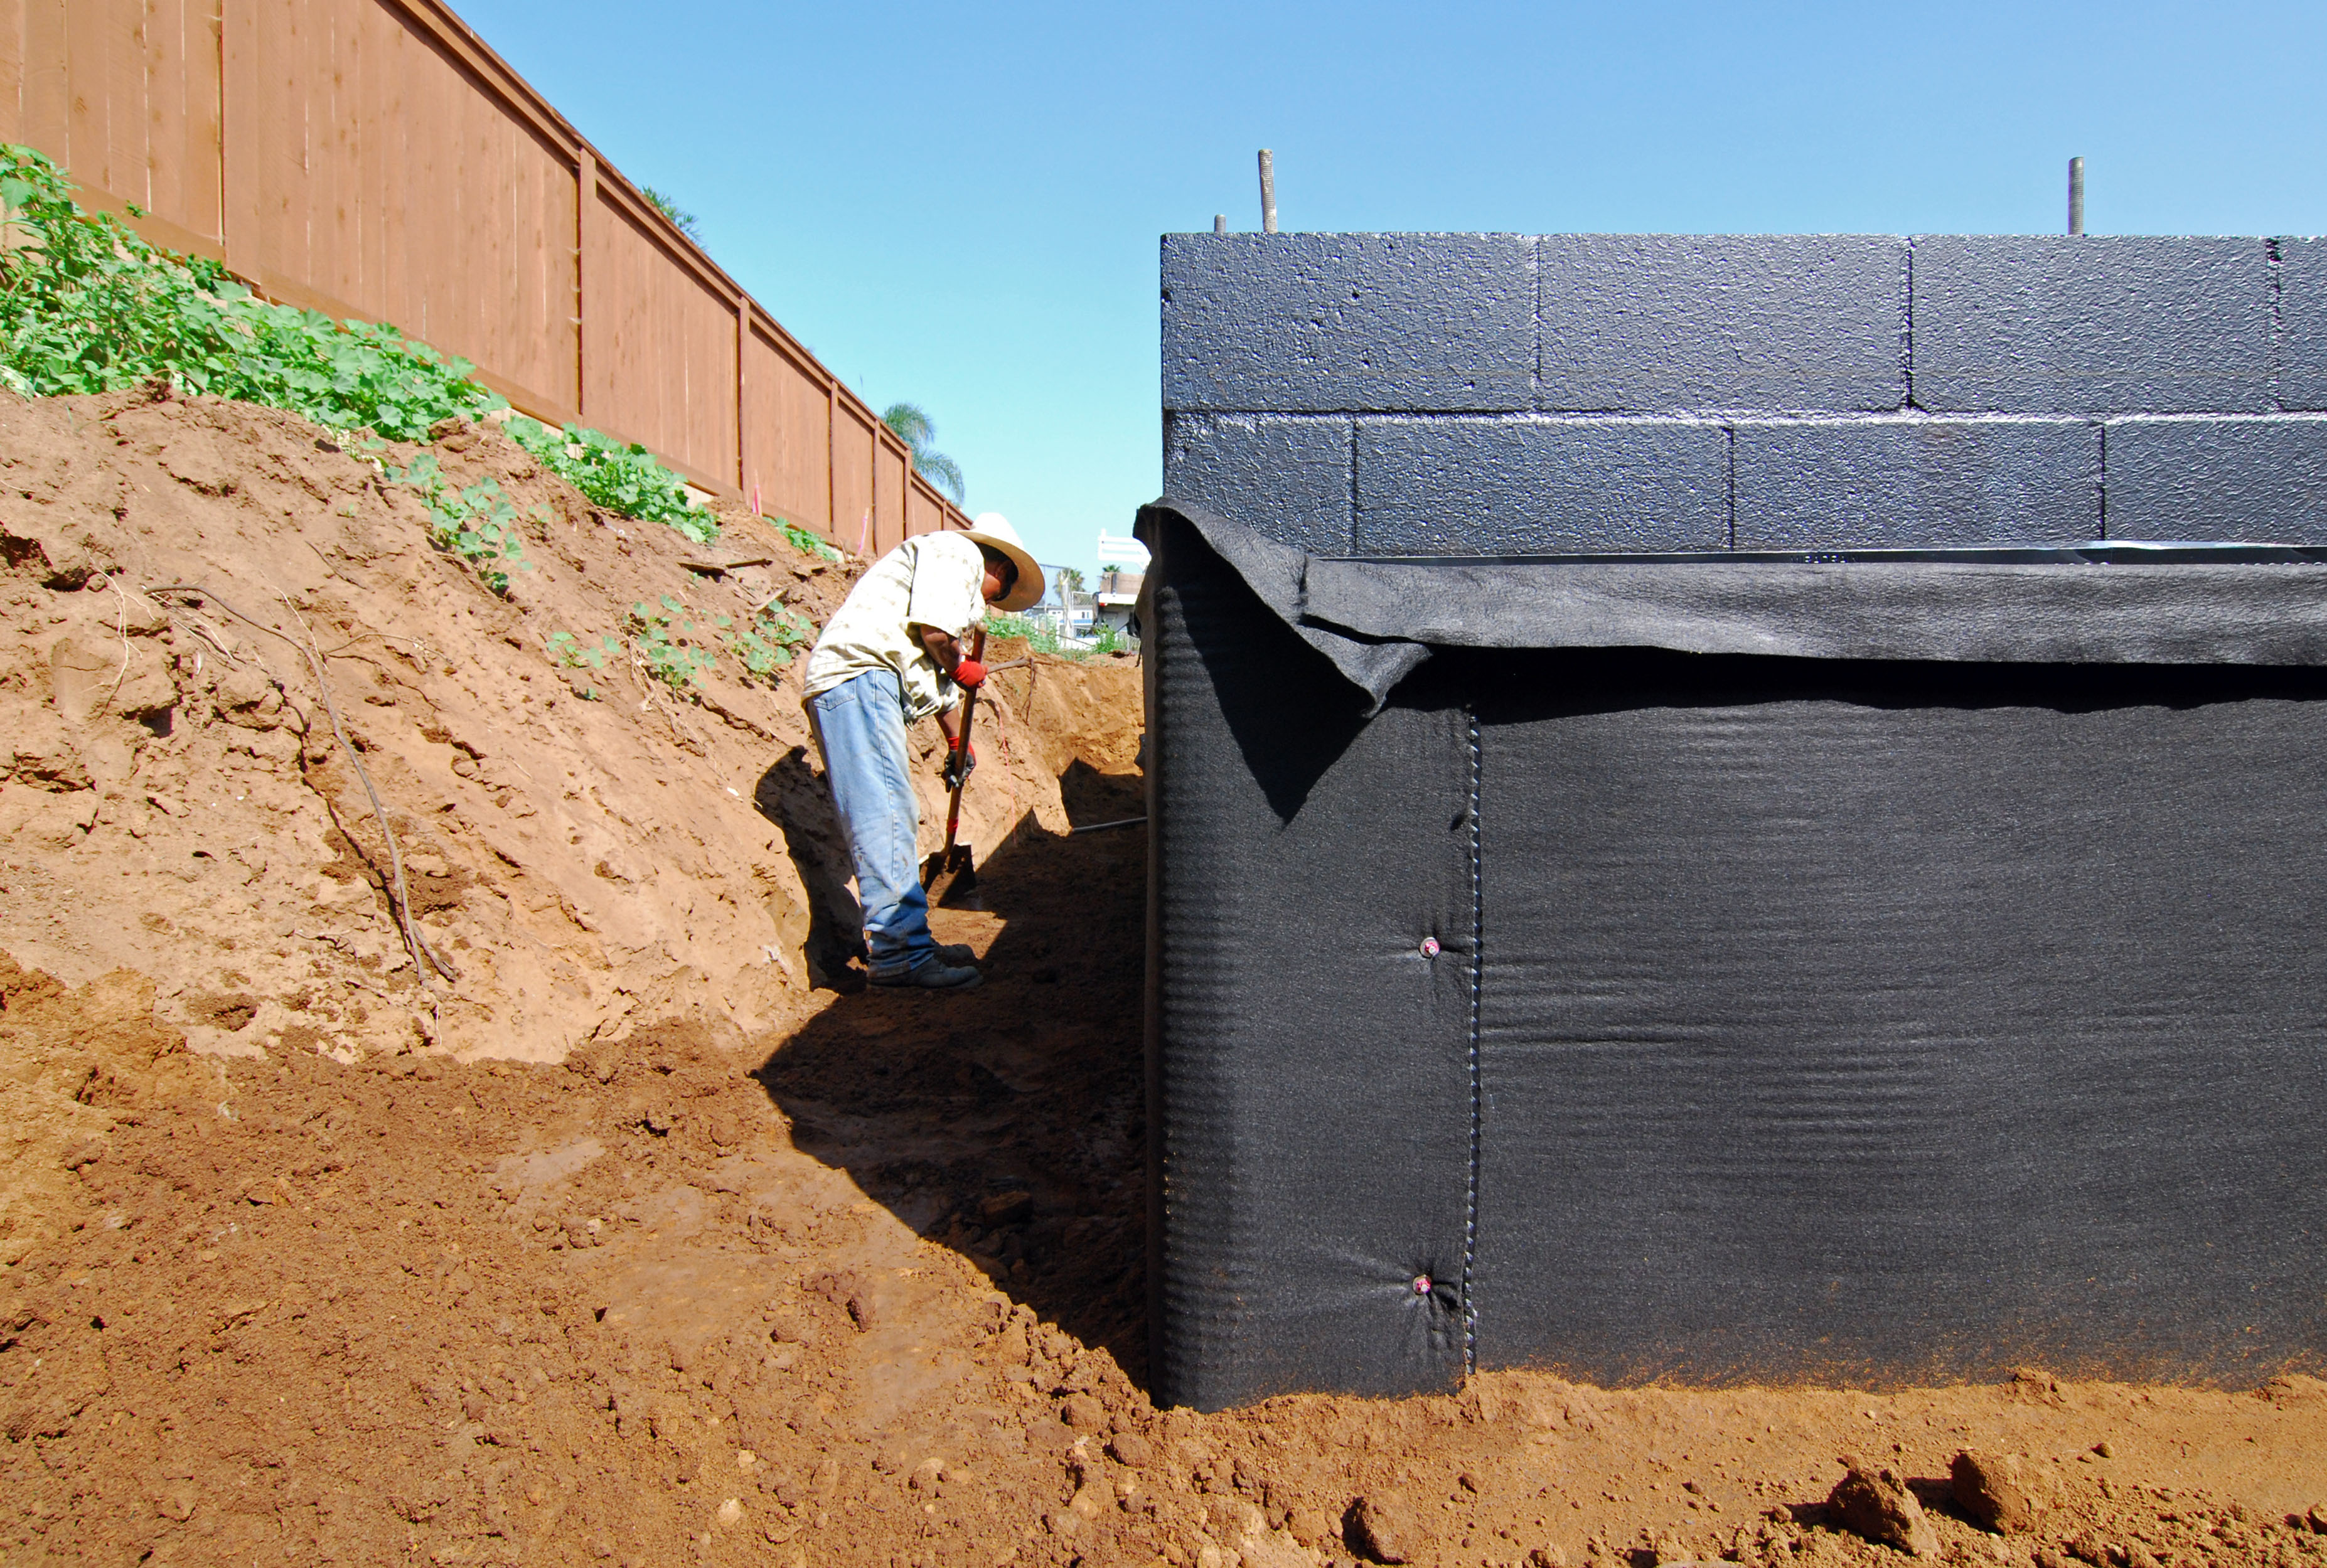
Next we back-filled dirt up to our finish grade.
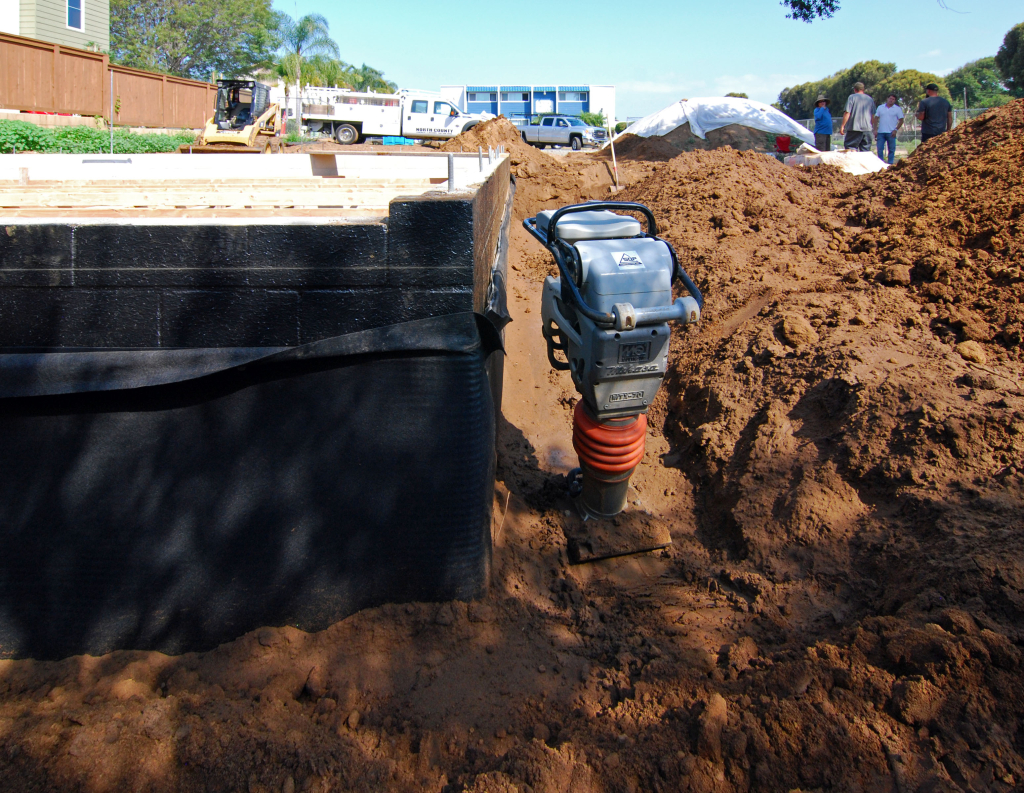
Temporary bracing was provided to mitigate against the additional load of the dirt while the masonry continued to cure.
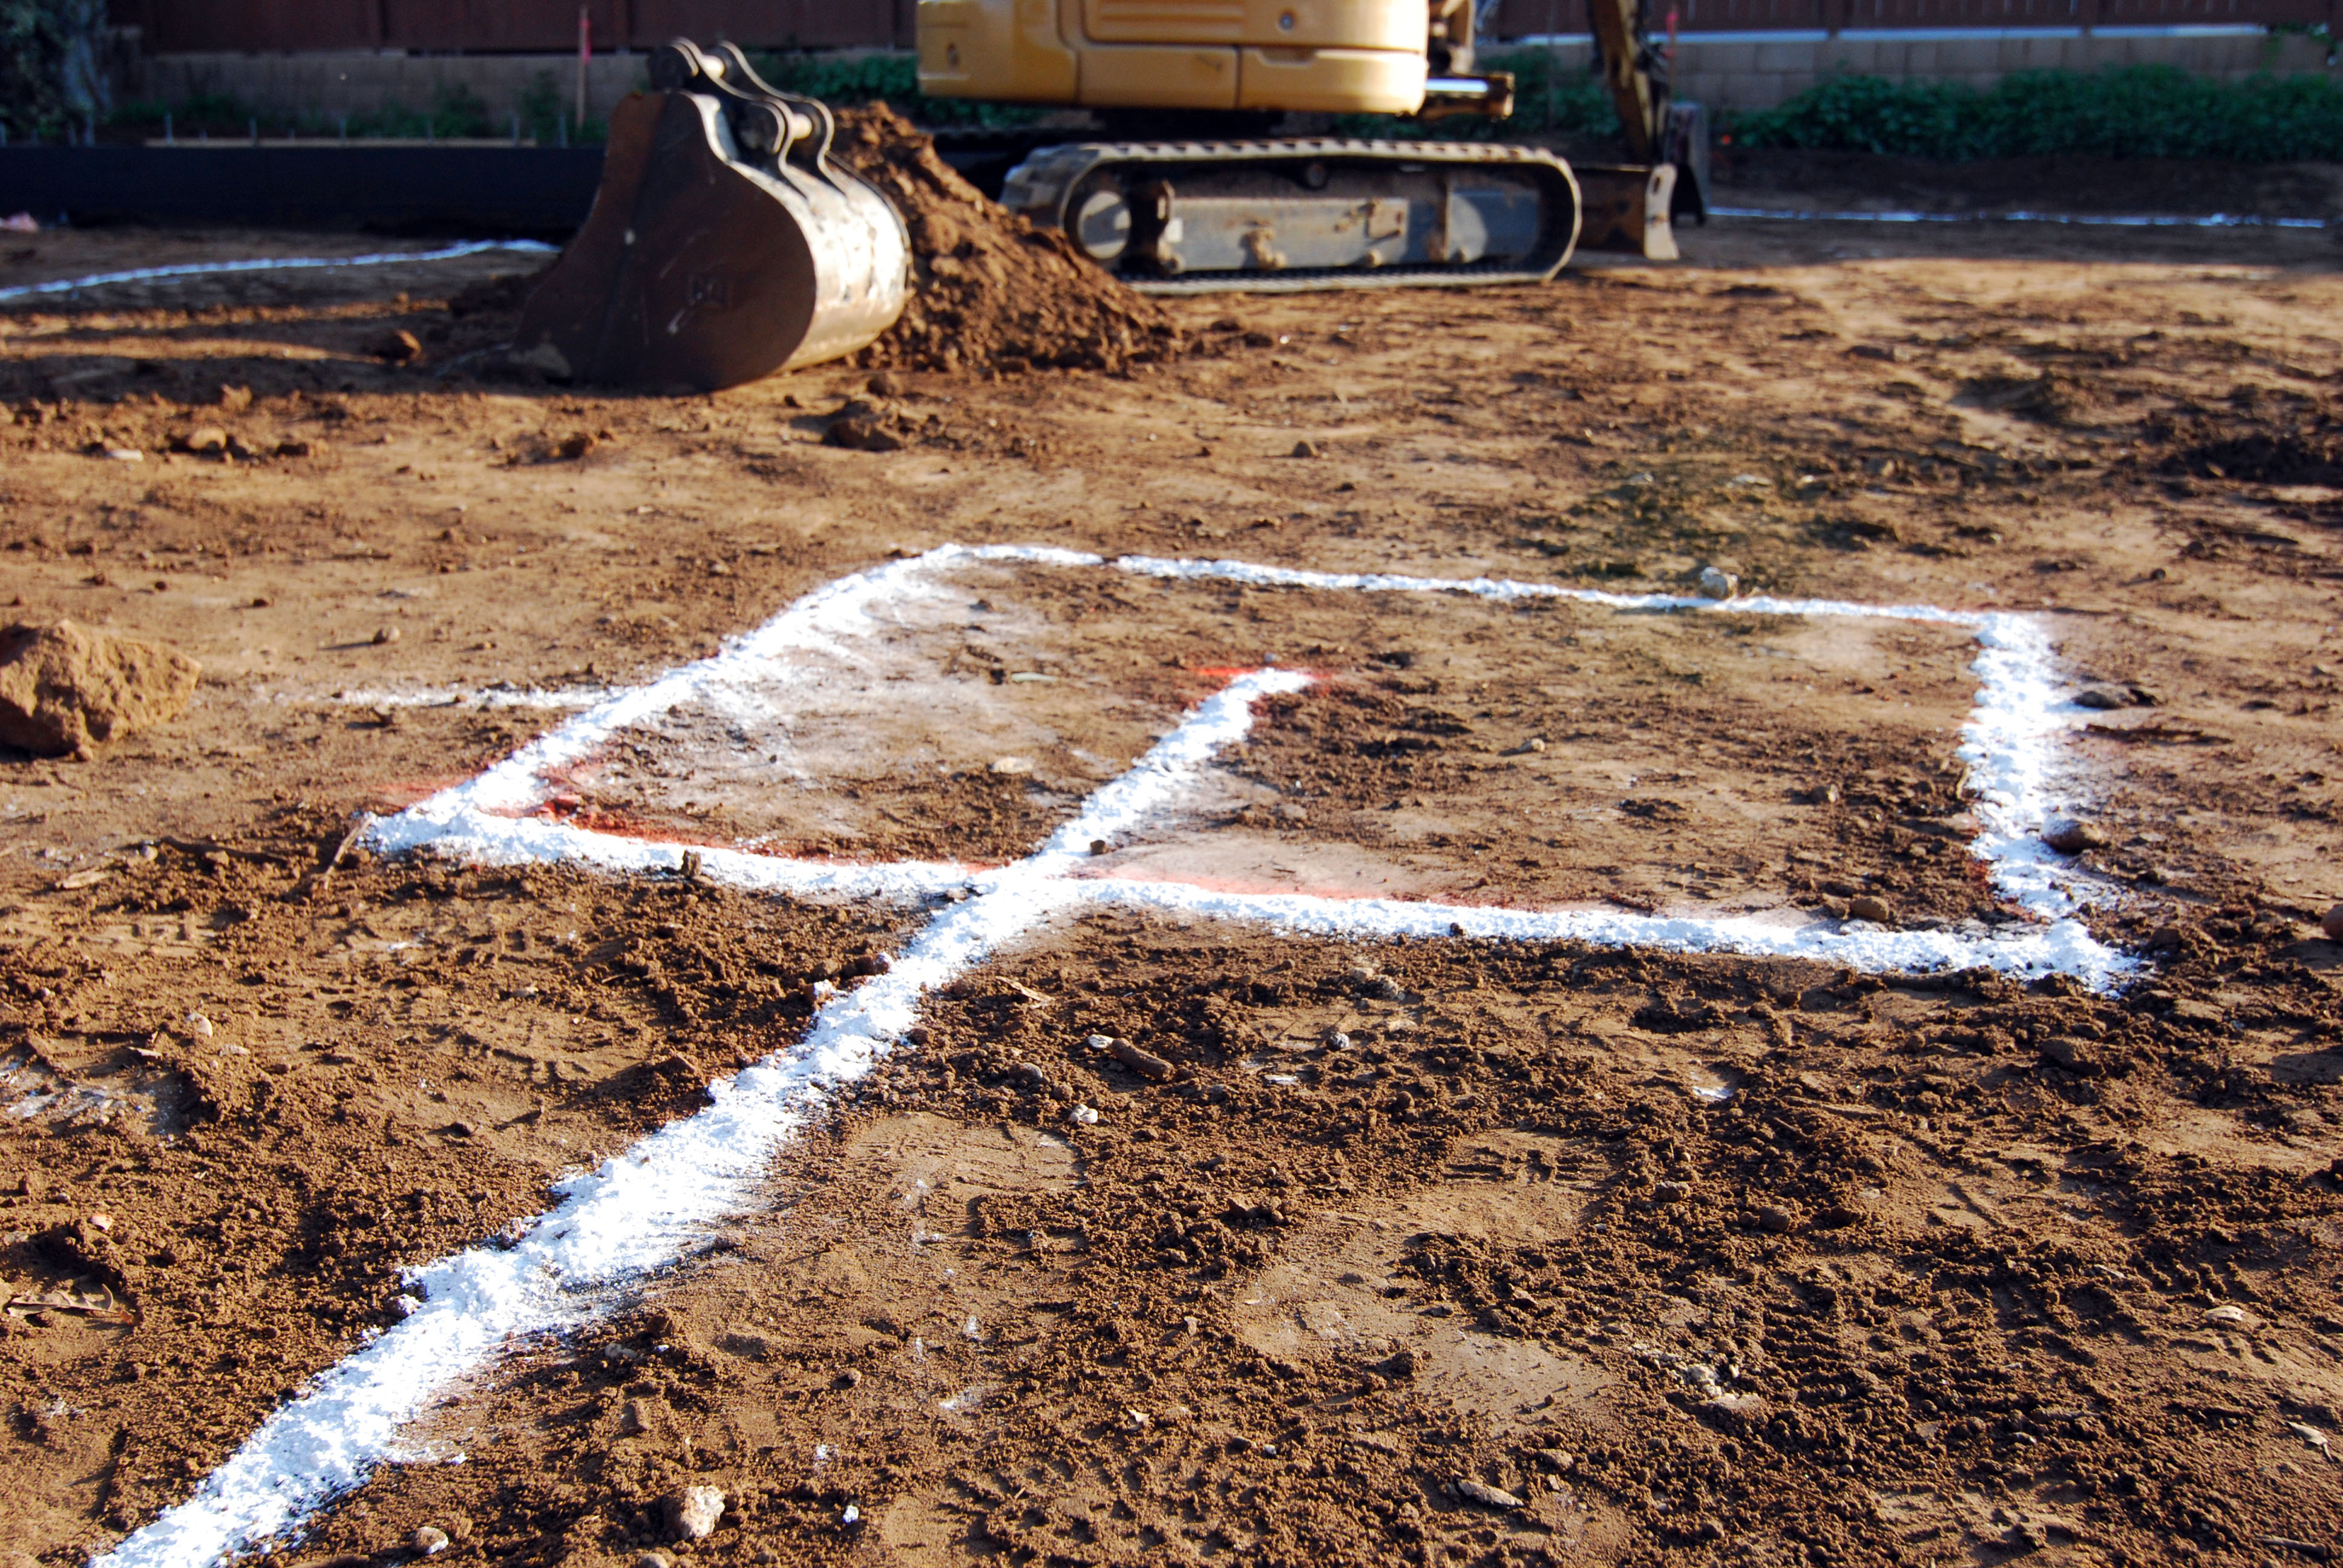
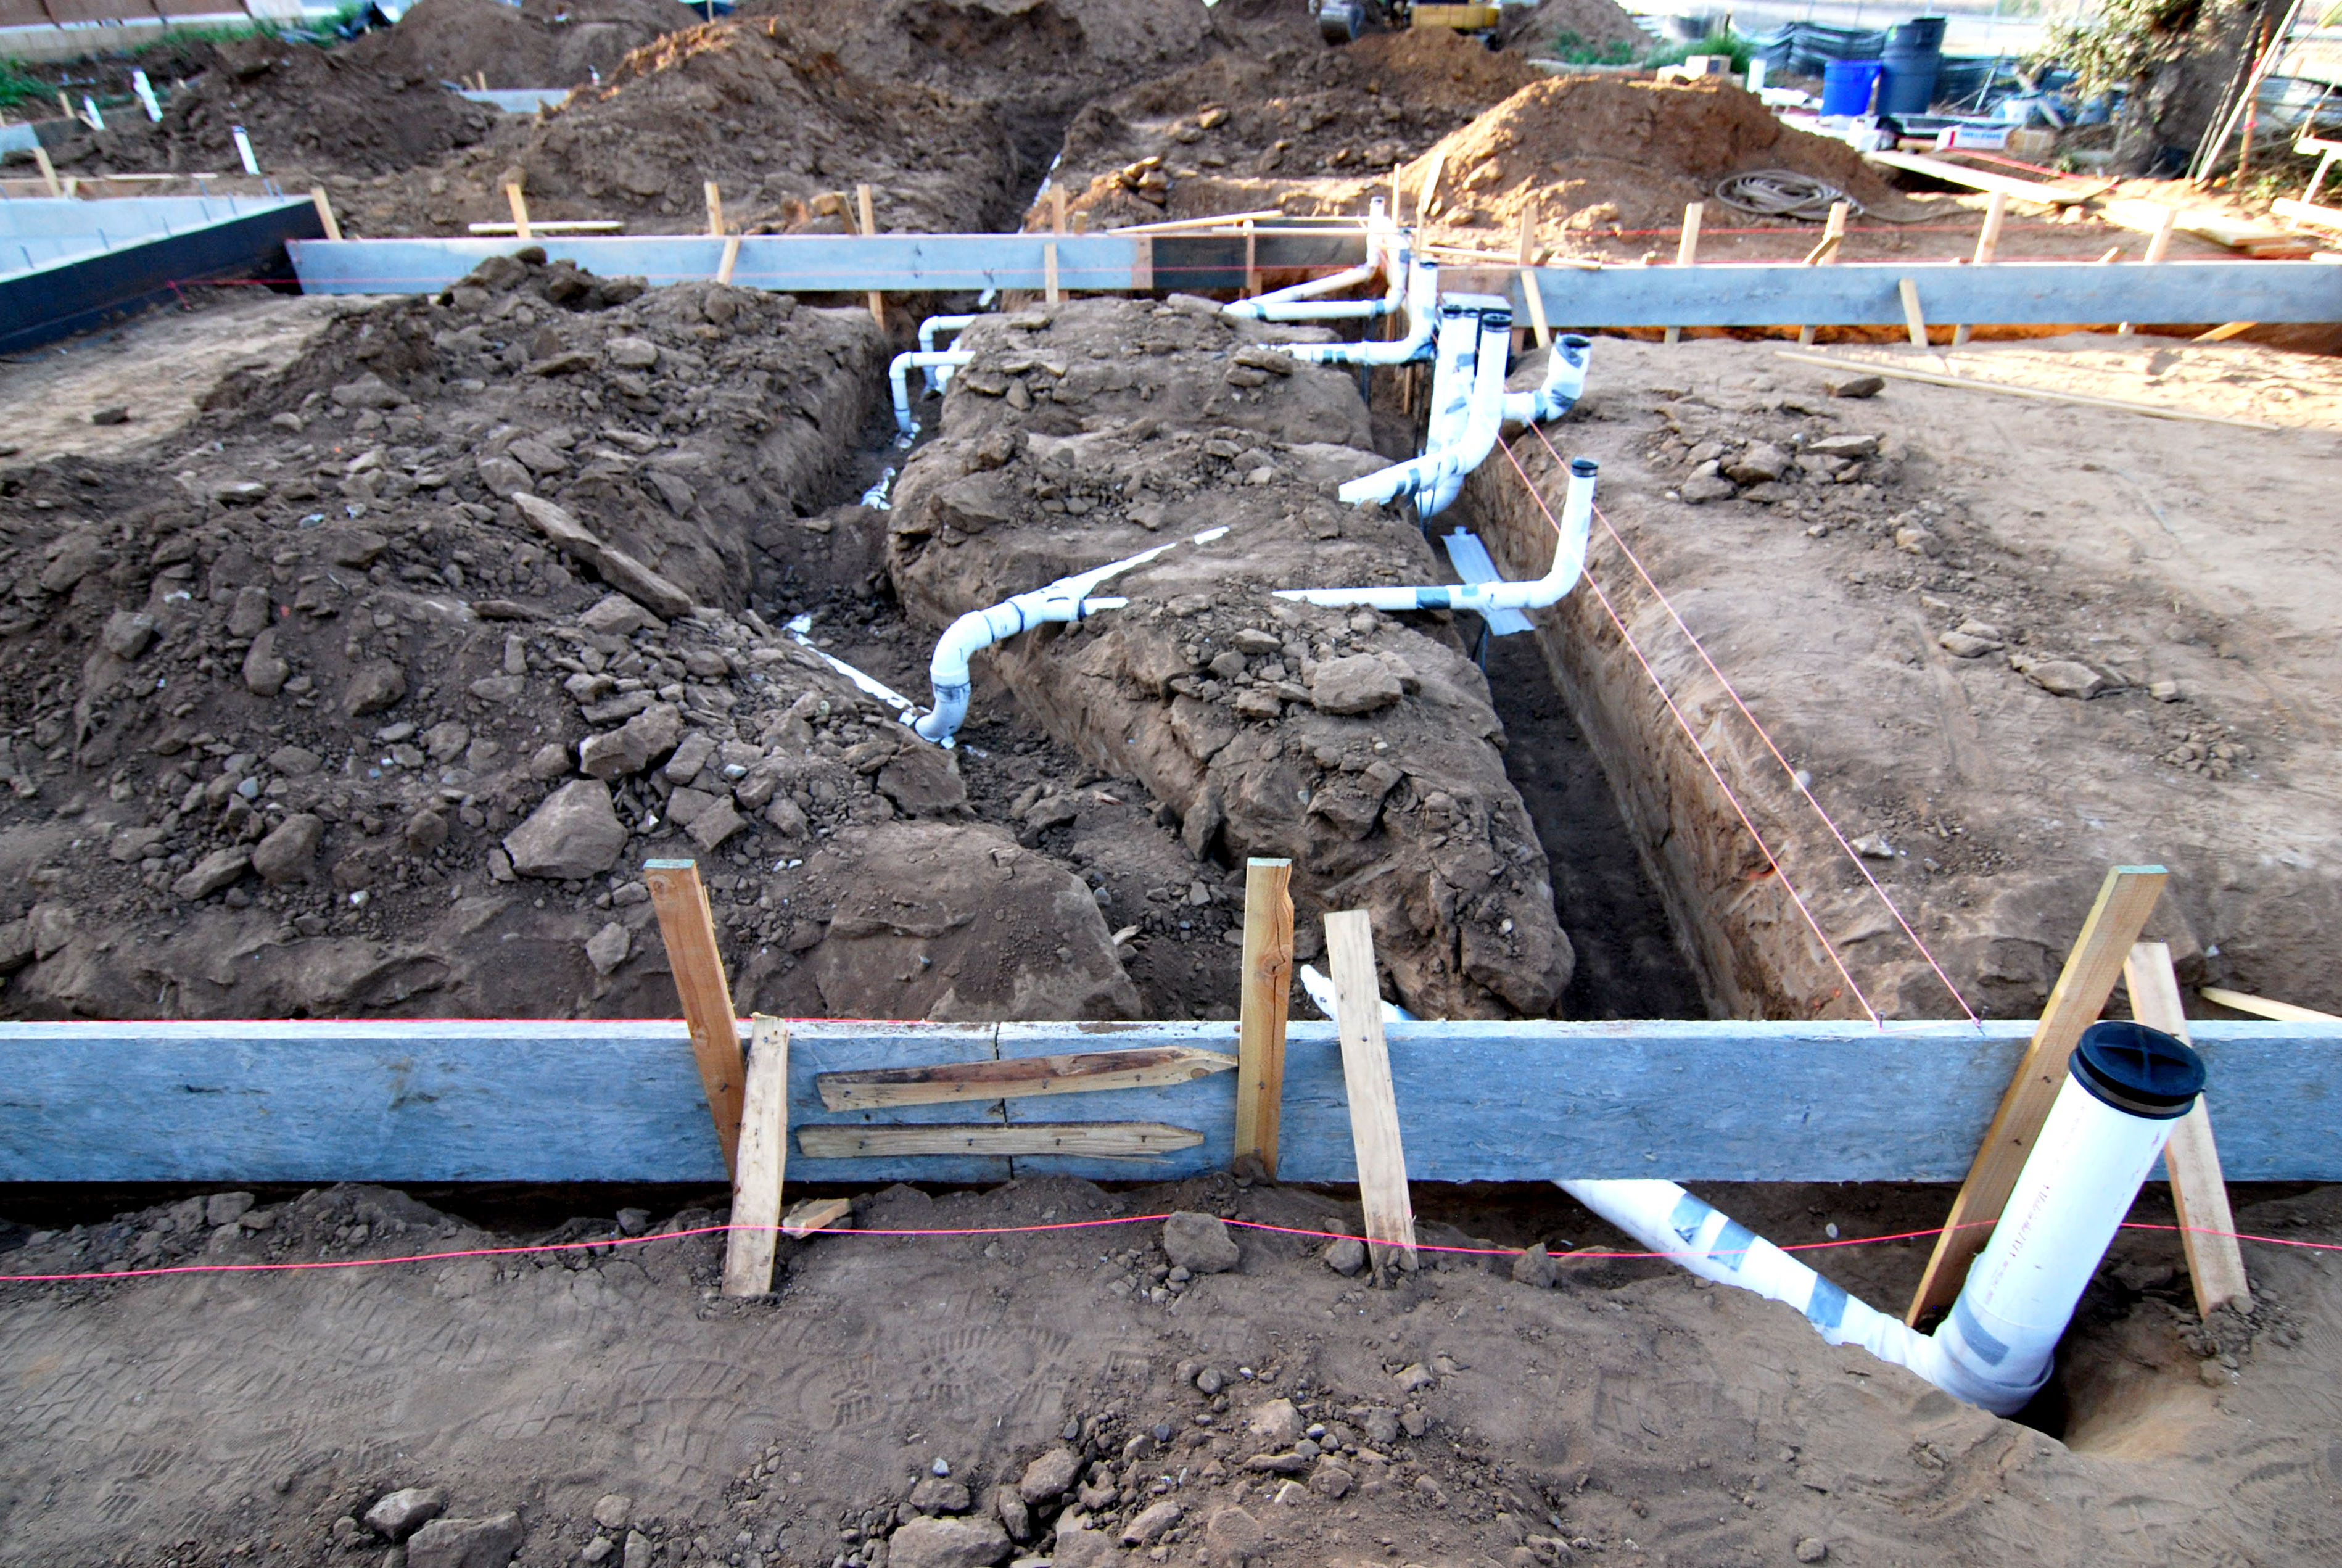
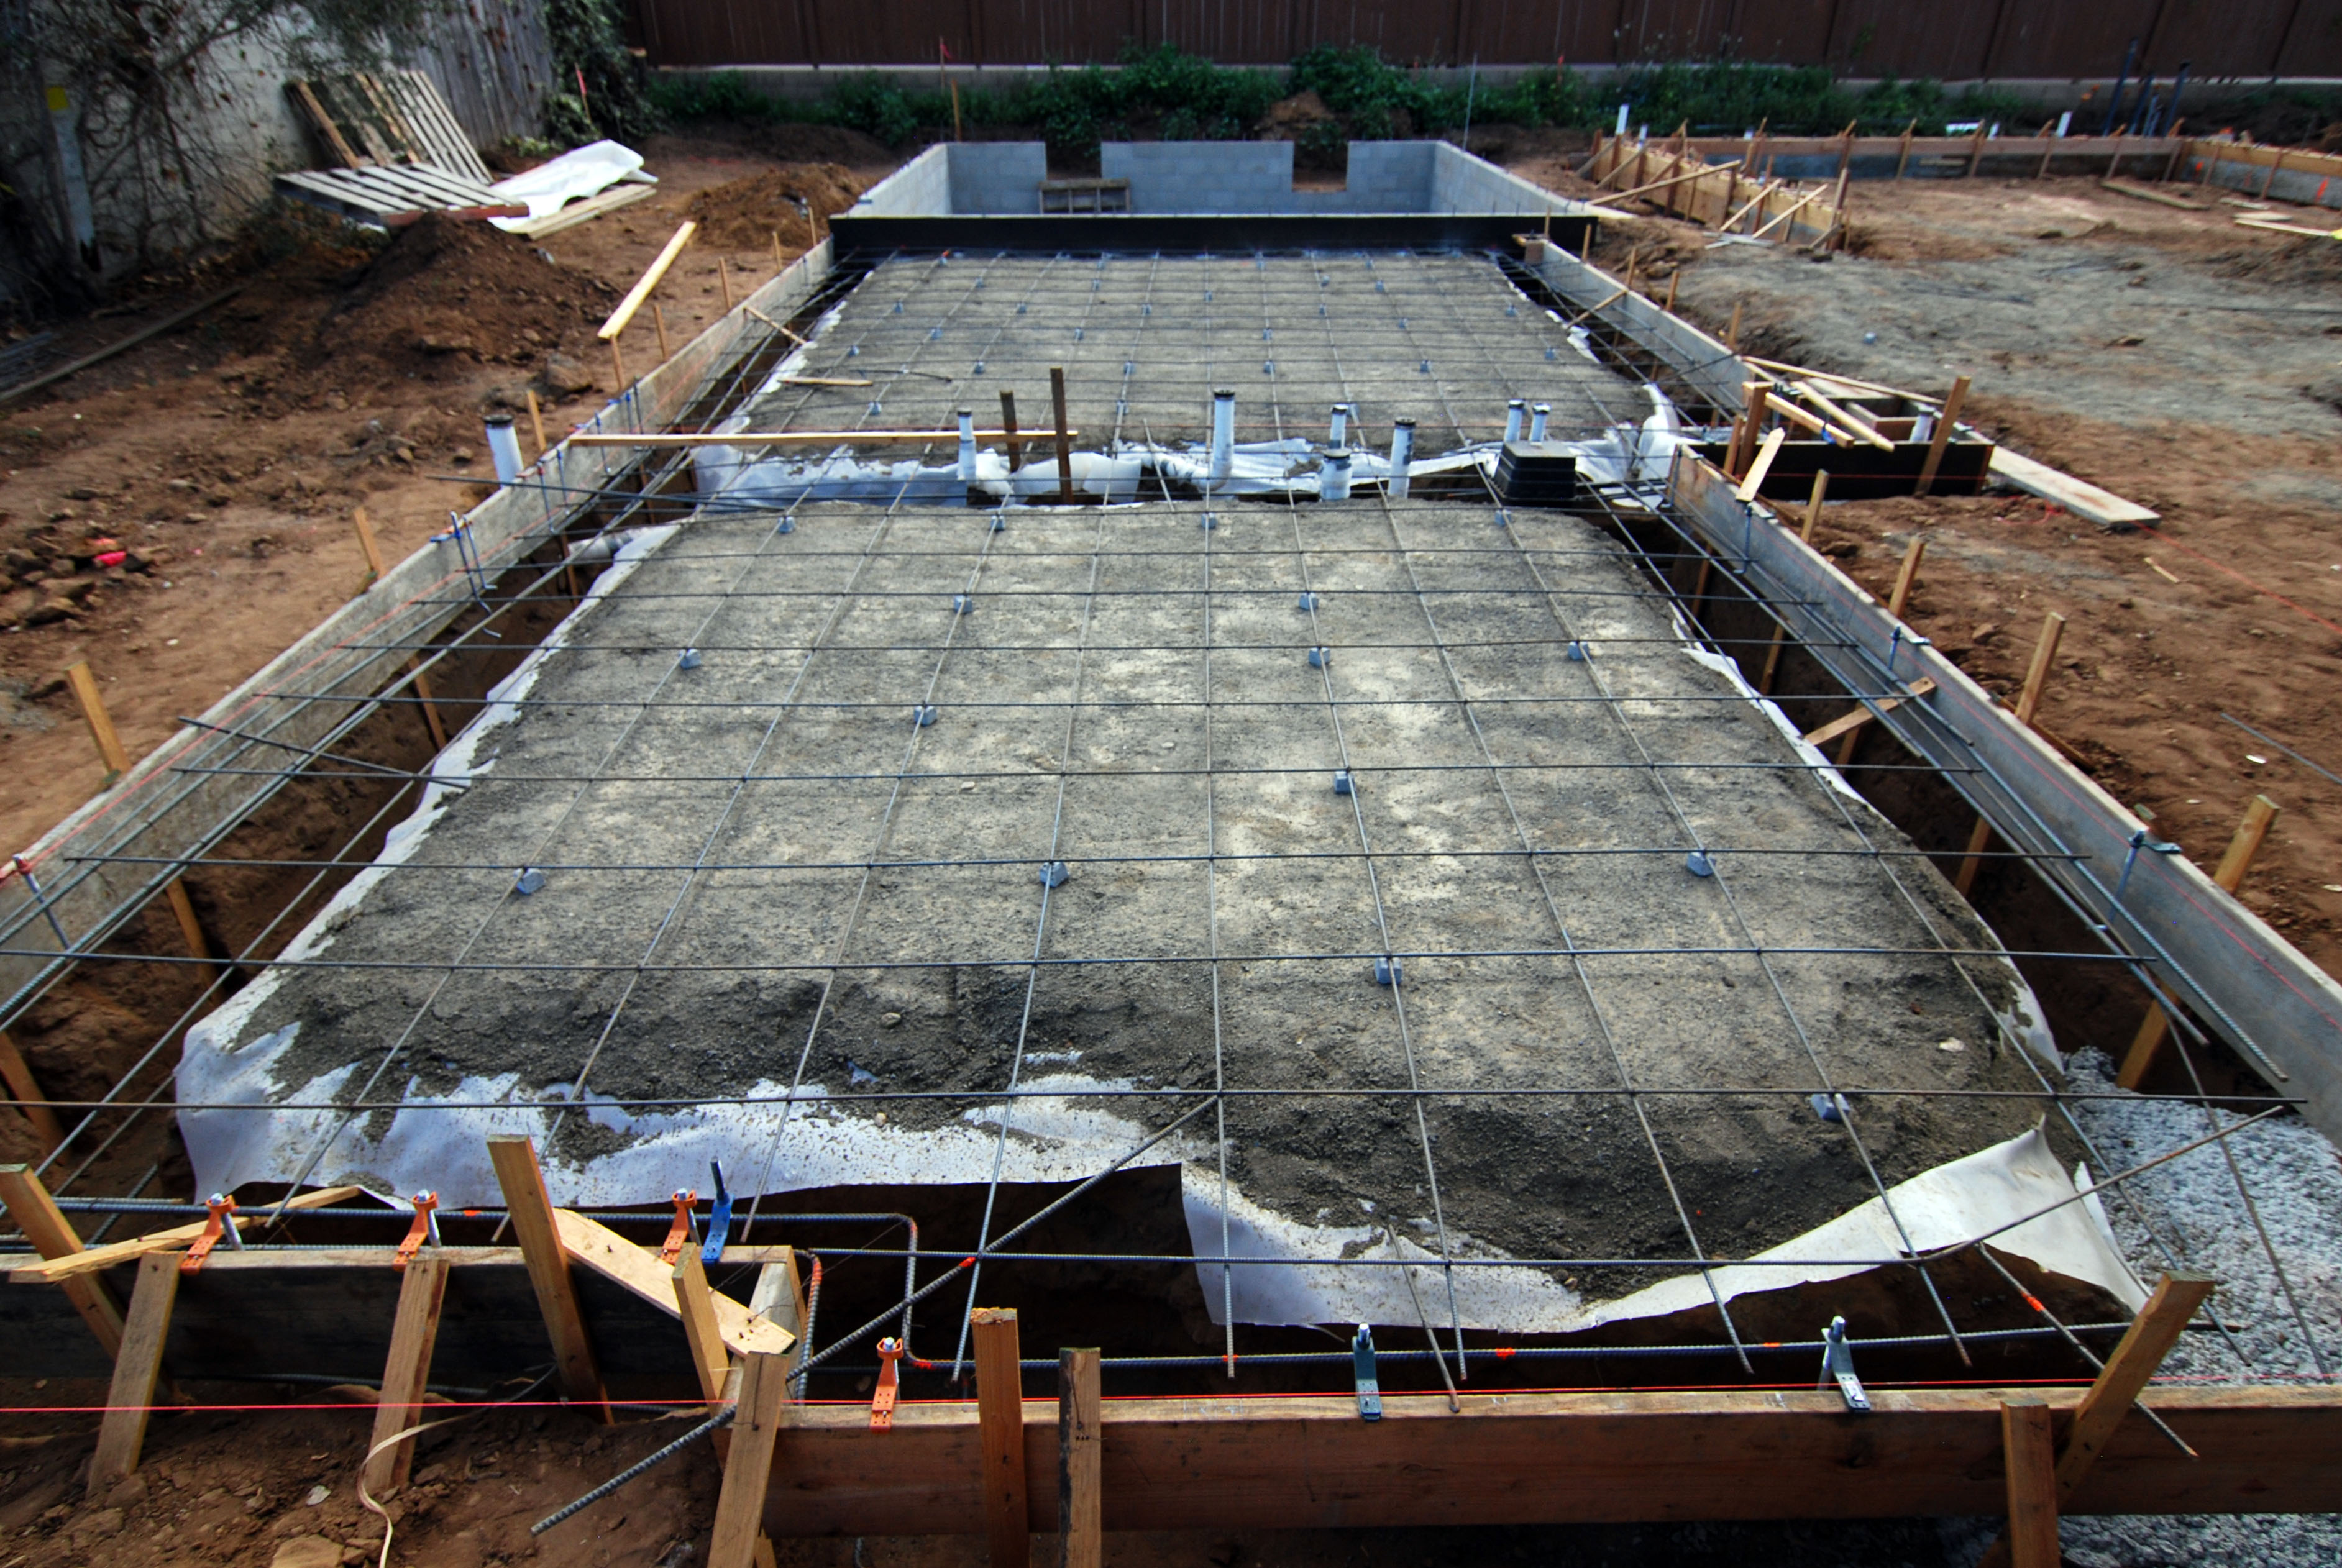
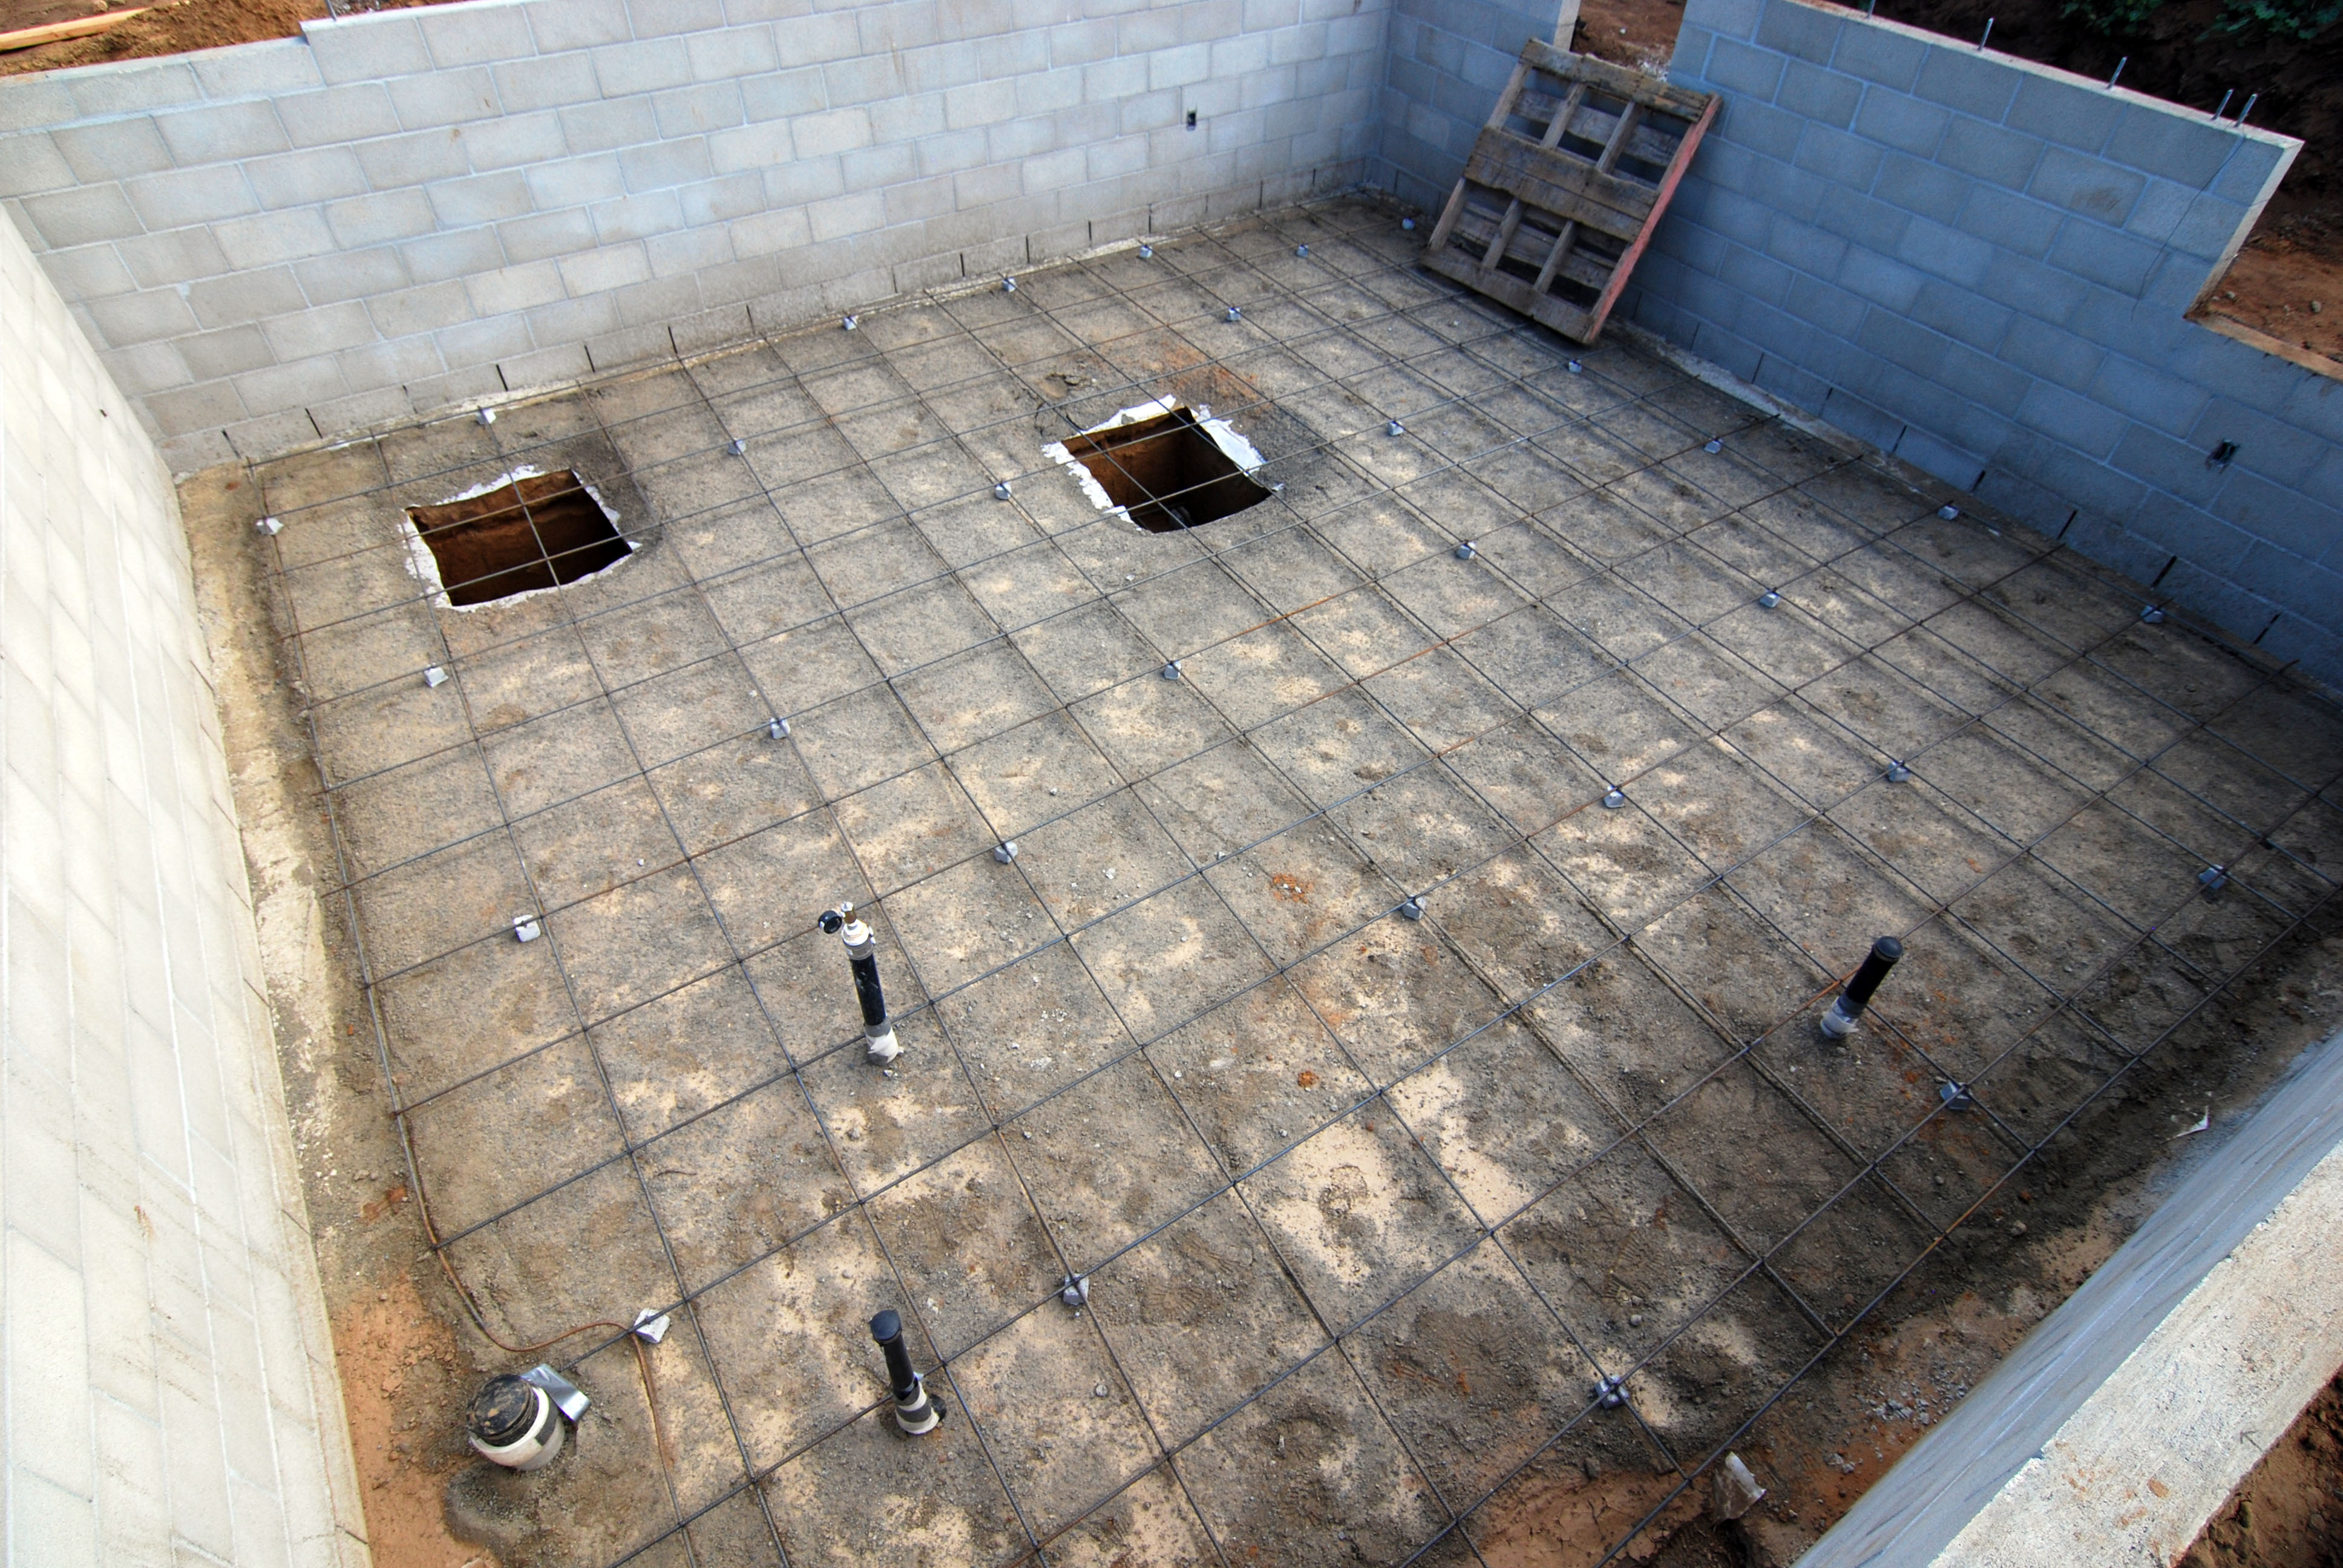
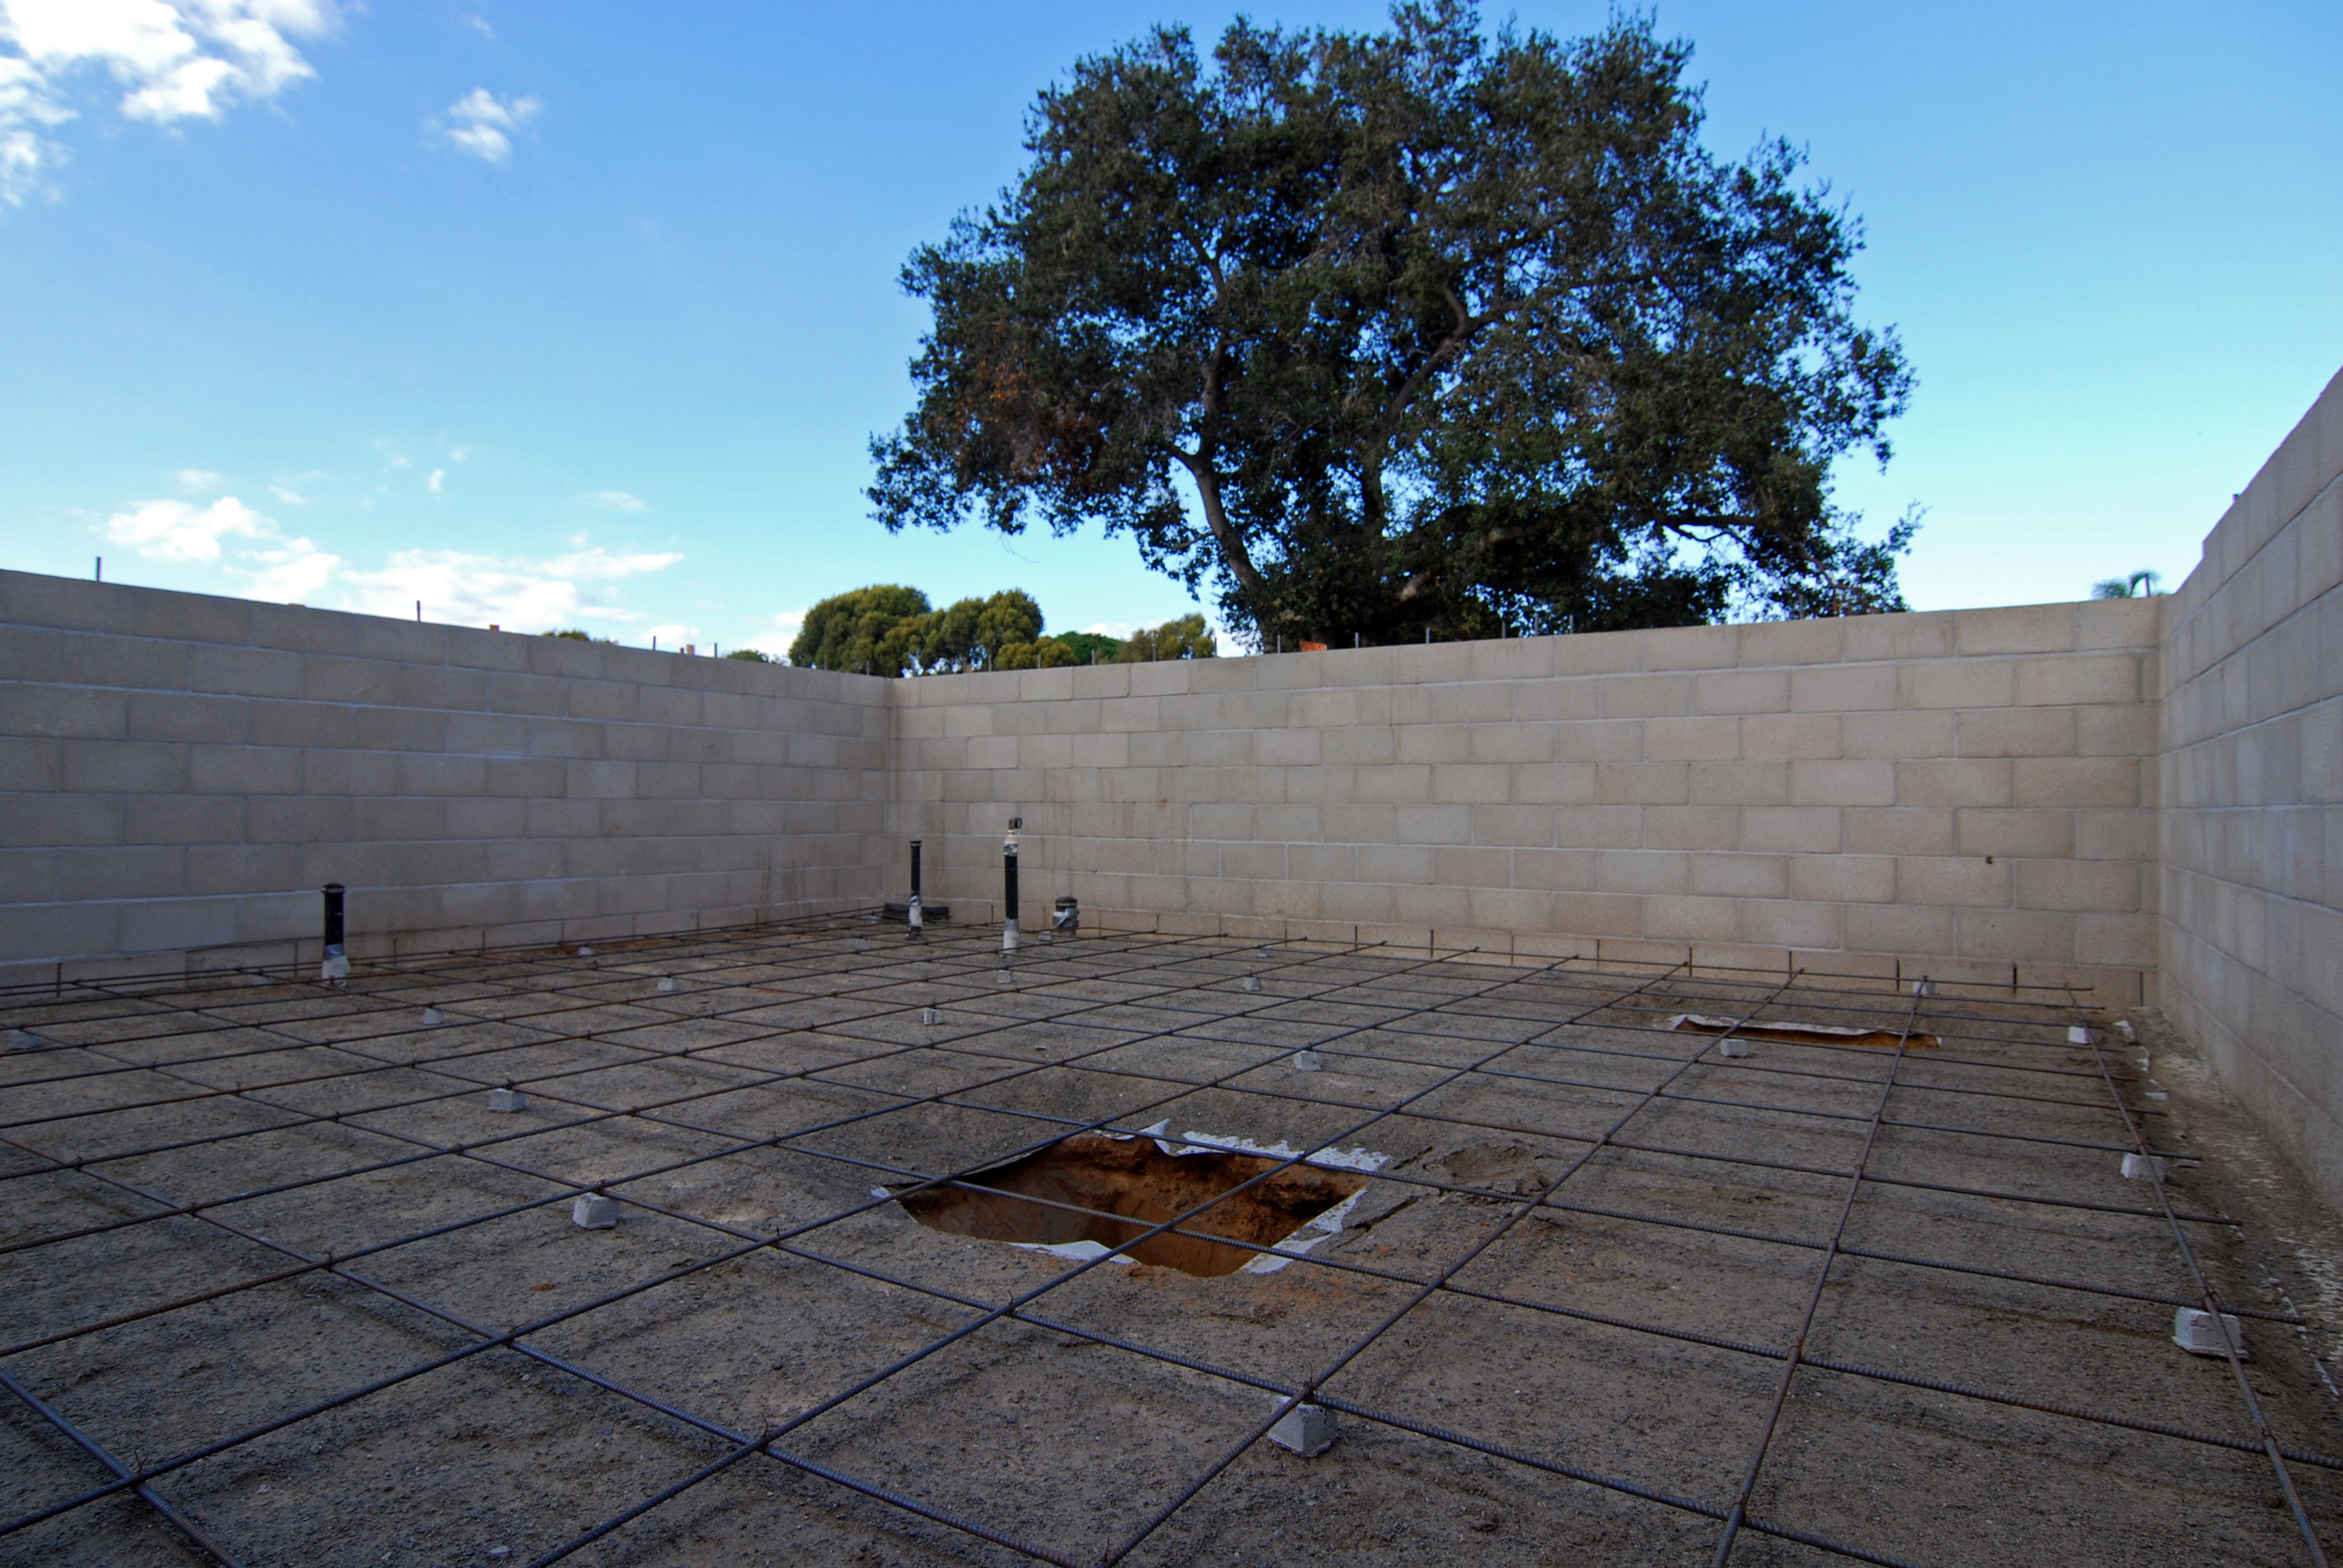
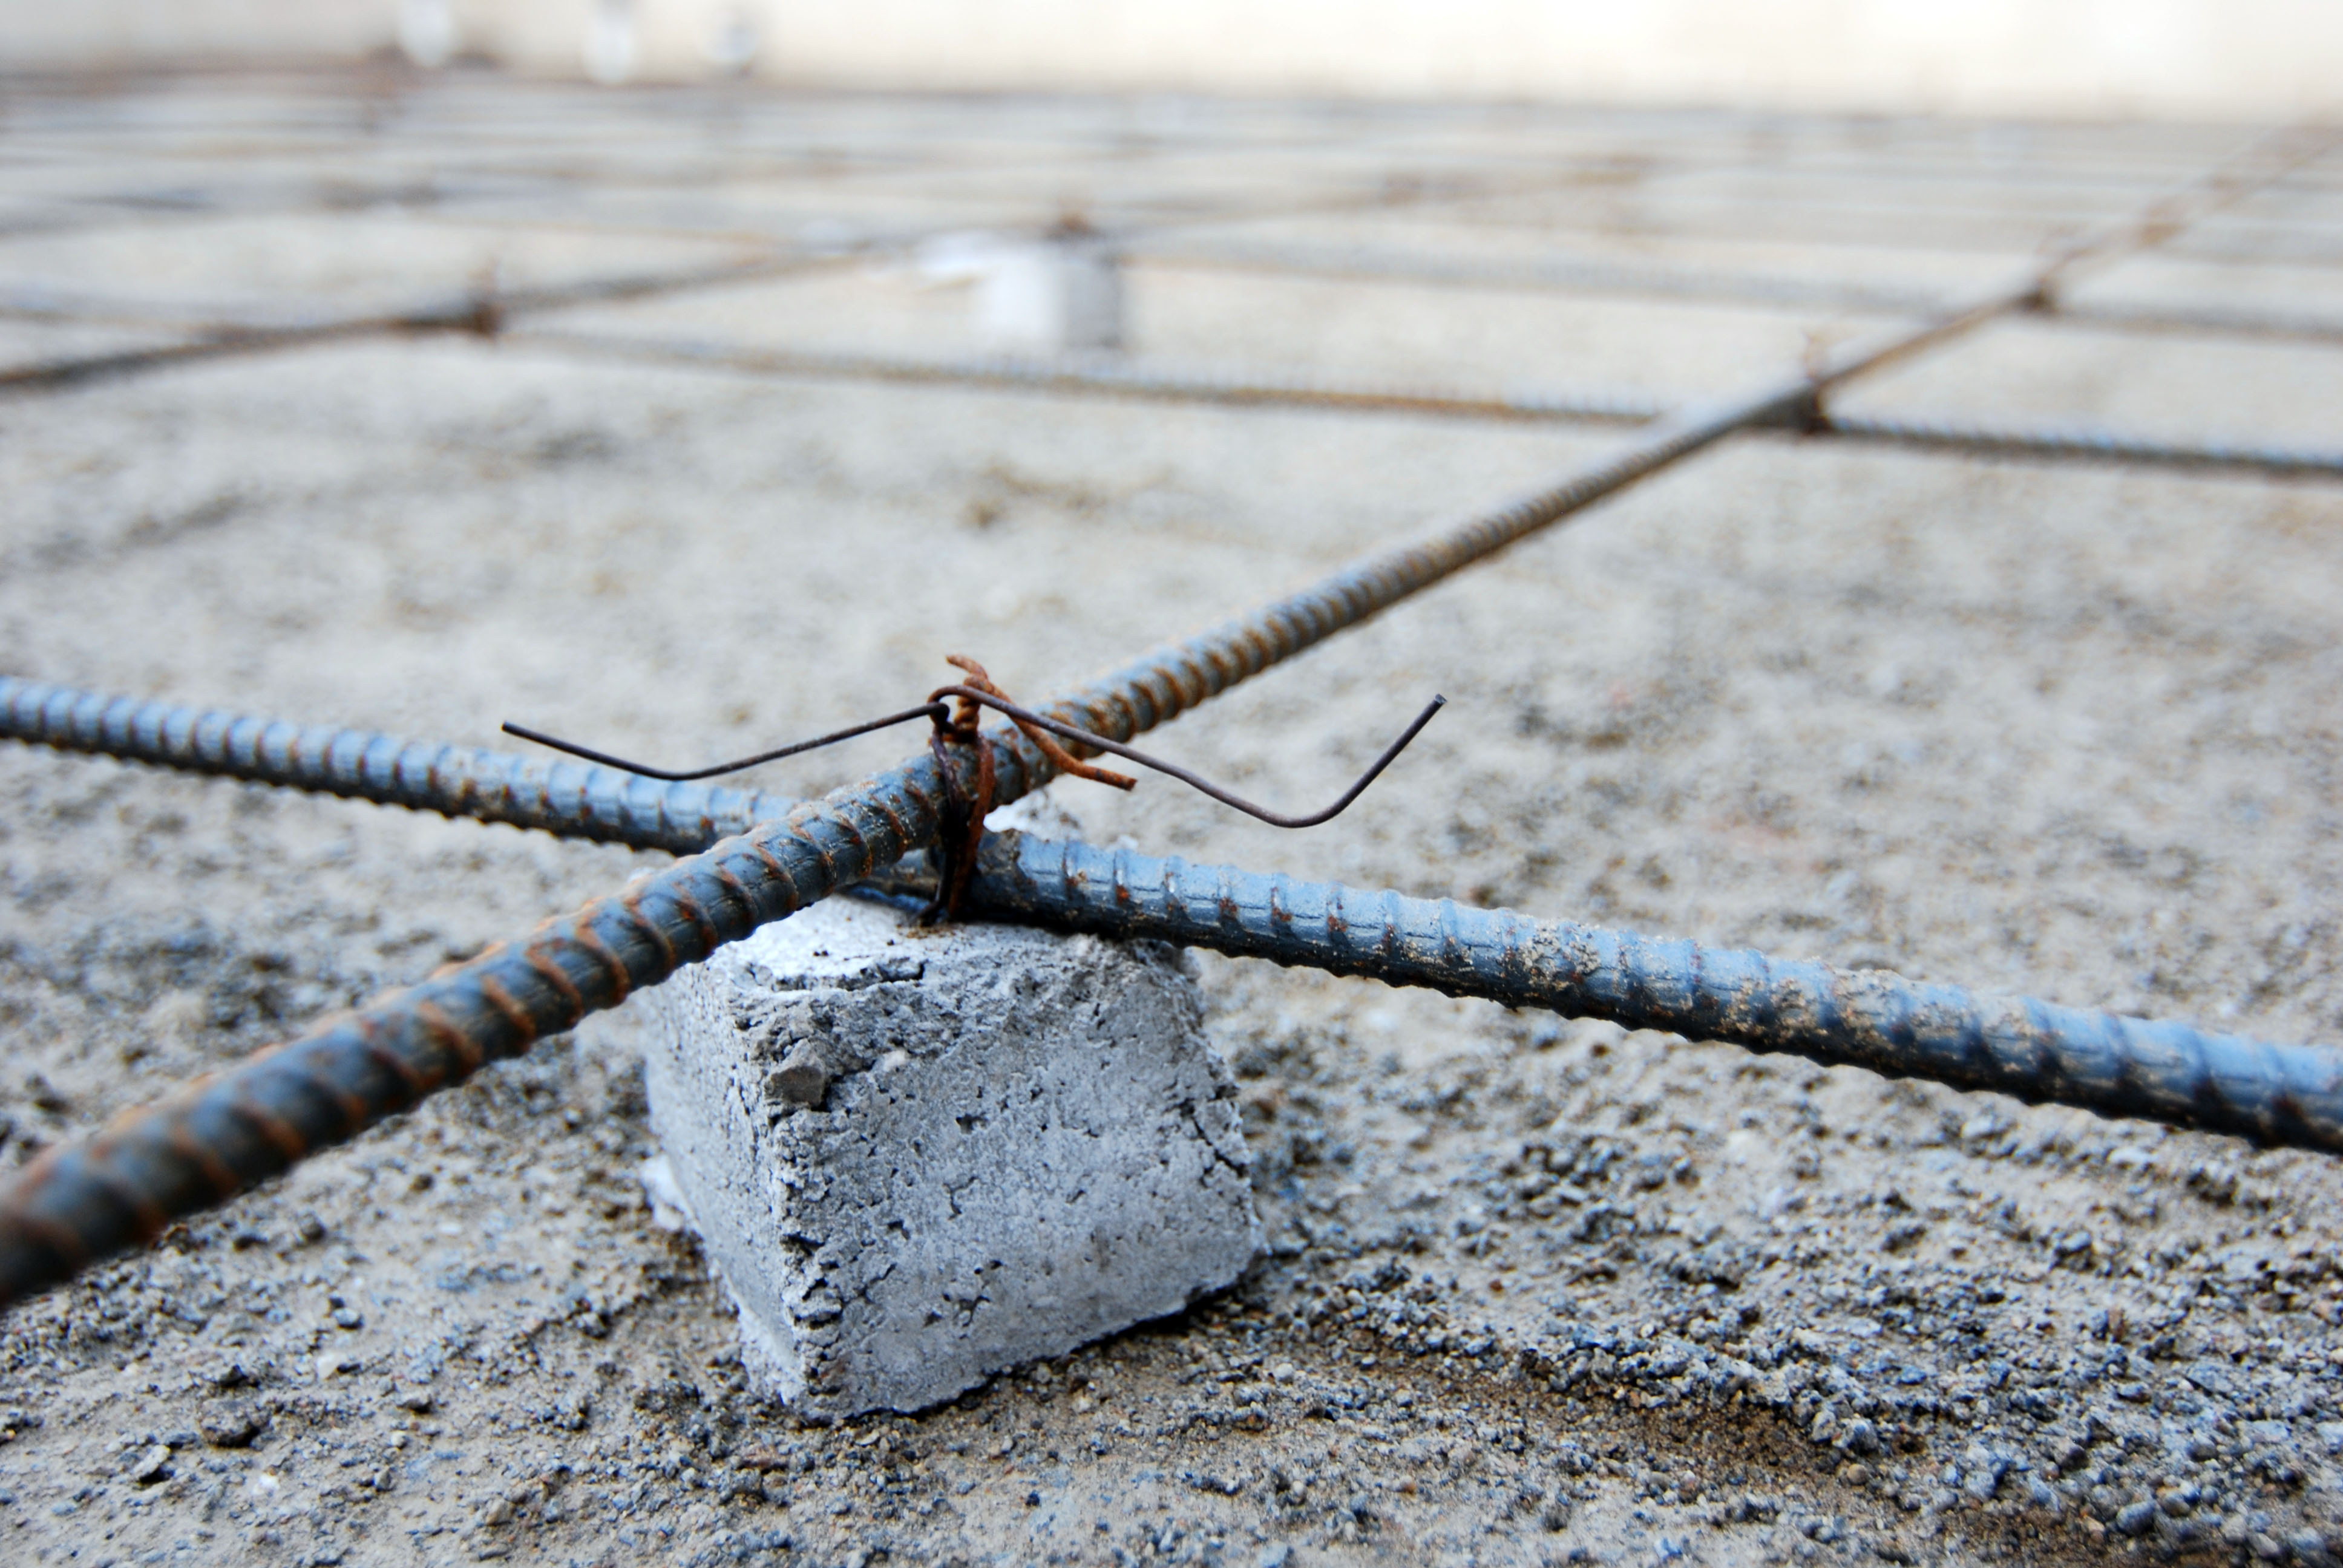
Concrete Footings
Most of the work that goes in to a concrete pour actually happens well before the concrete truck rolls up to the site. You’re essentially building a negative space + rebar/utilities/etc for the concrete to fill. I like how precisely drawn structural details translate to chalk outlines and dirt forms on site.
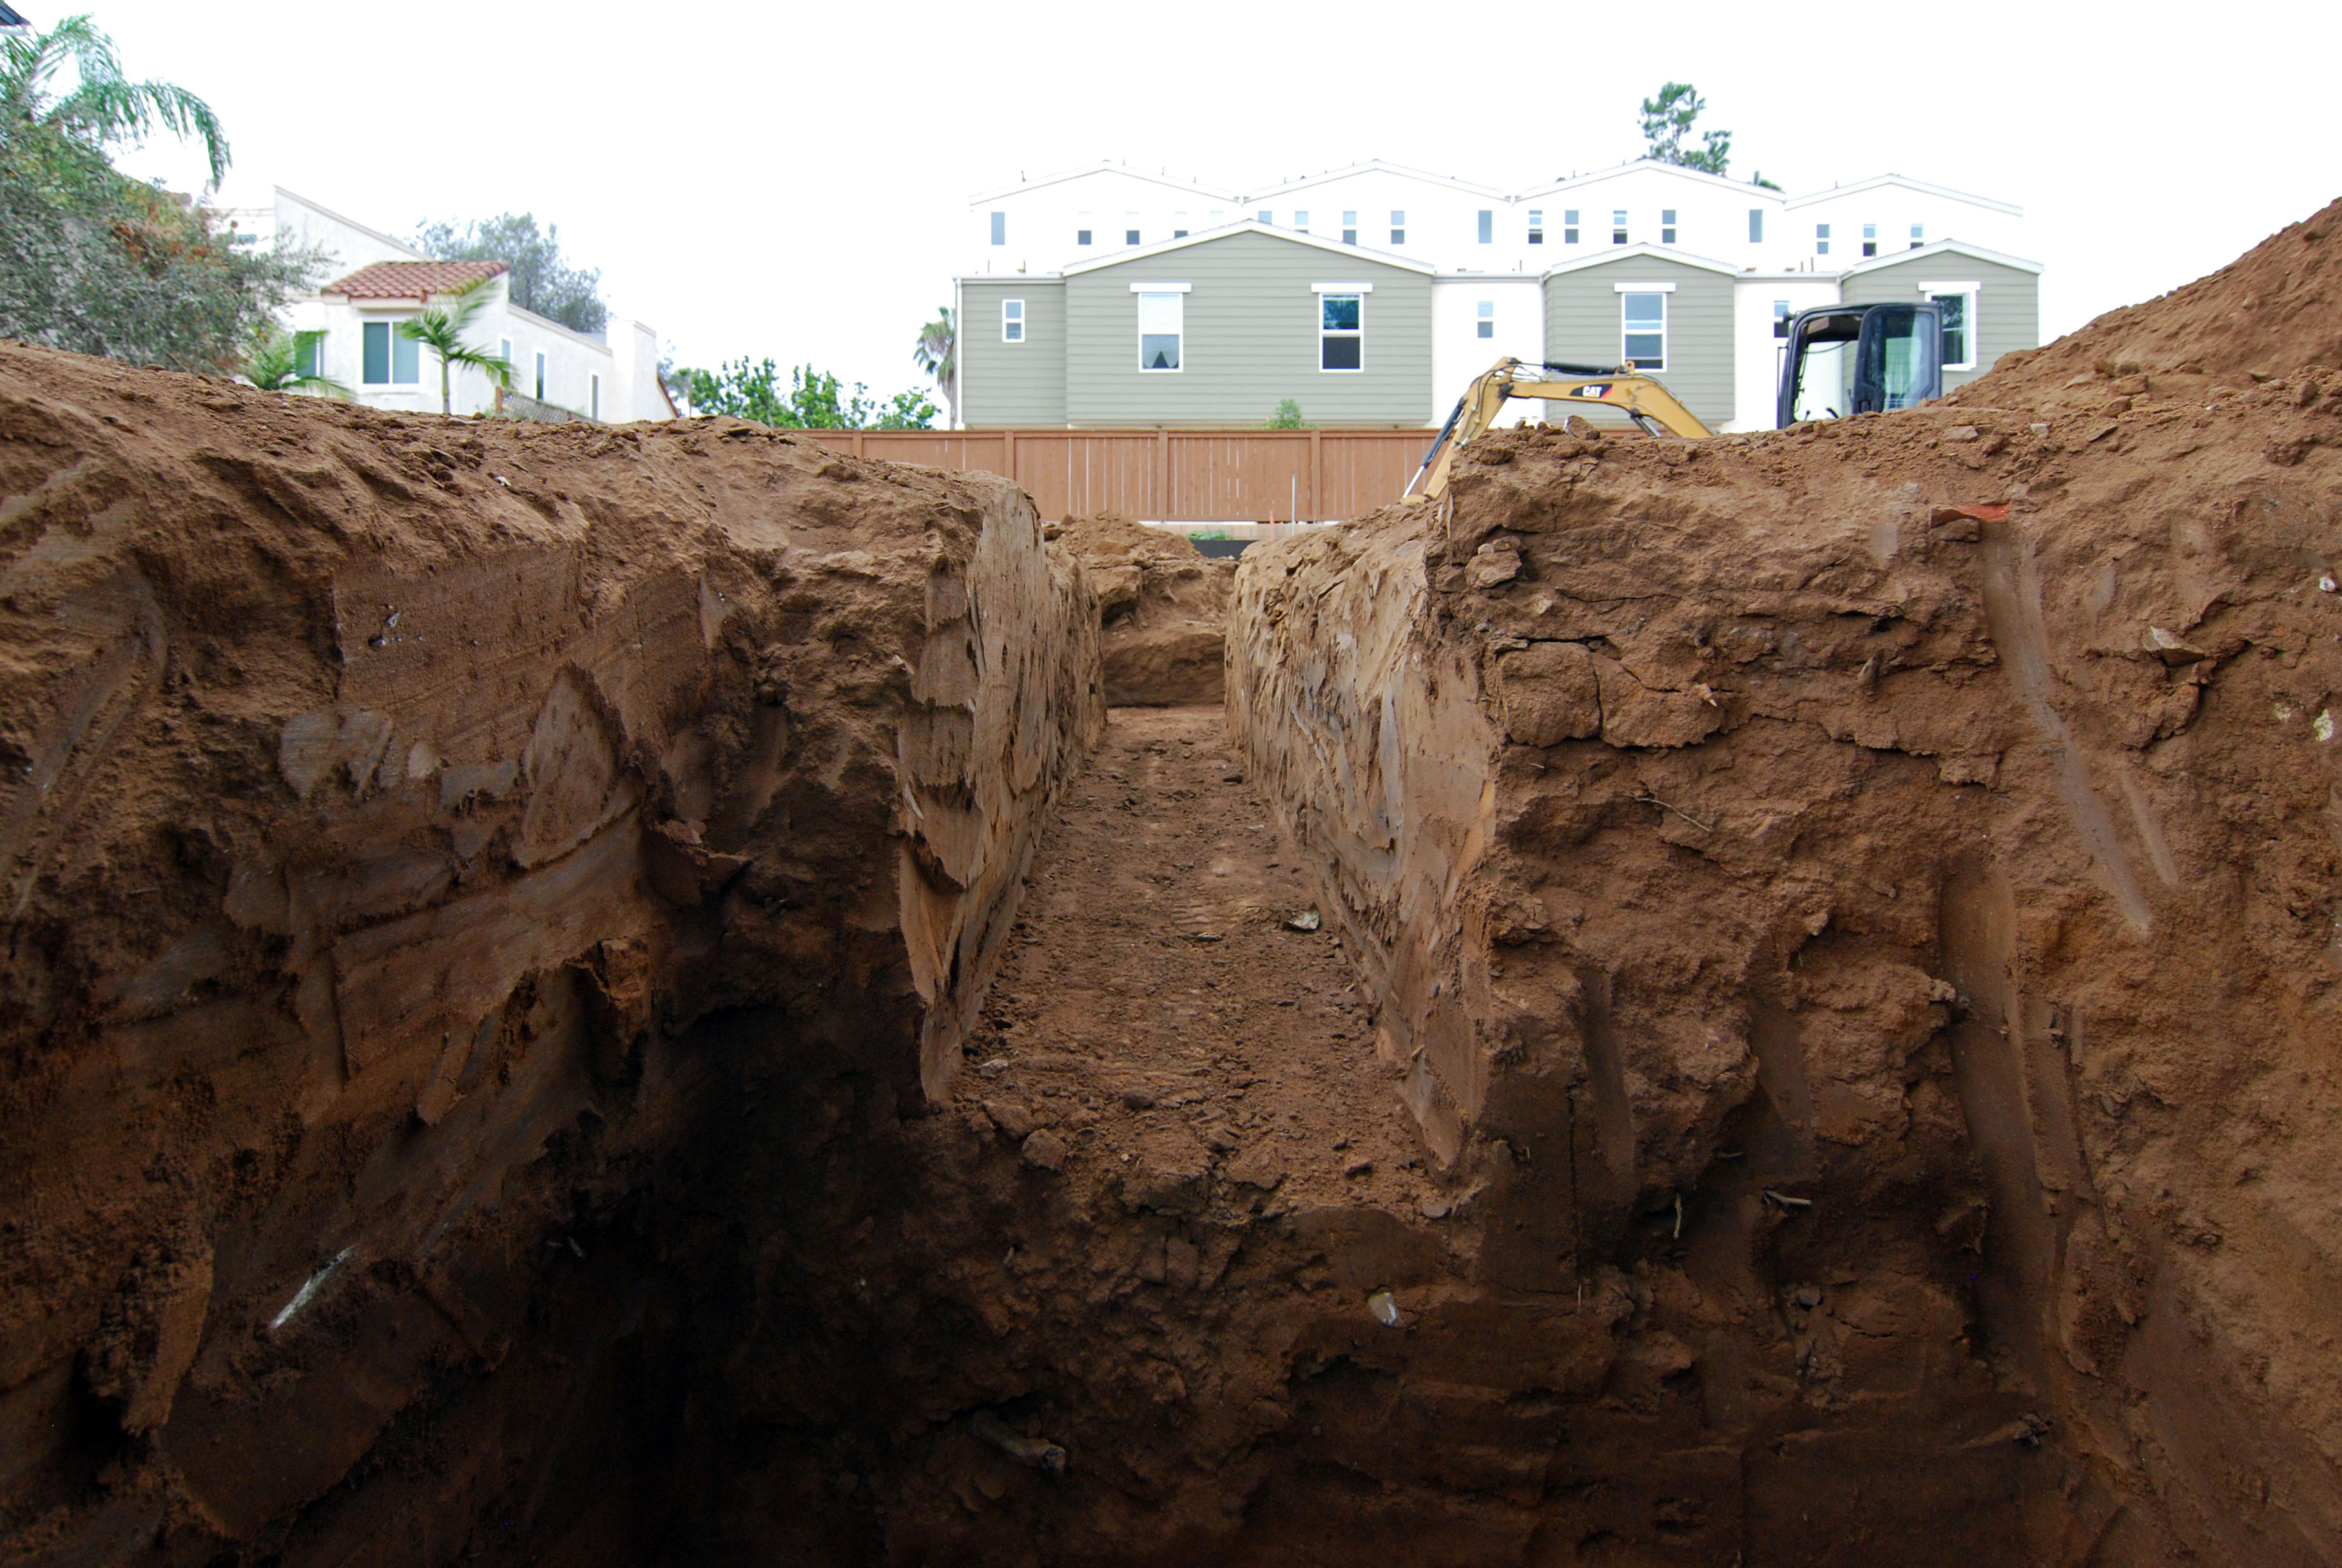
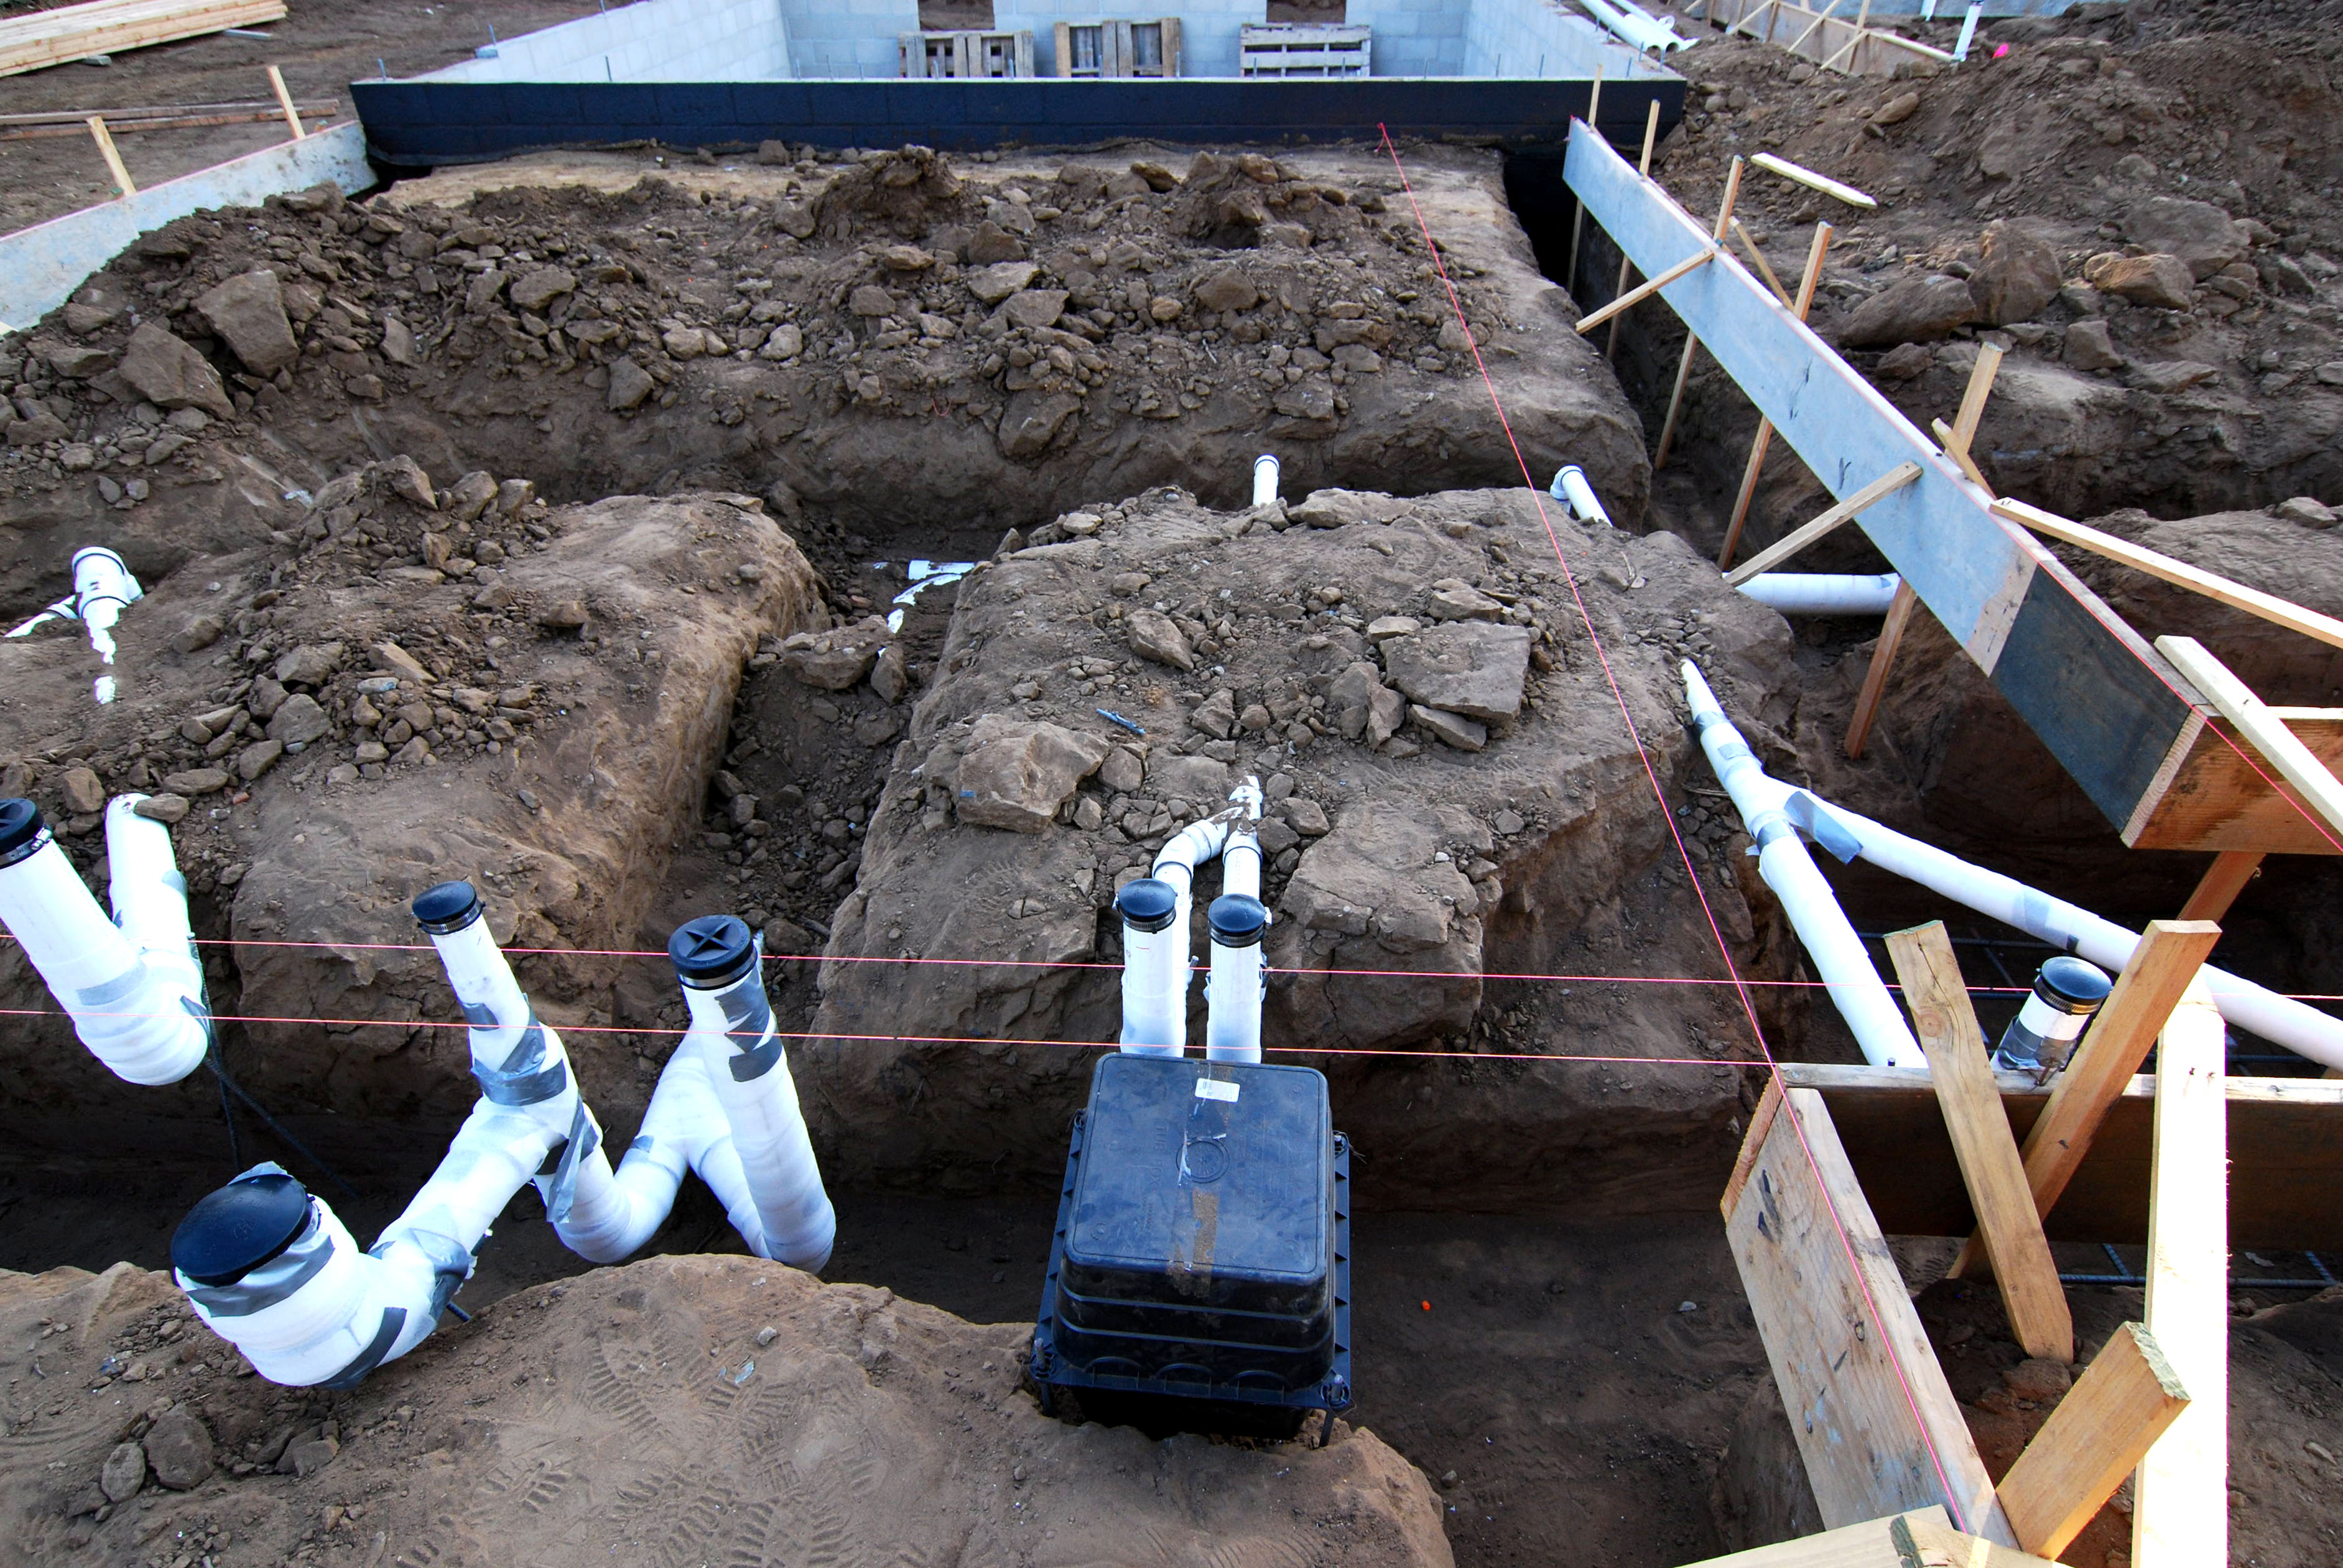
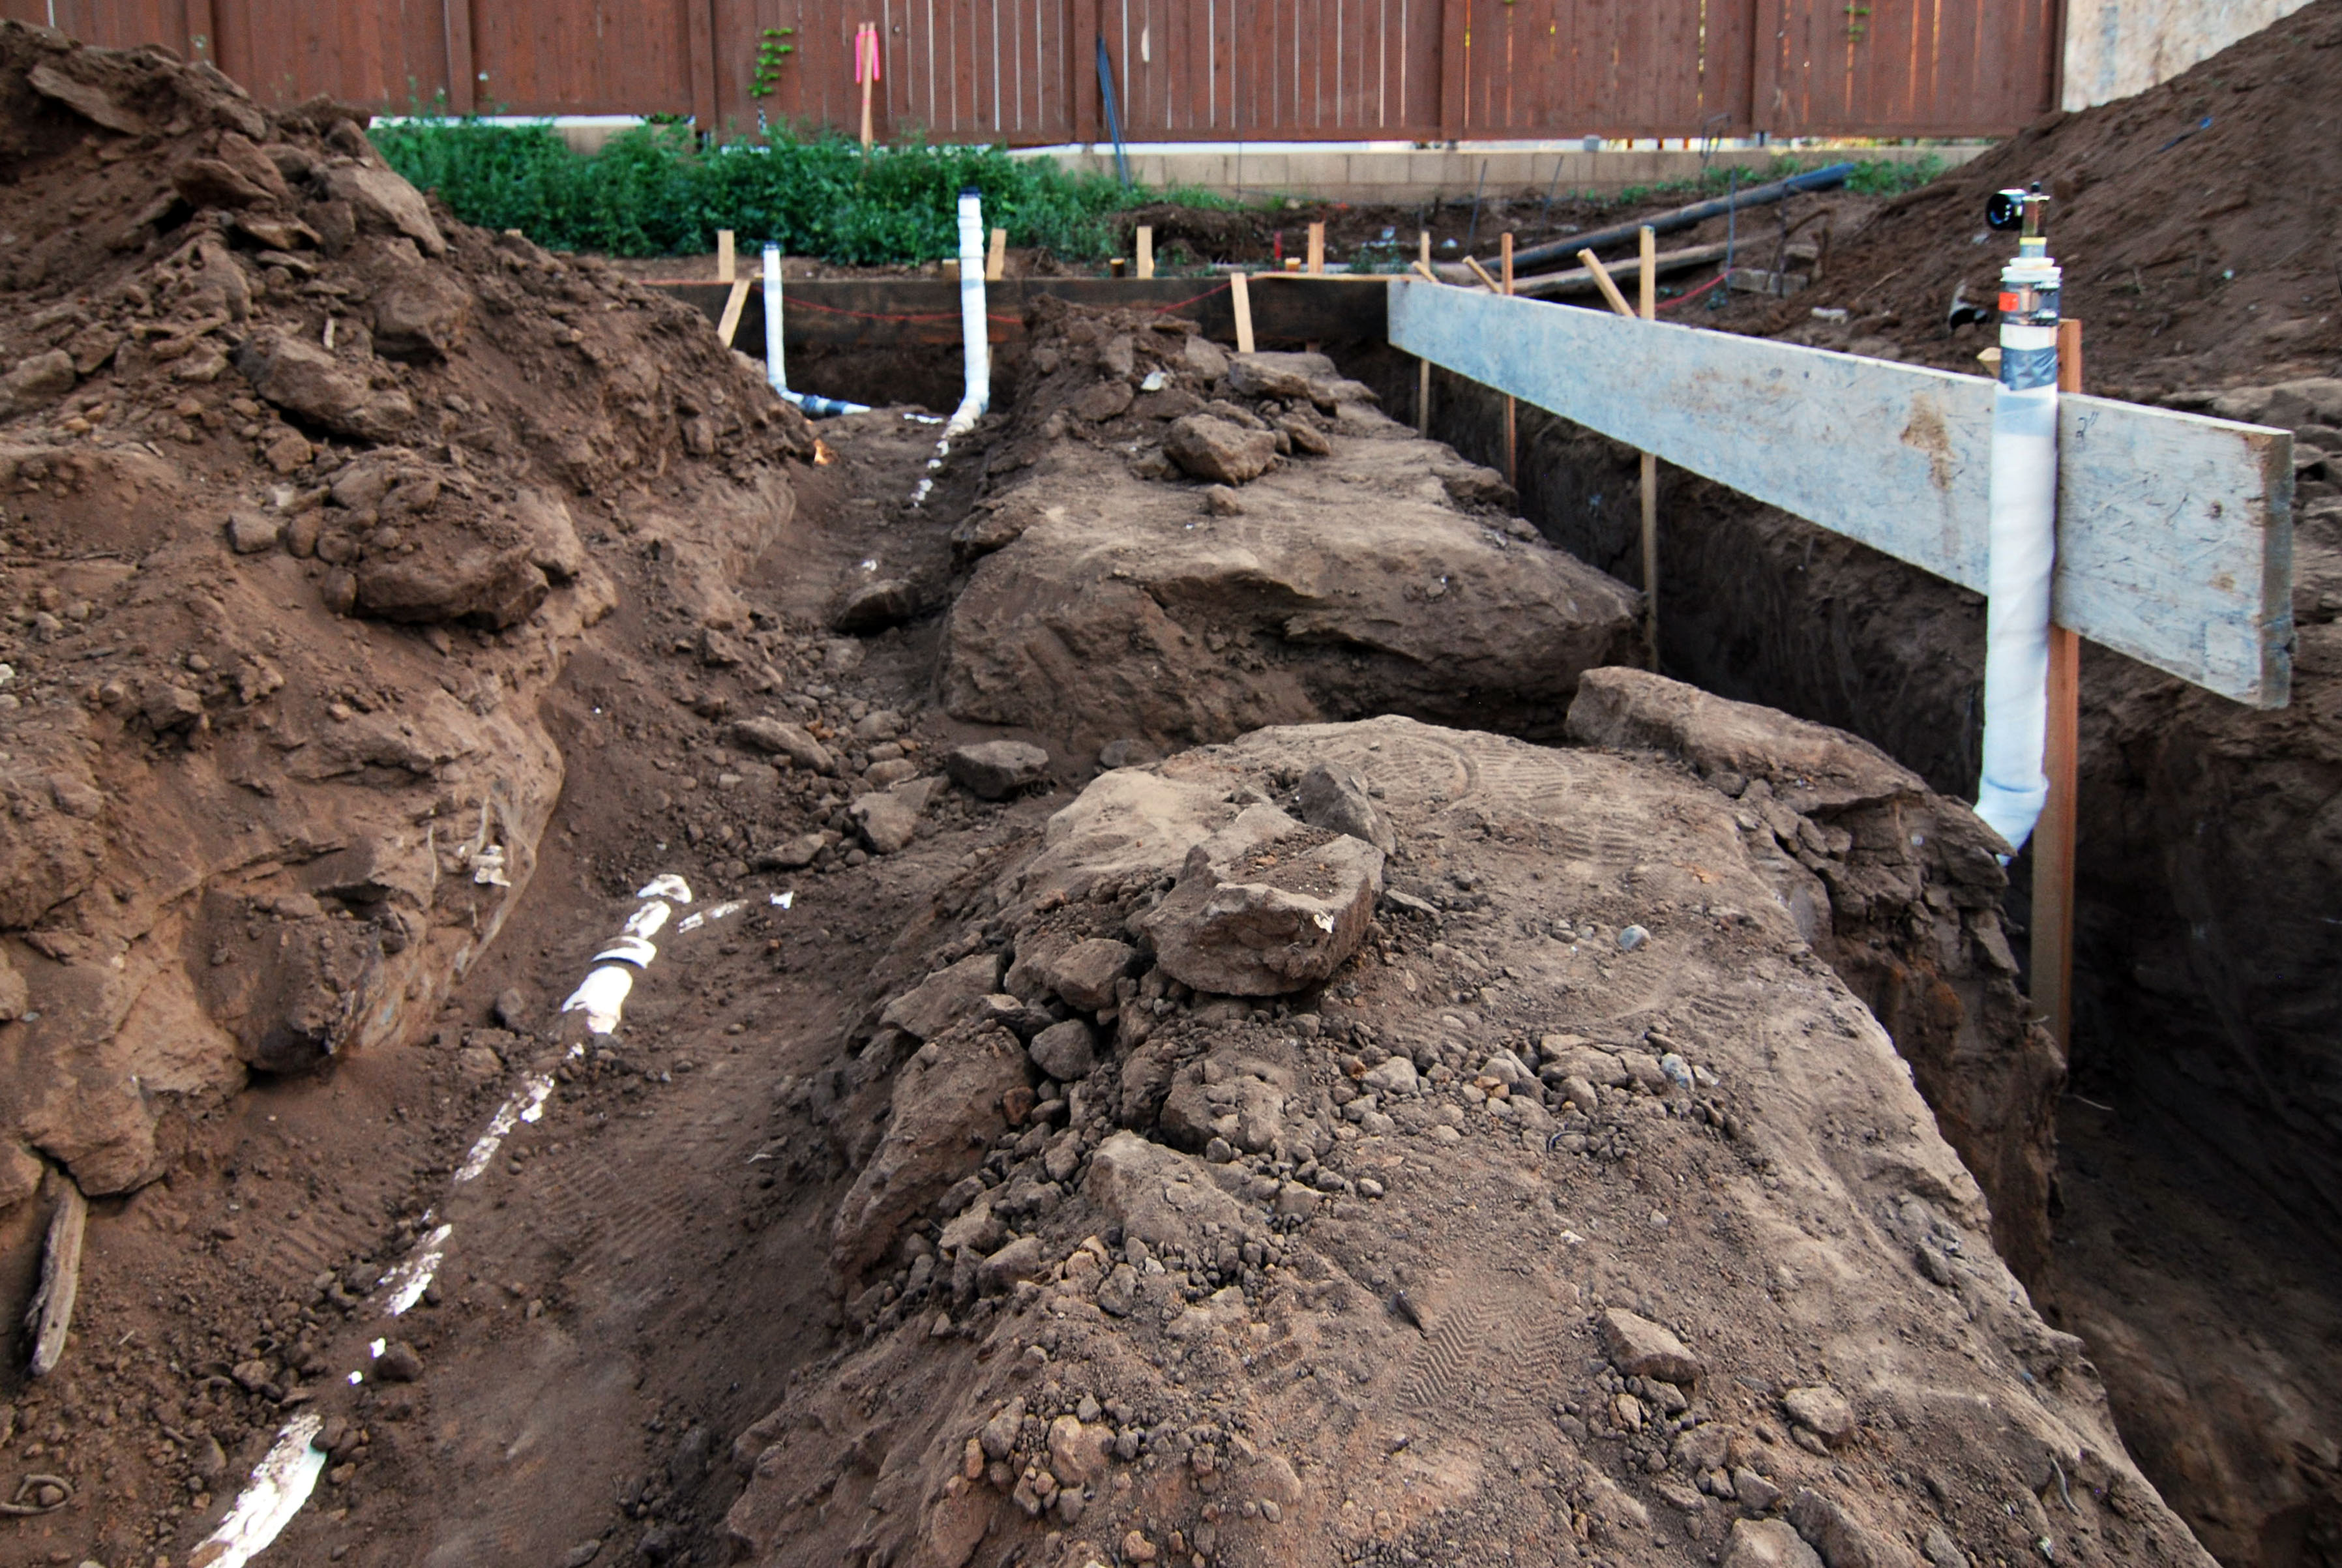
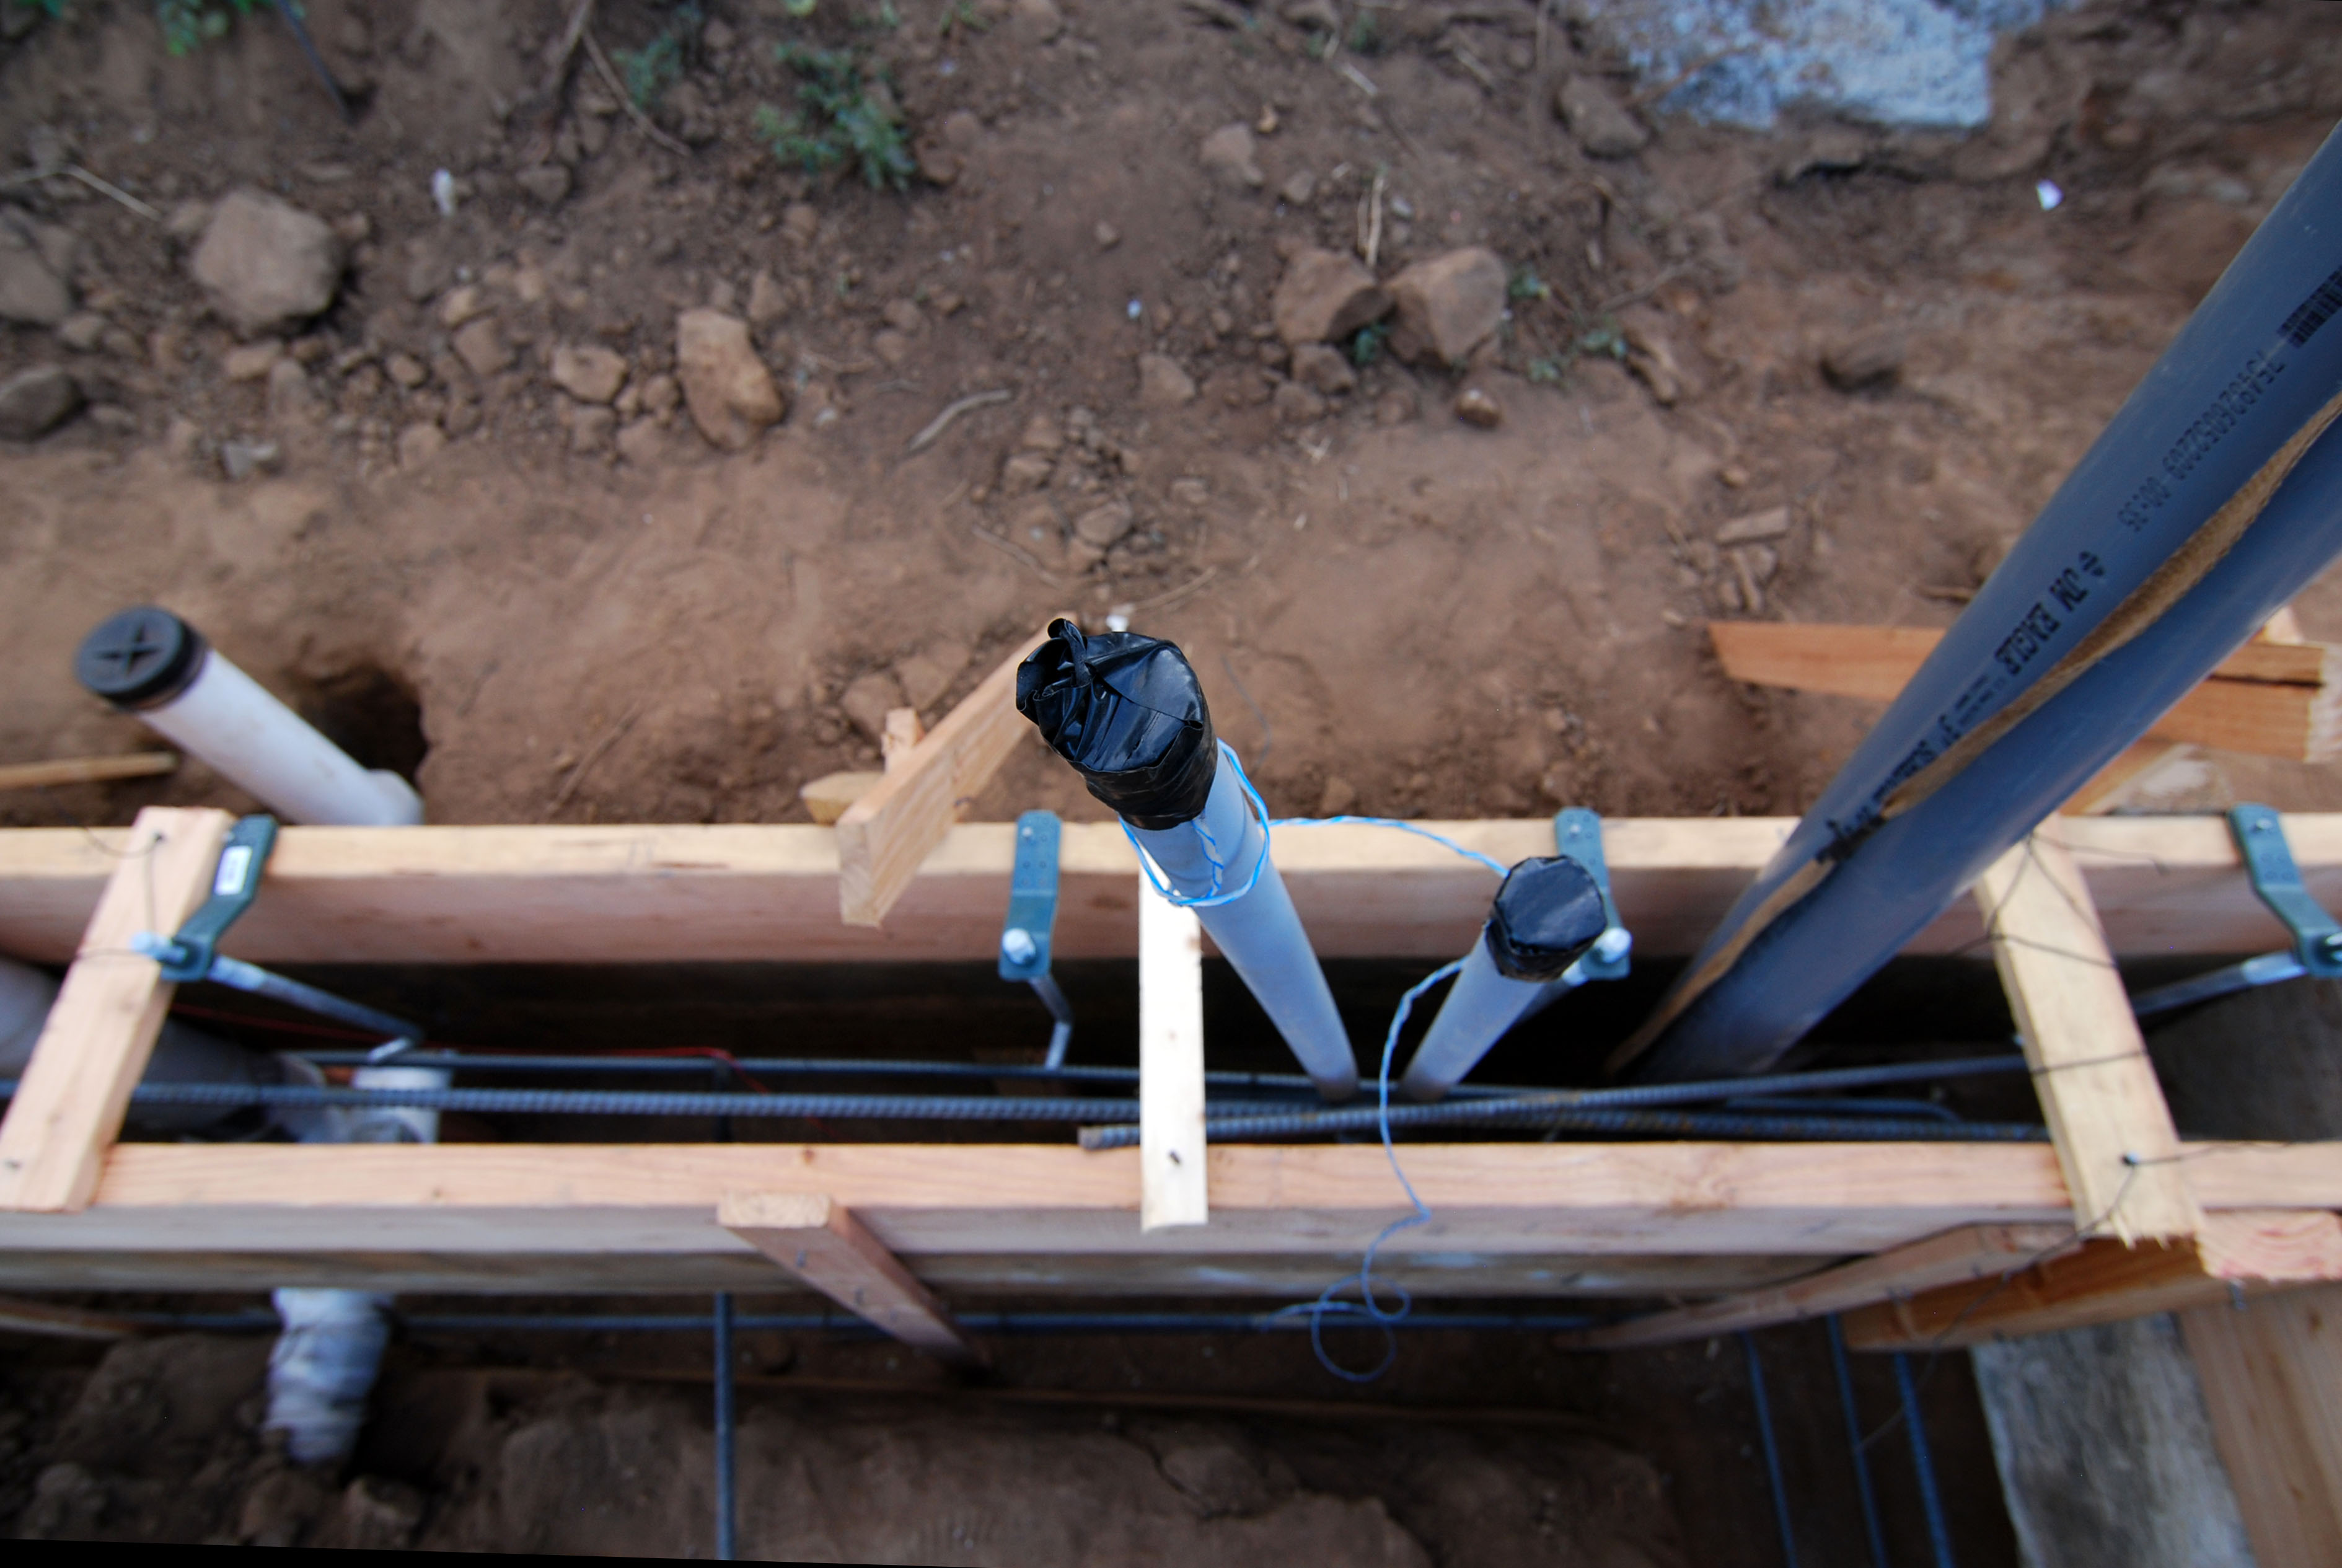
sewer lines
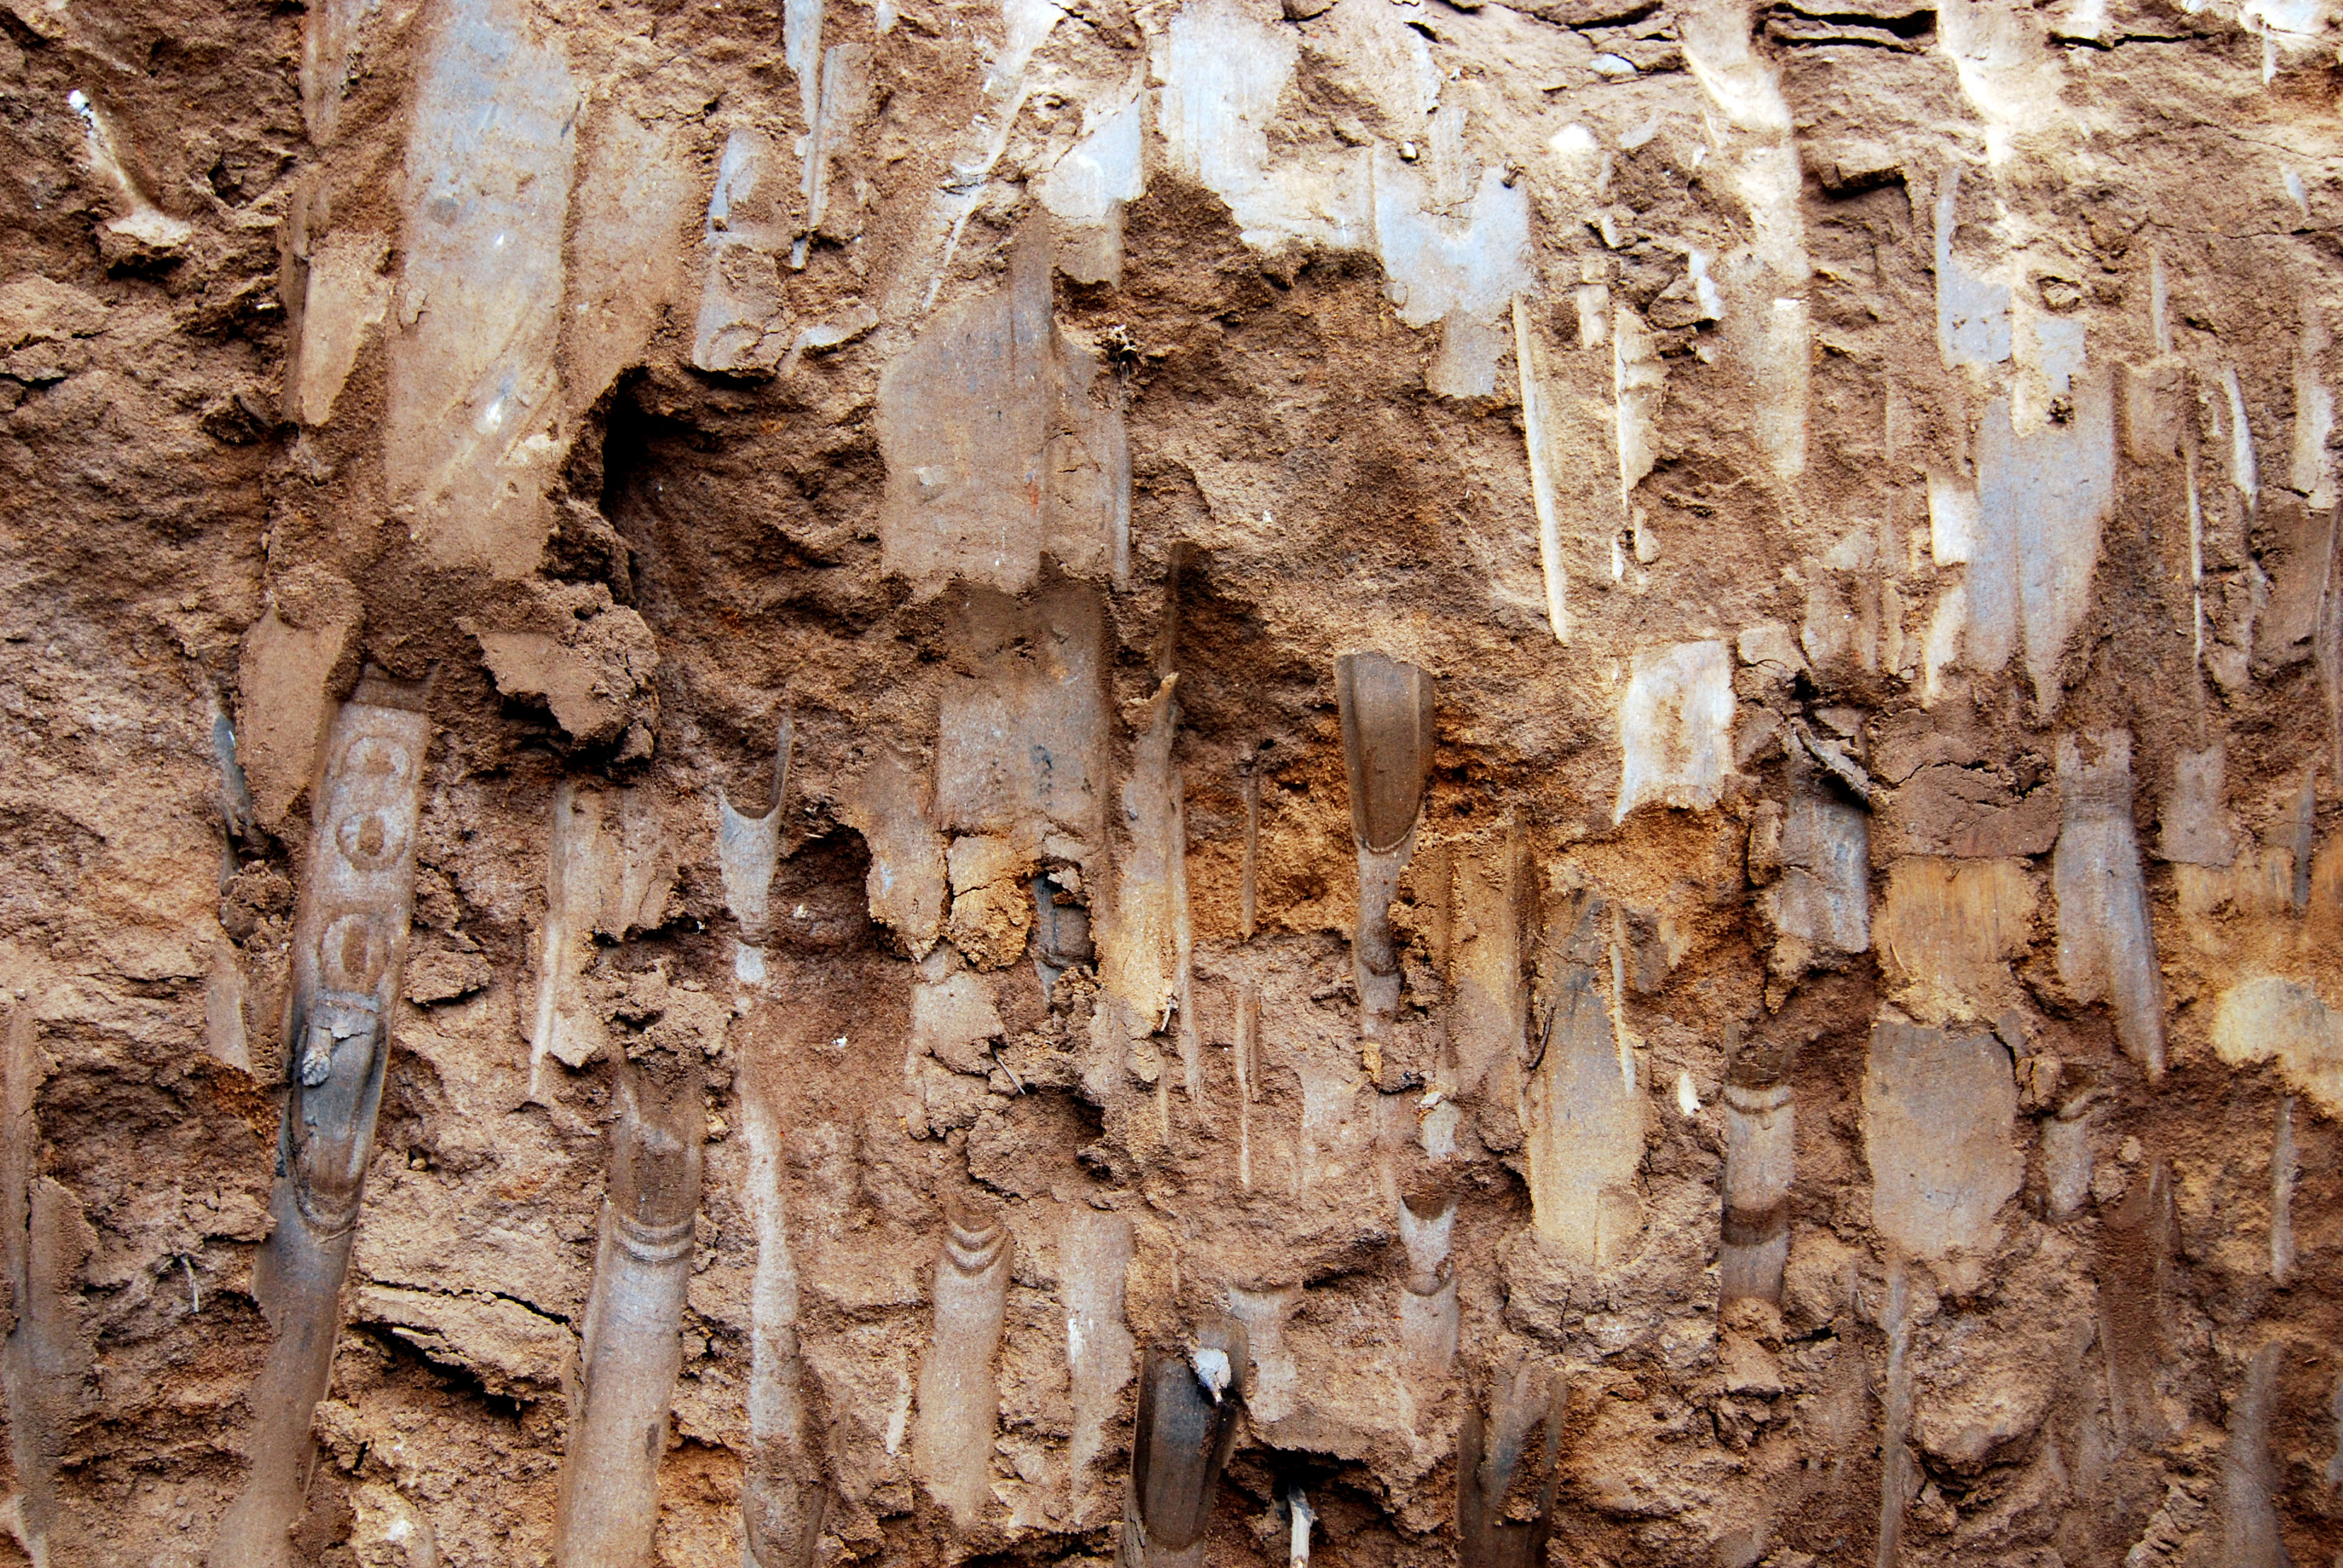
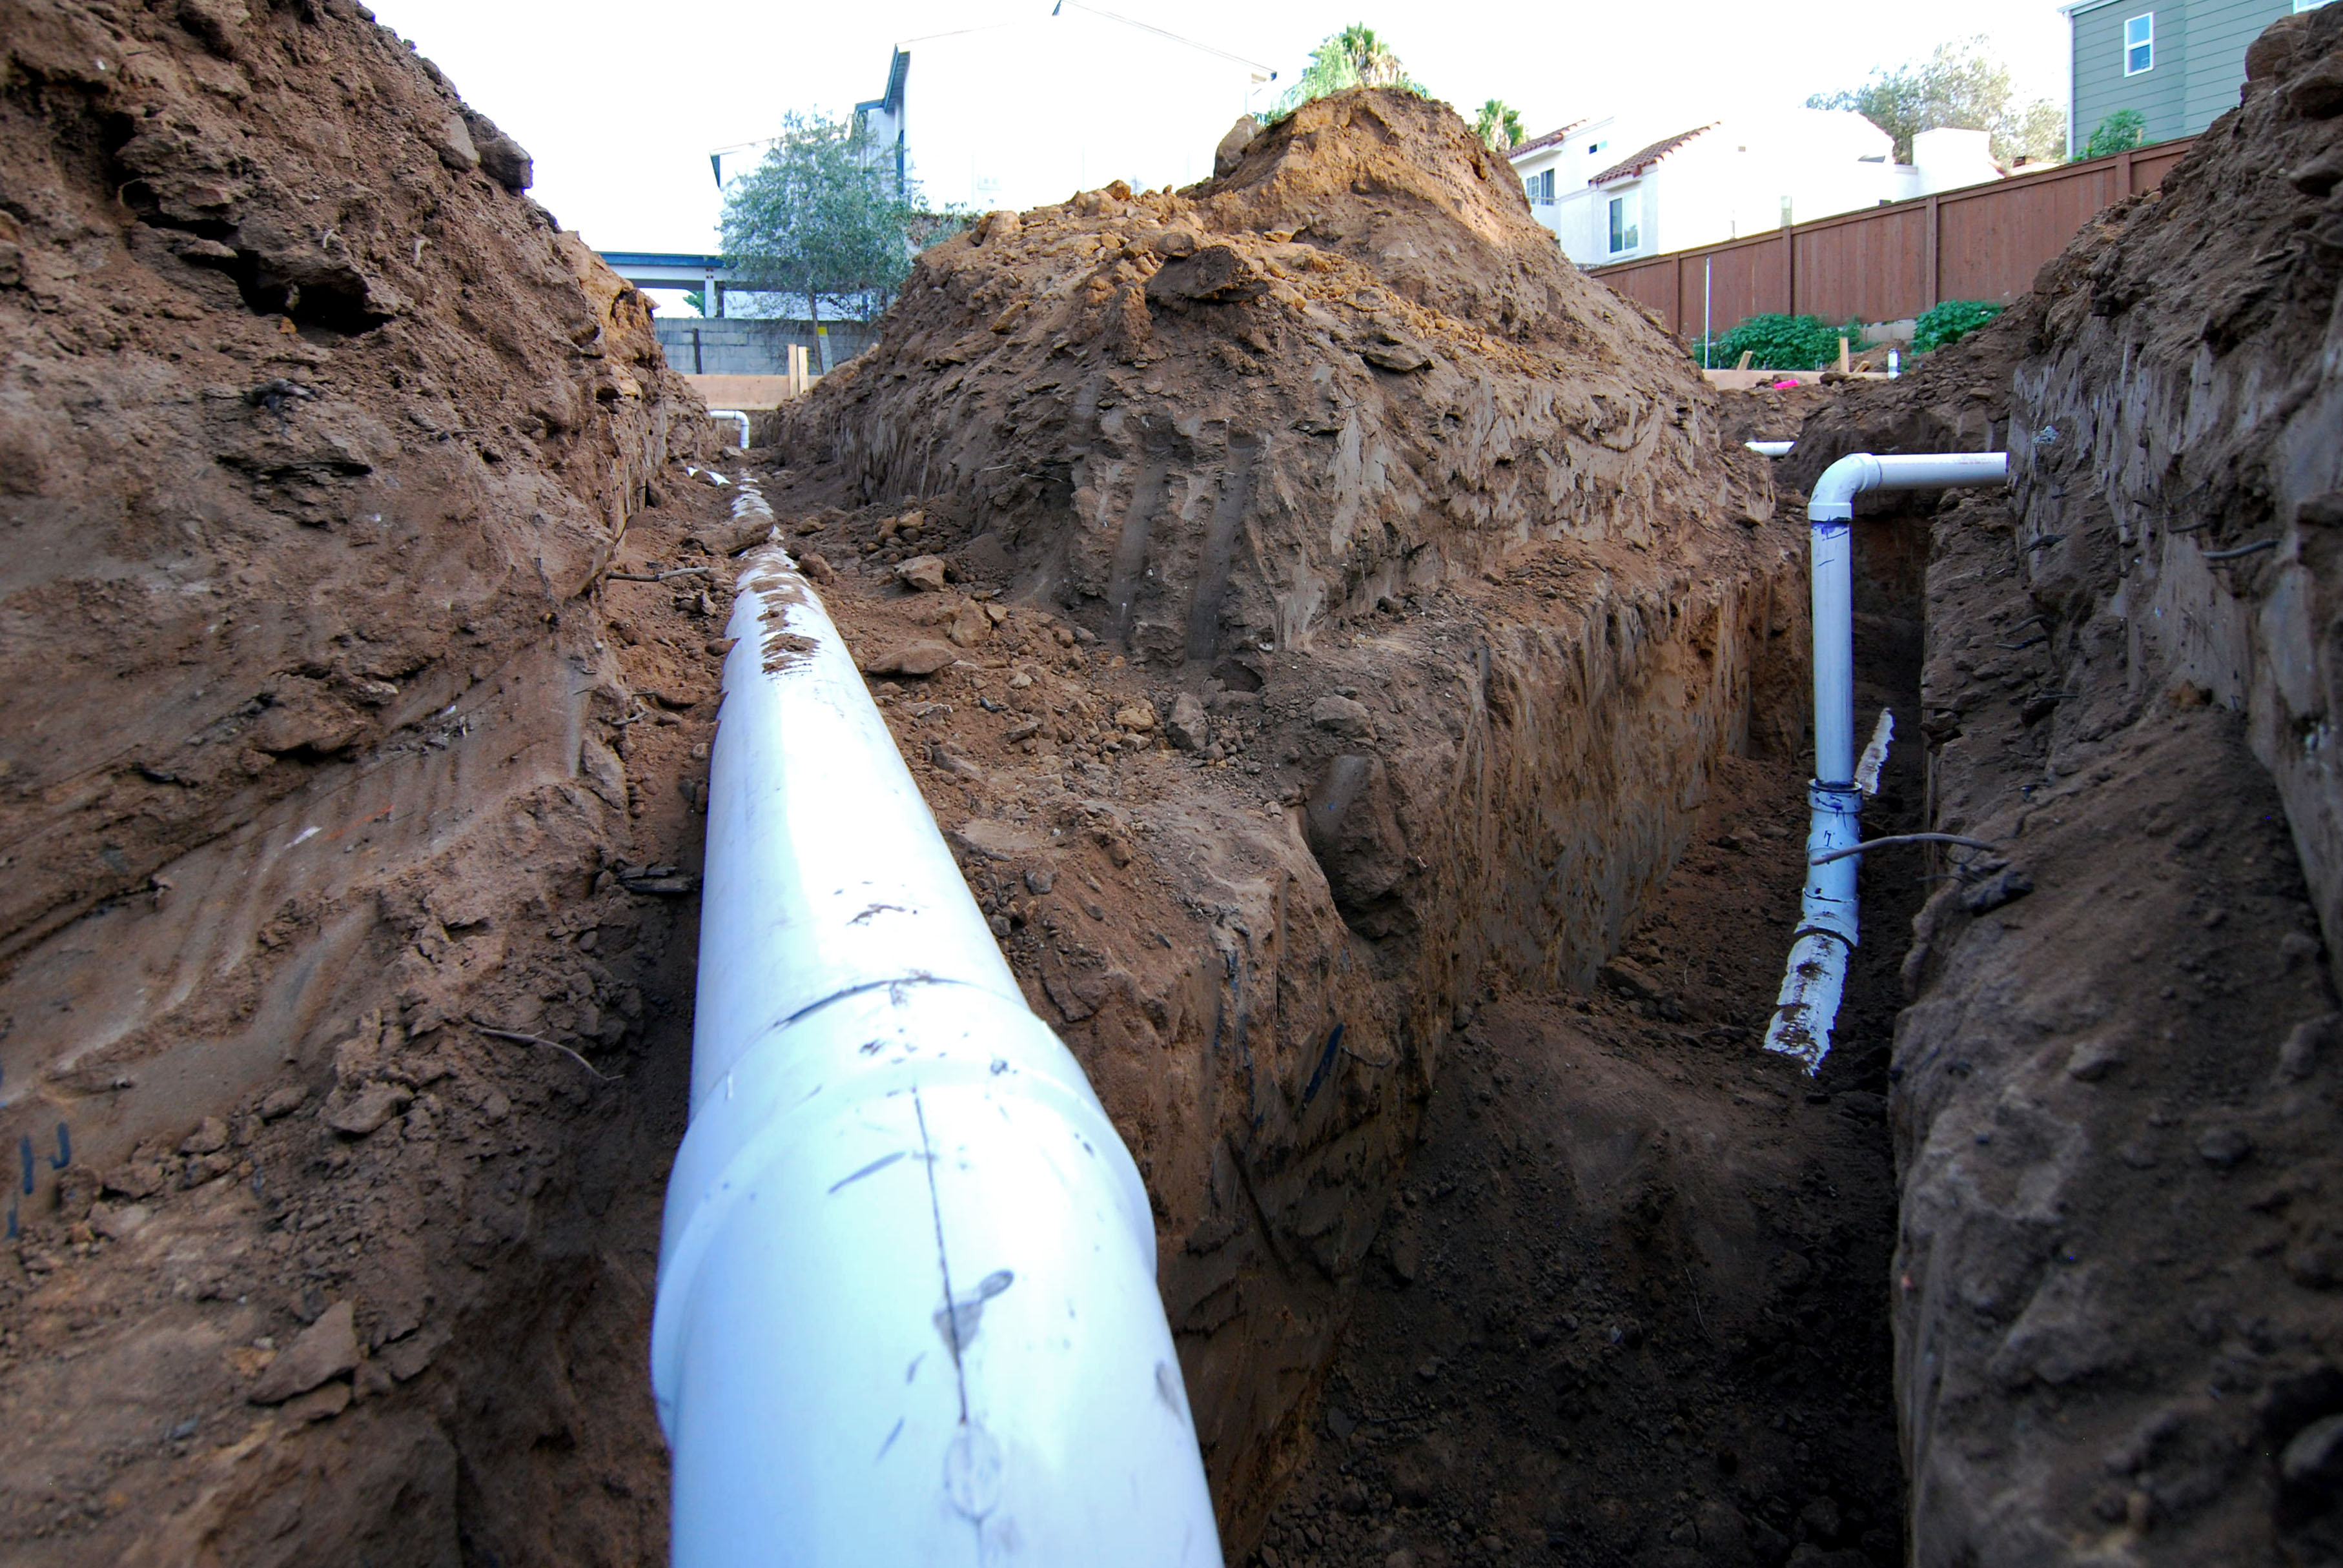
Concurrent with concrete work came the trenching for waste lines.
We received a pleasant surprise when mapping out our path to the main in the street. Turns out the line was a couple feet lower than the old city drawings indicated. This meant we were able to gravity feed to the main line instead of adding an injector pump at the basement. The trench on site is a bit deeper, but this saved us at least a few thousand dollars and eliminated a long-term maintenance concern.
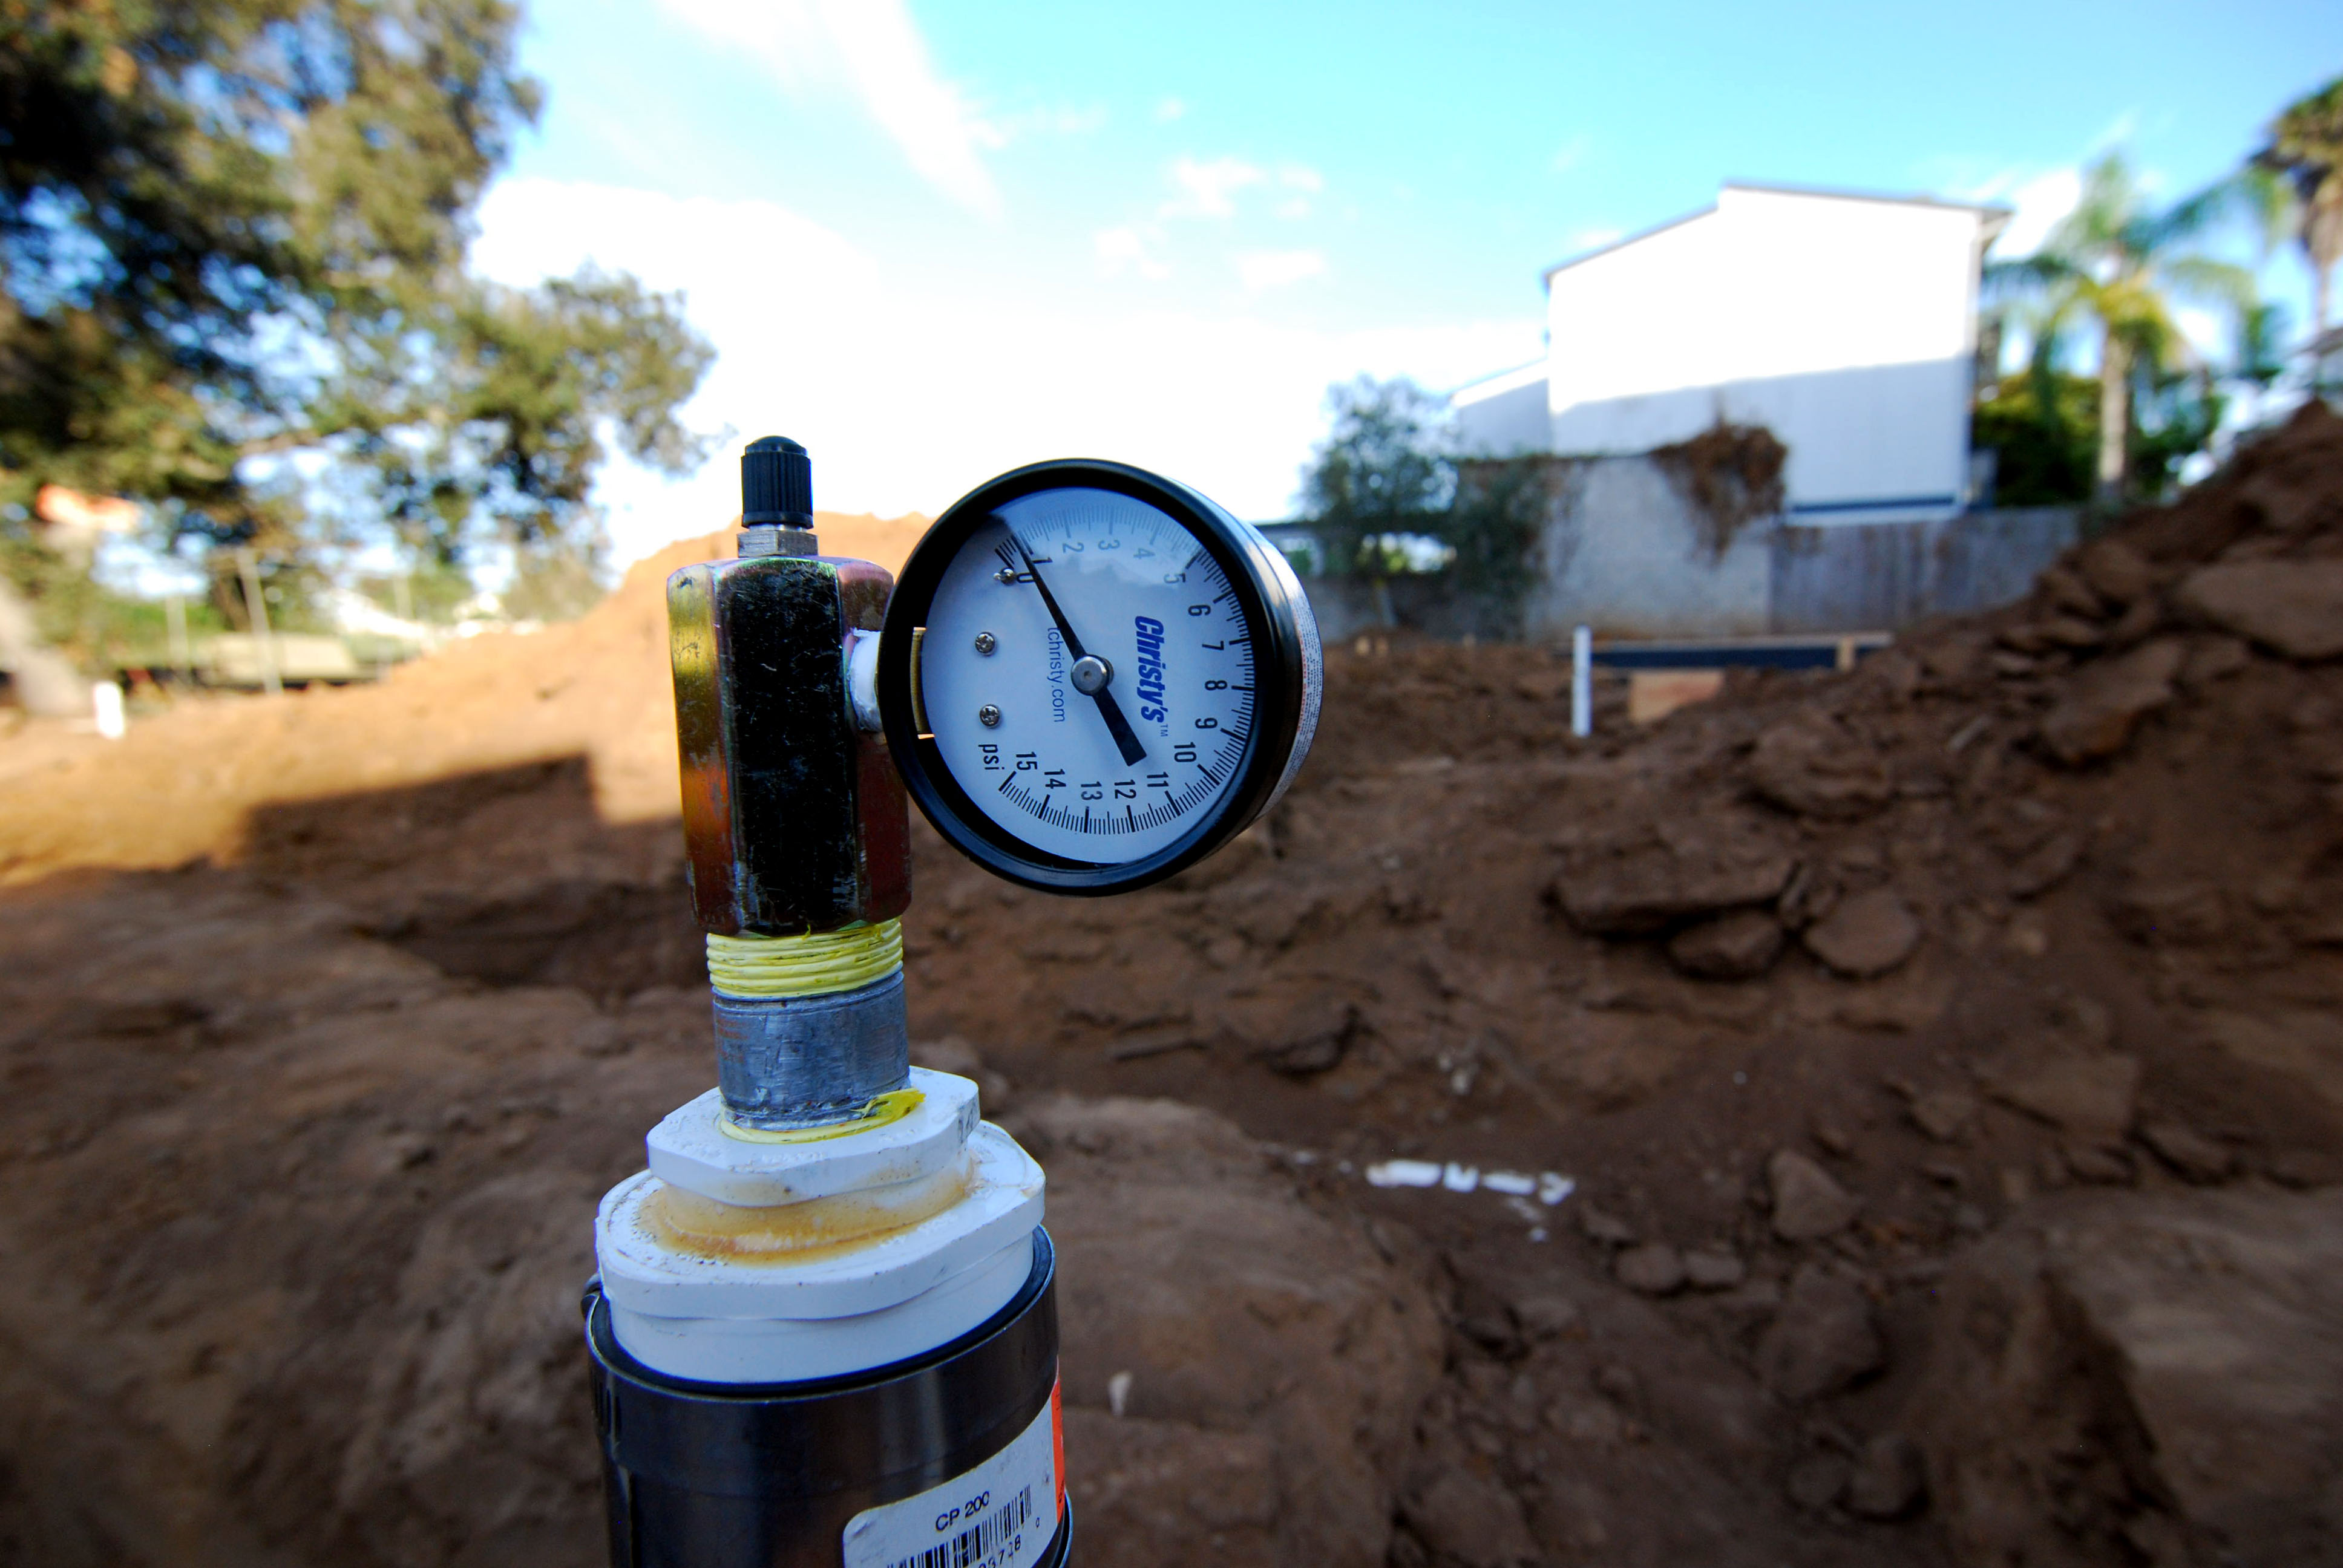
A required pressure test gives assurance that we won’t have leaks when there’s more than just water running through these pipes.
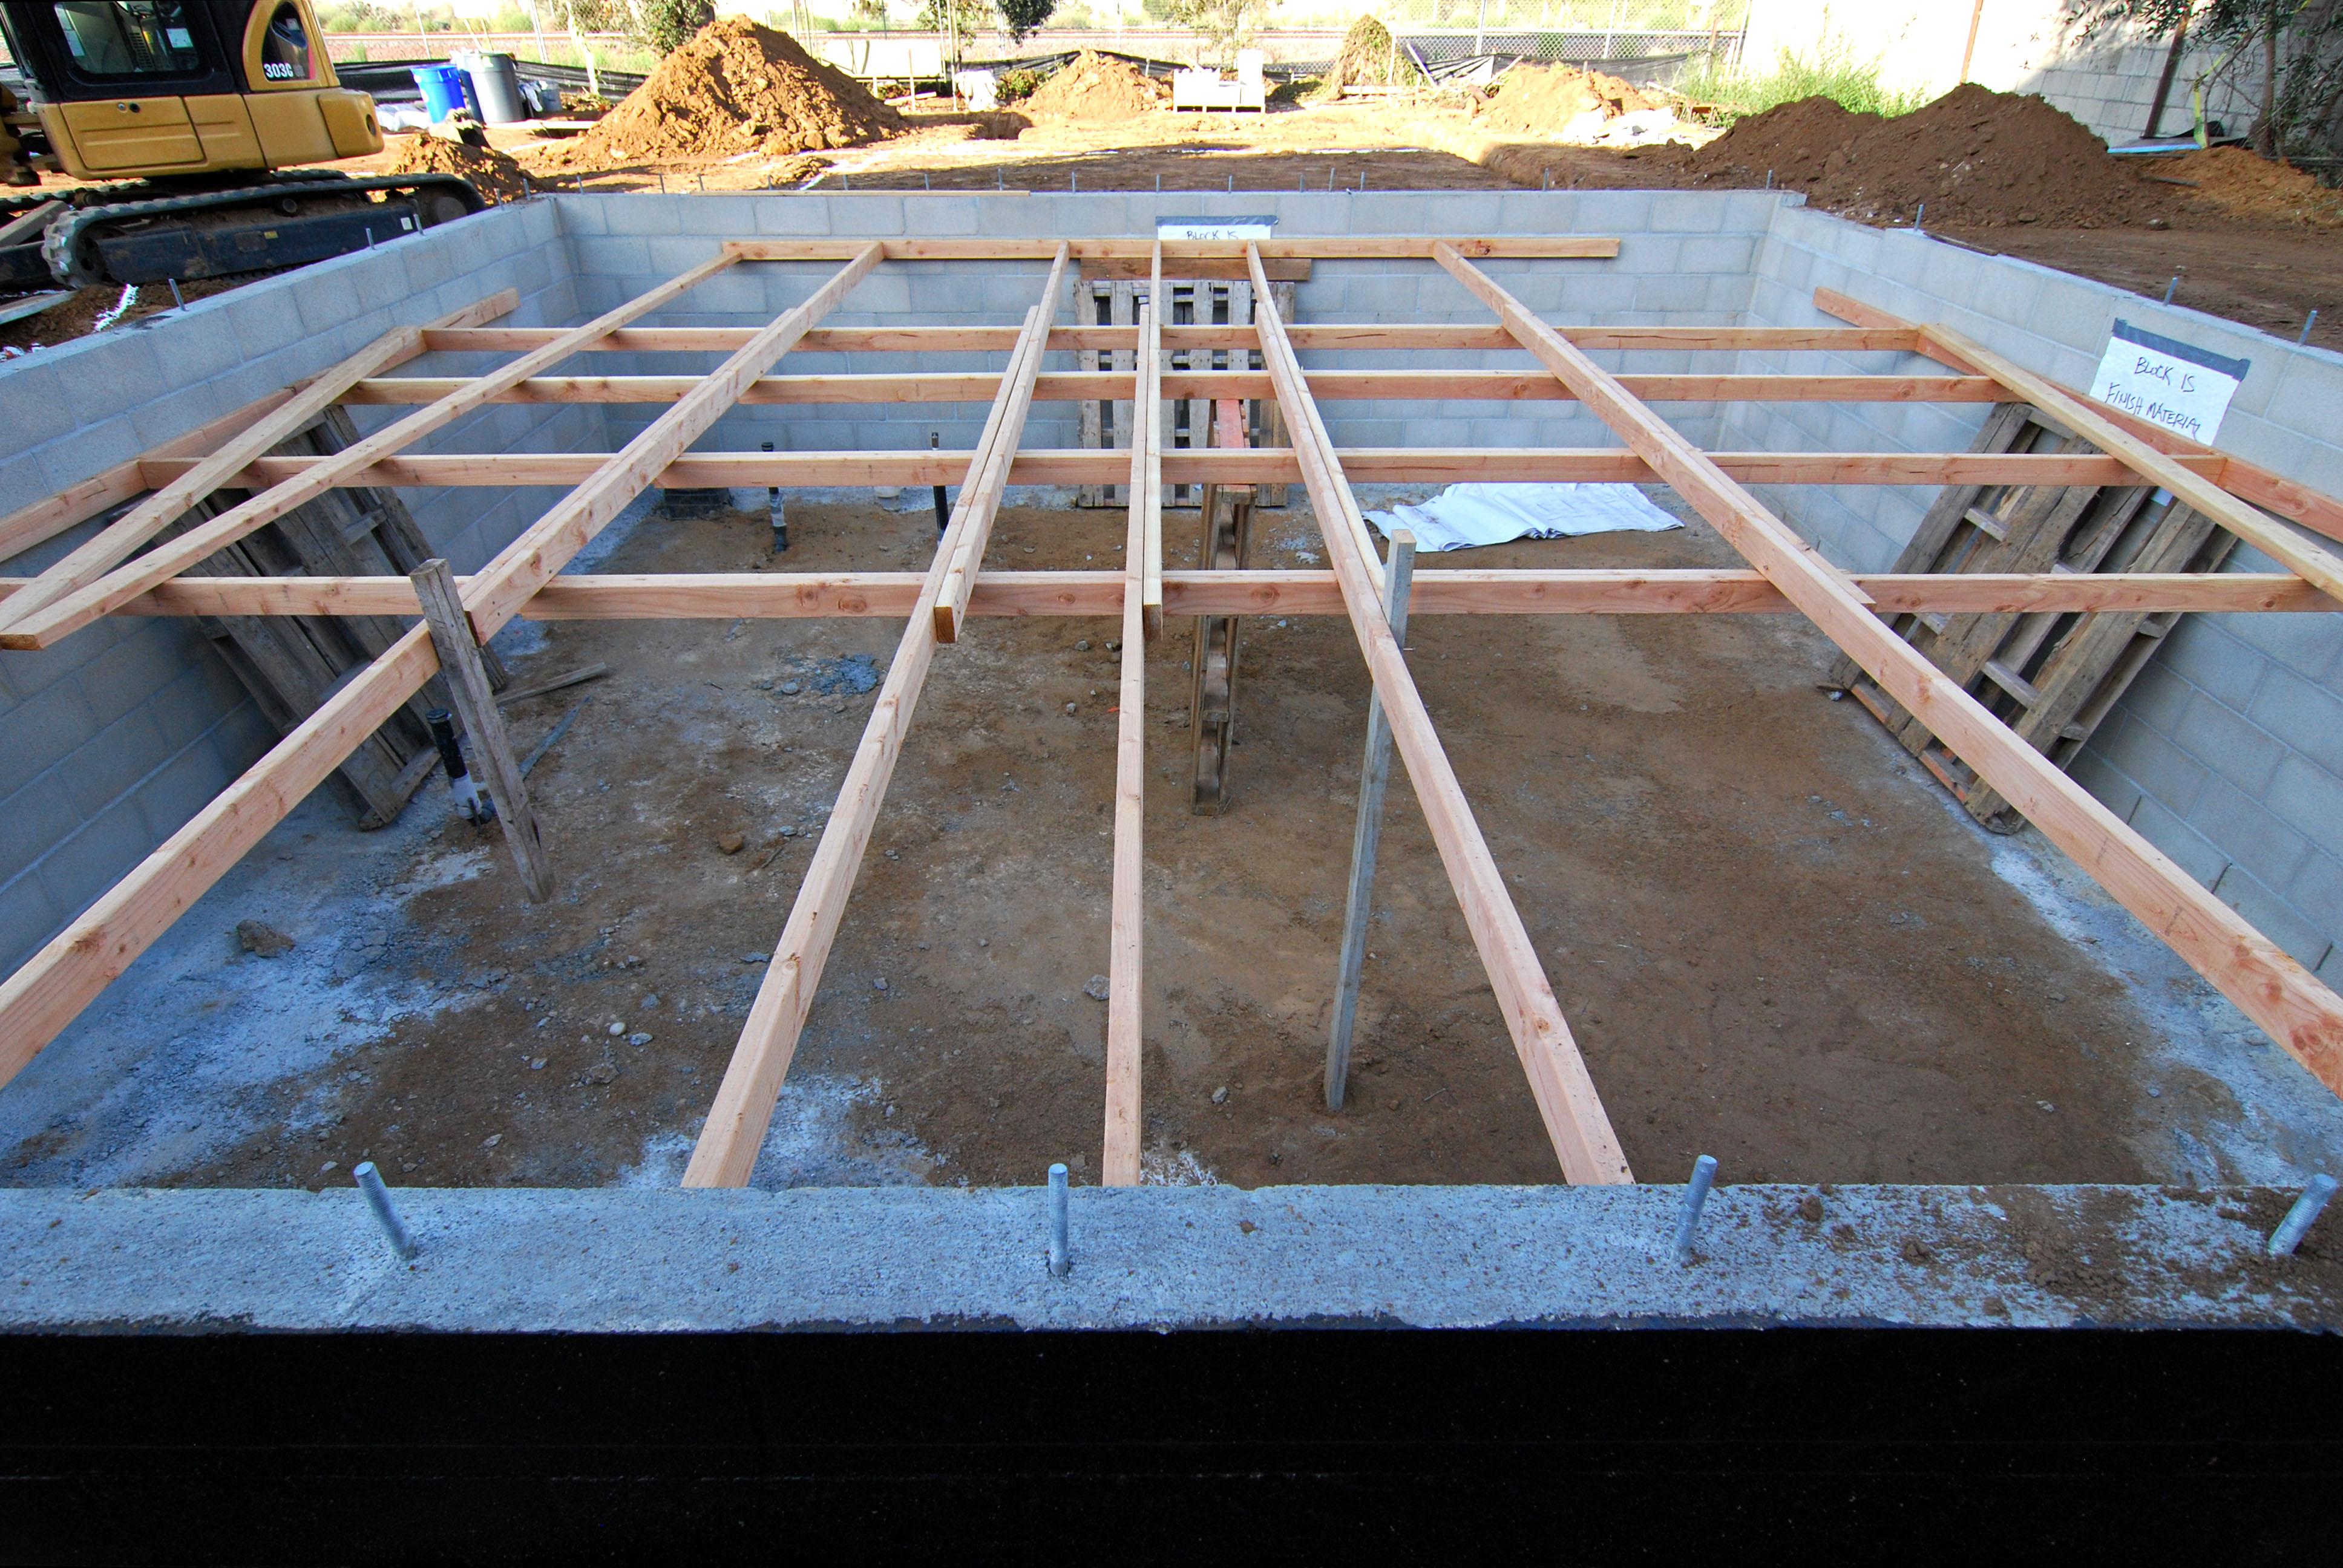
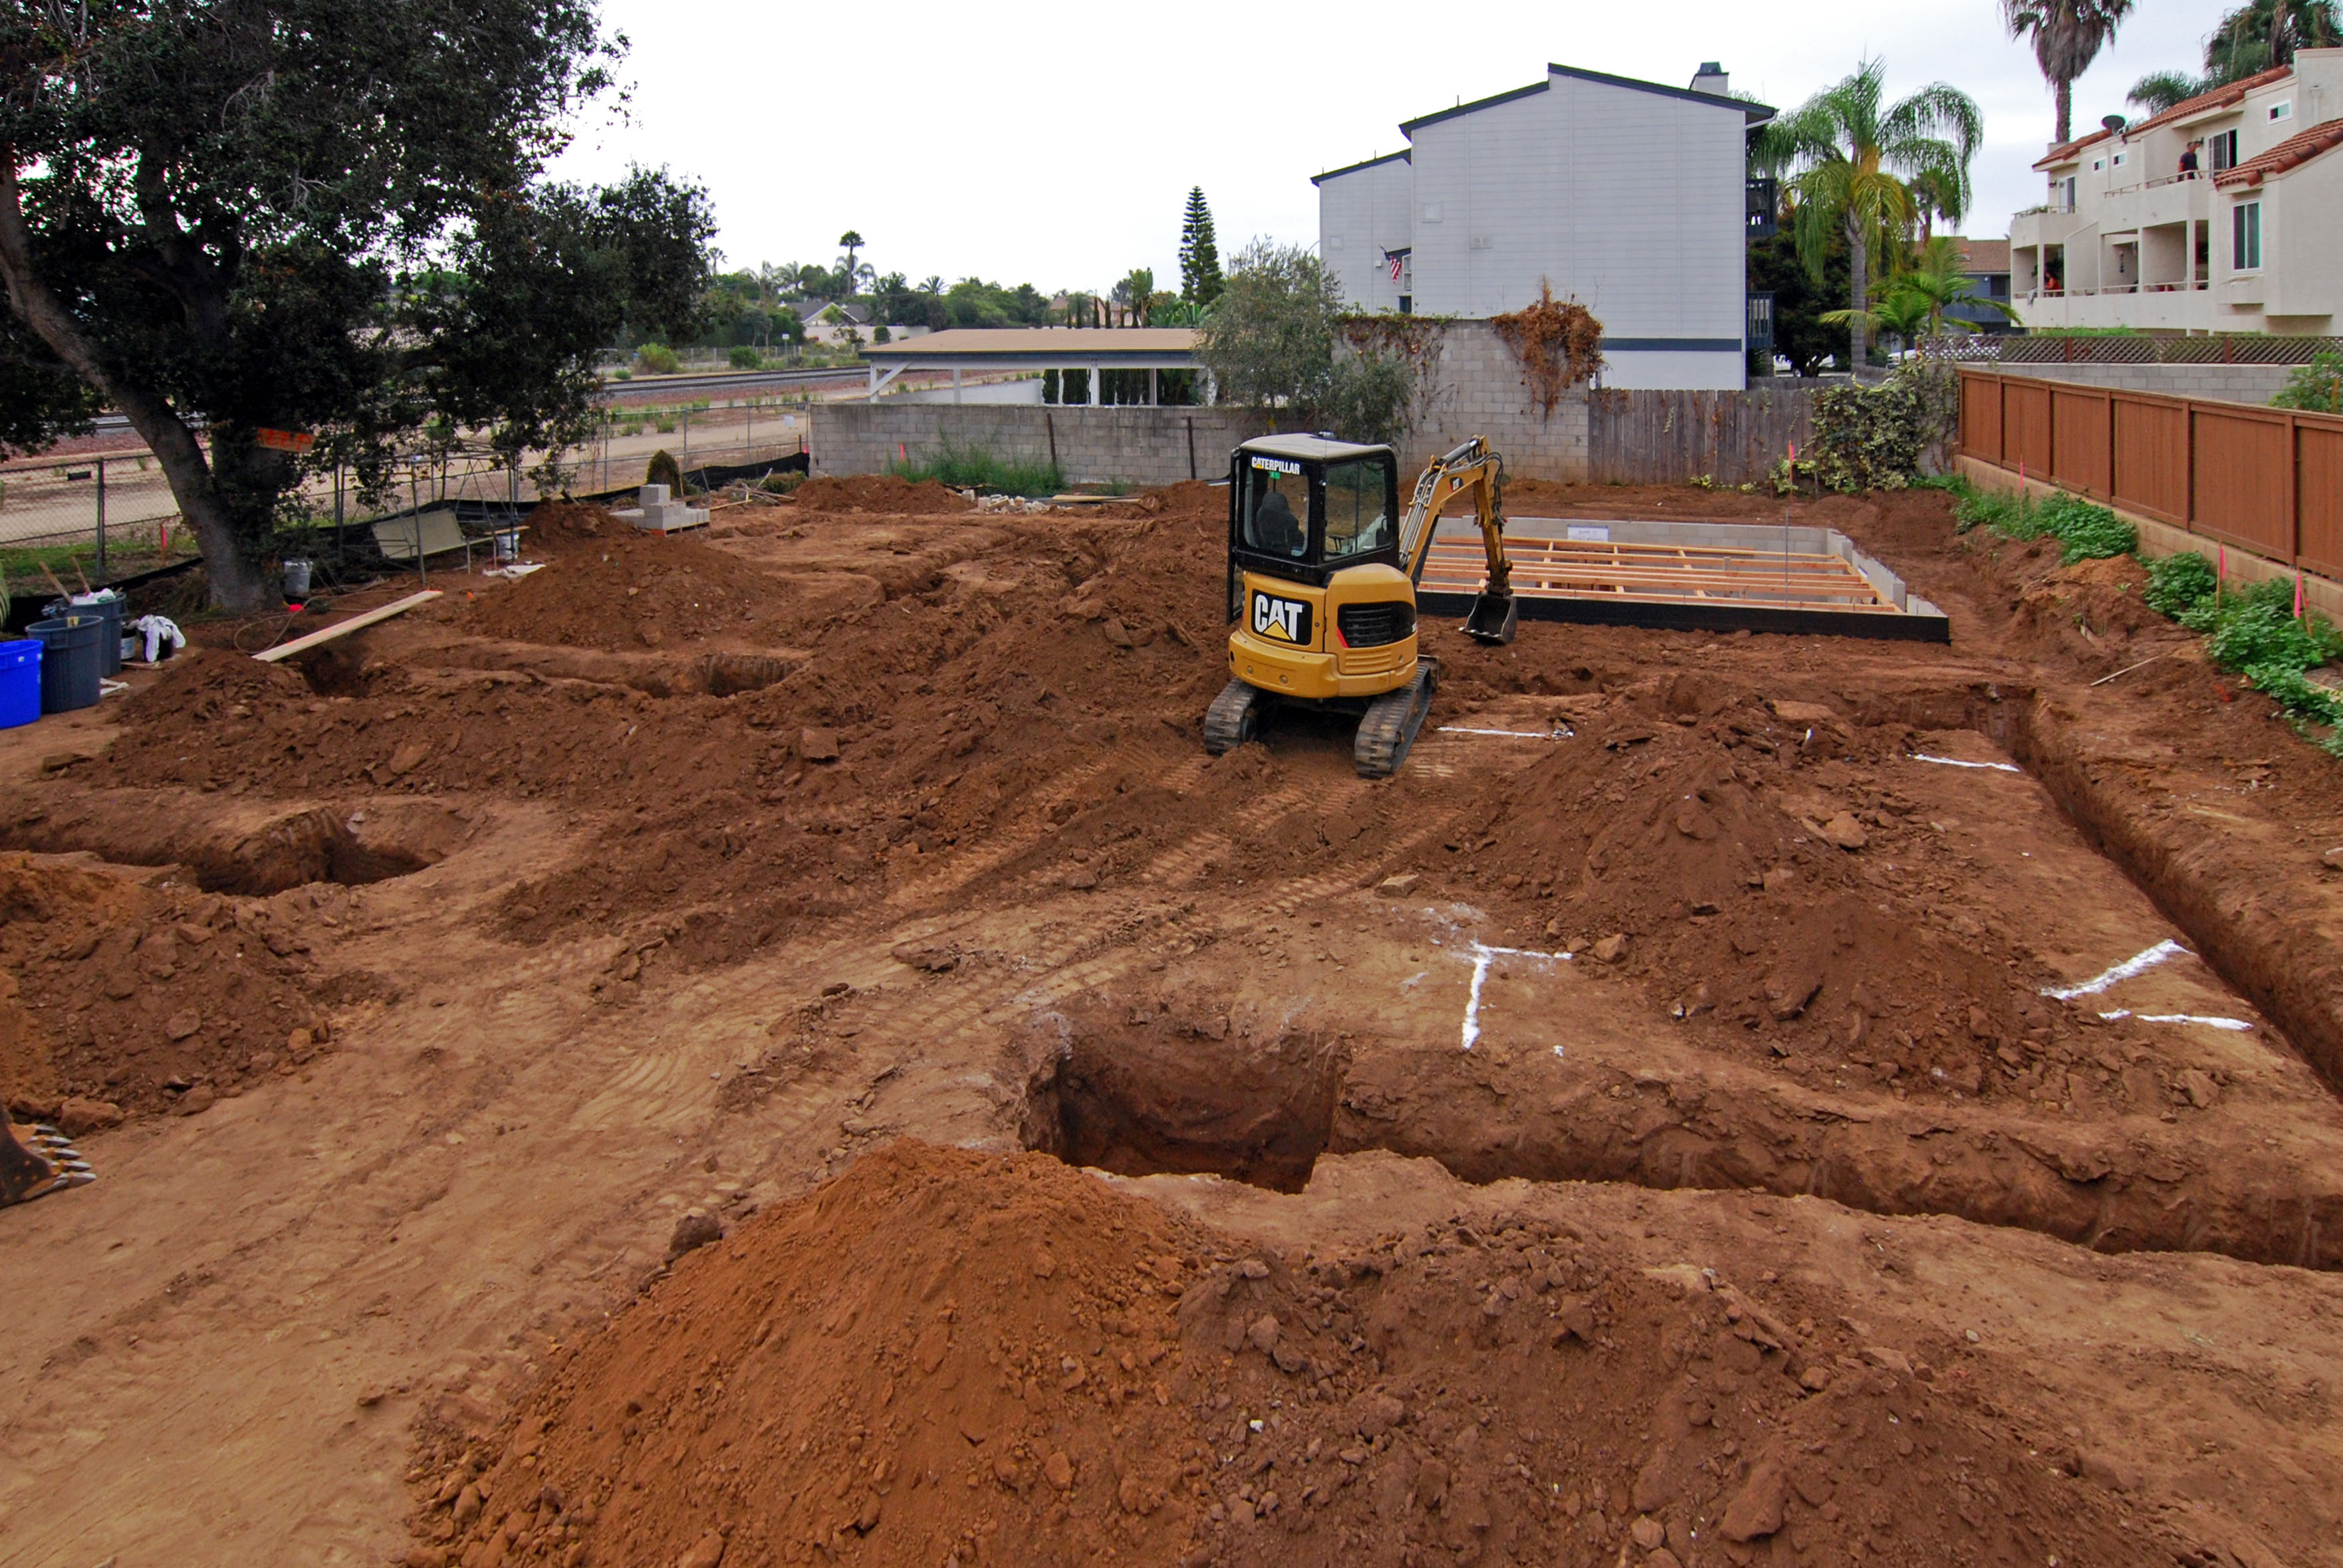
Ready for concrete
Here’s the site as it appeared a couple days ago.
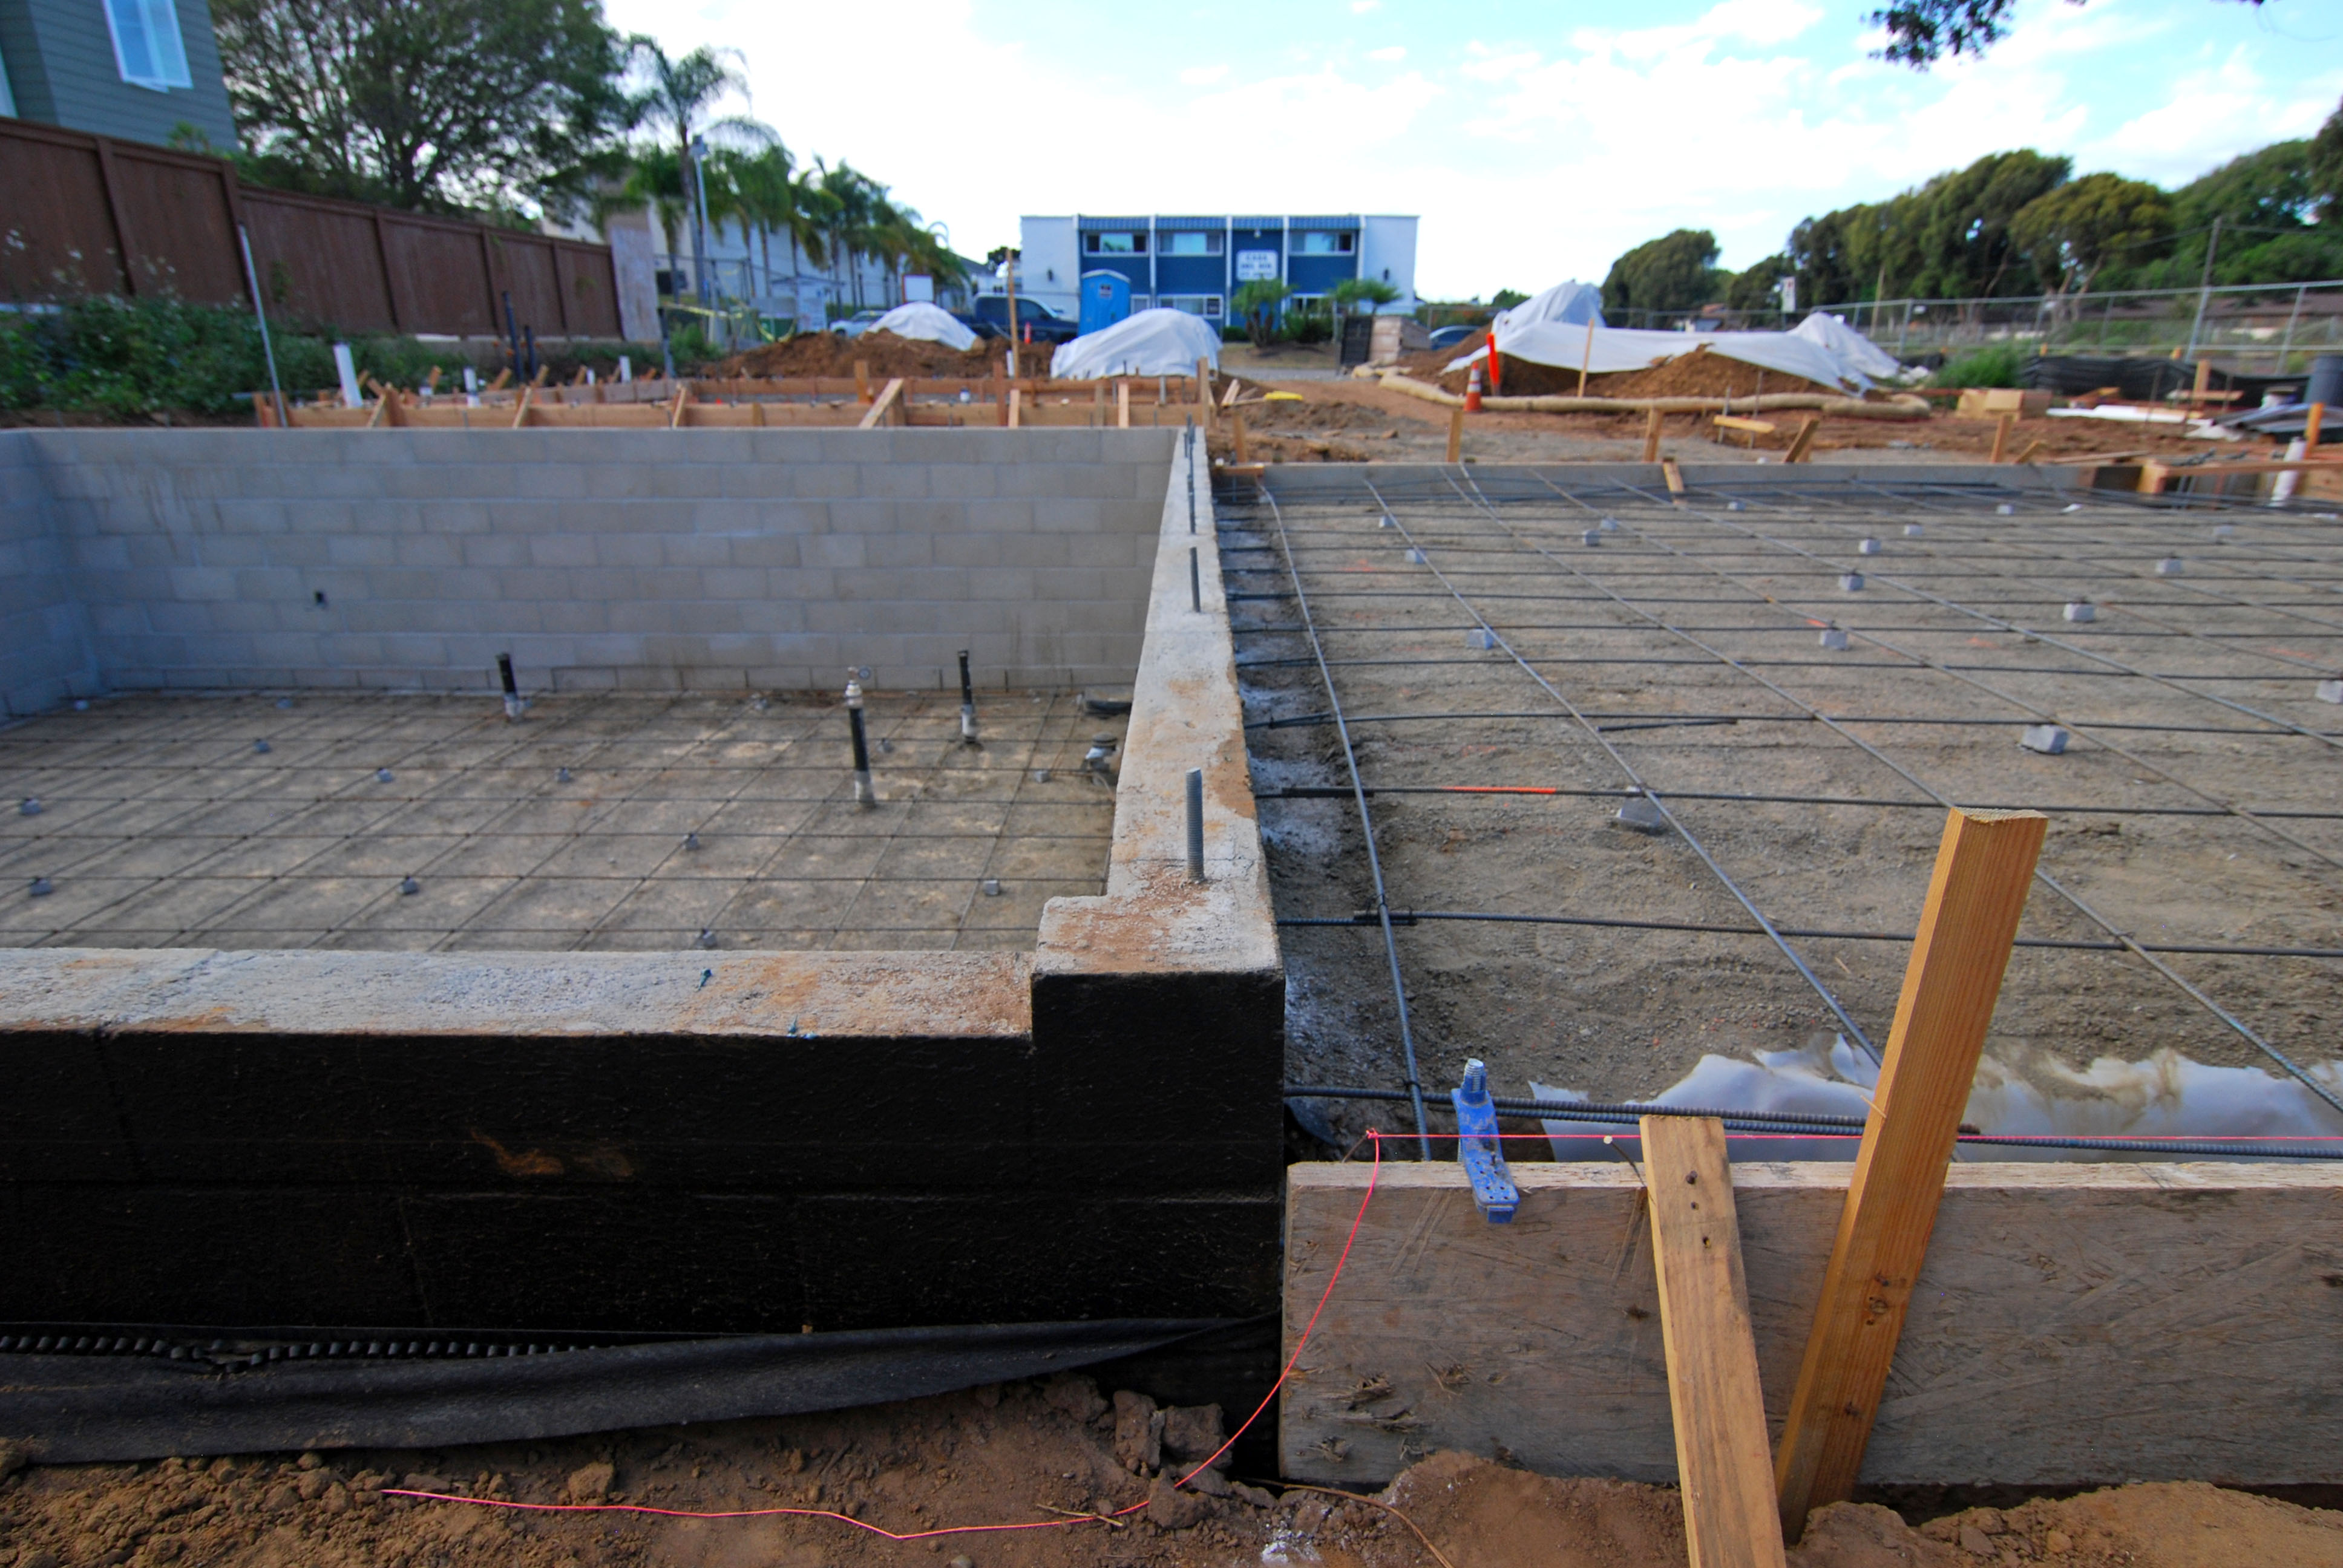
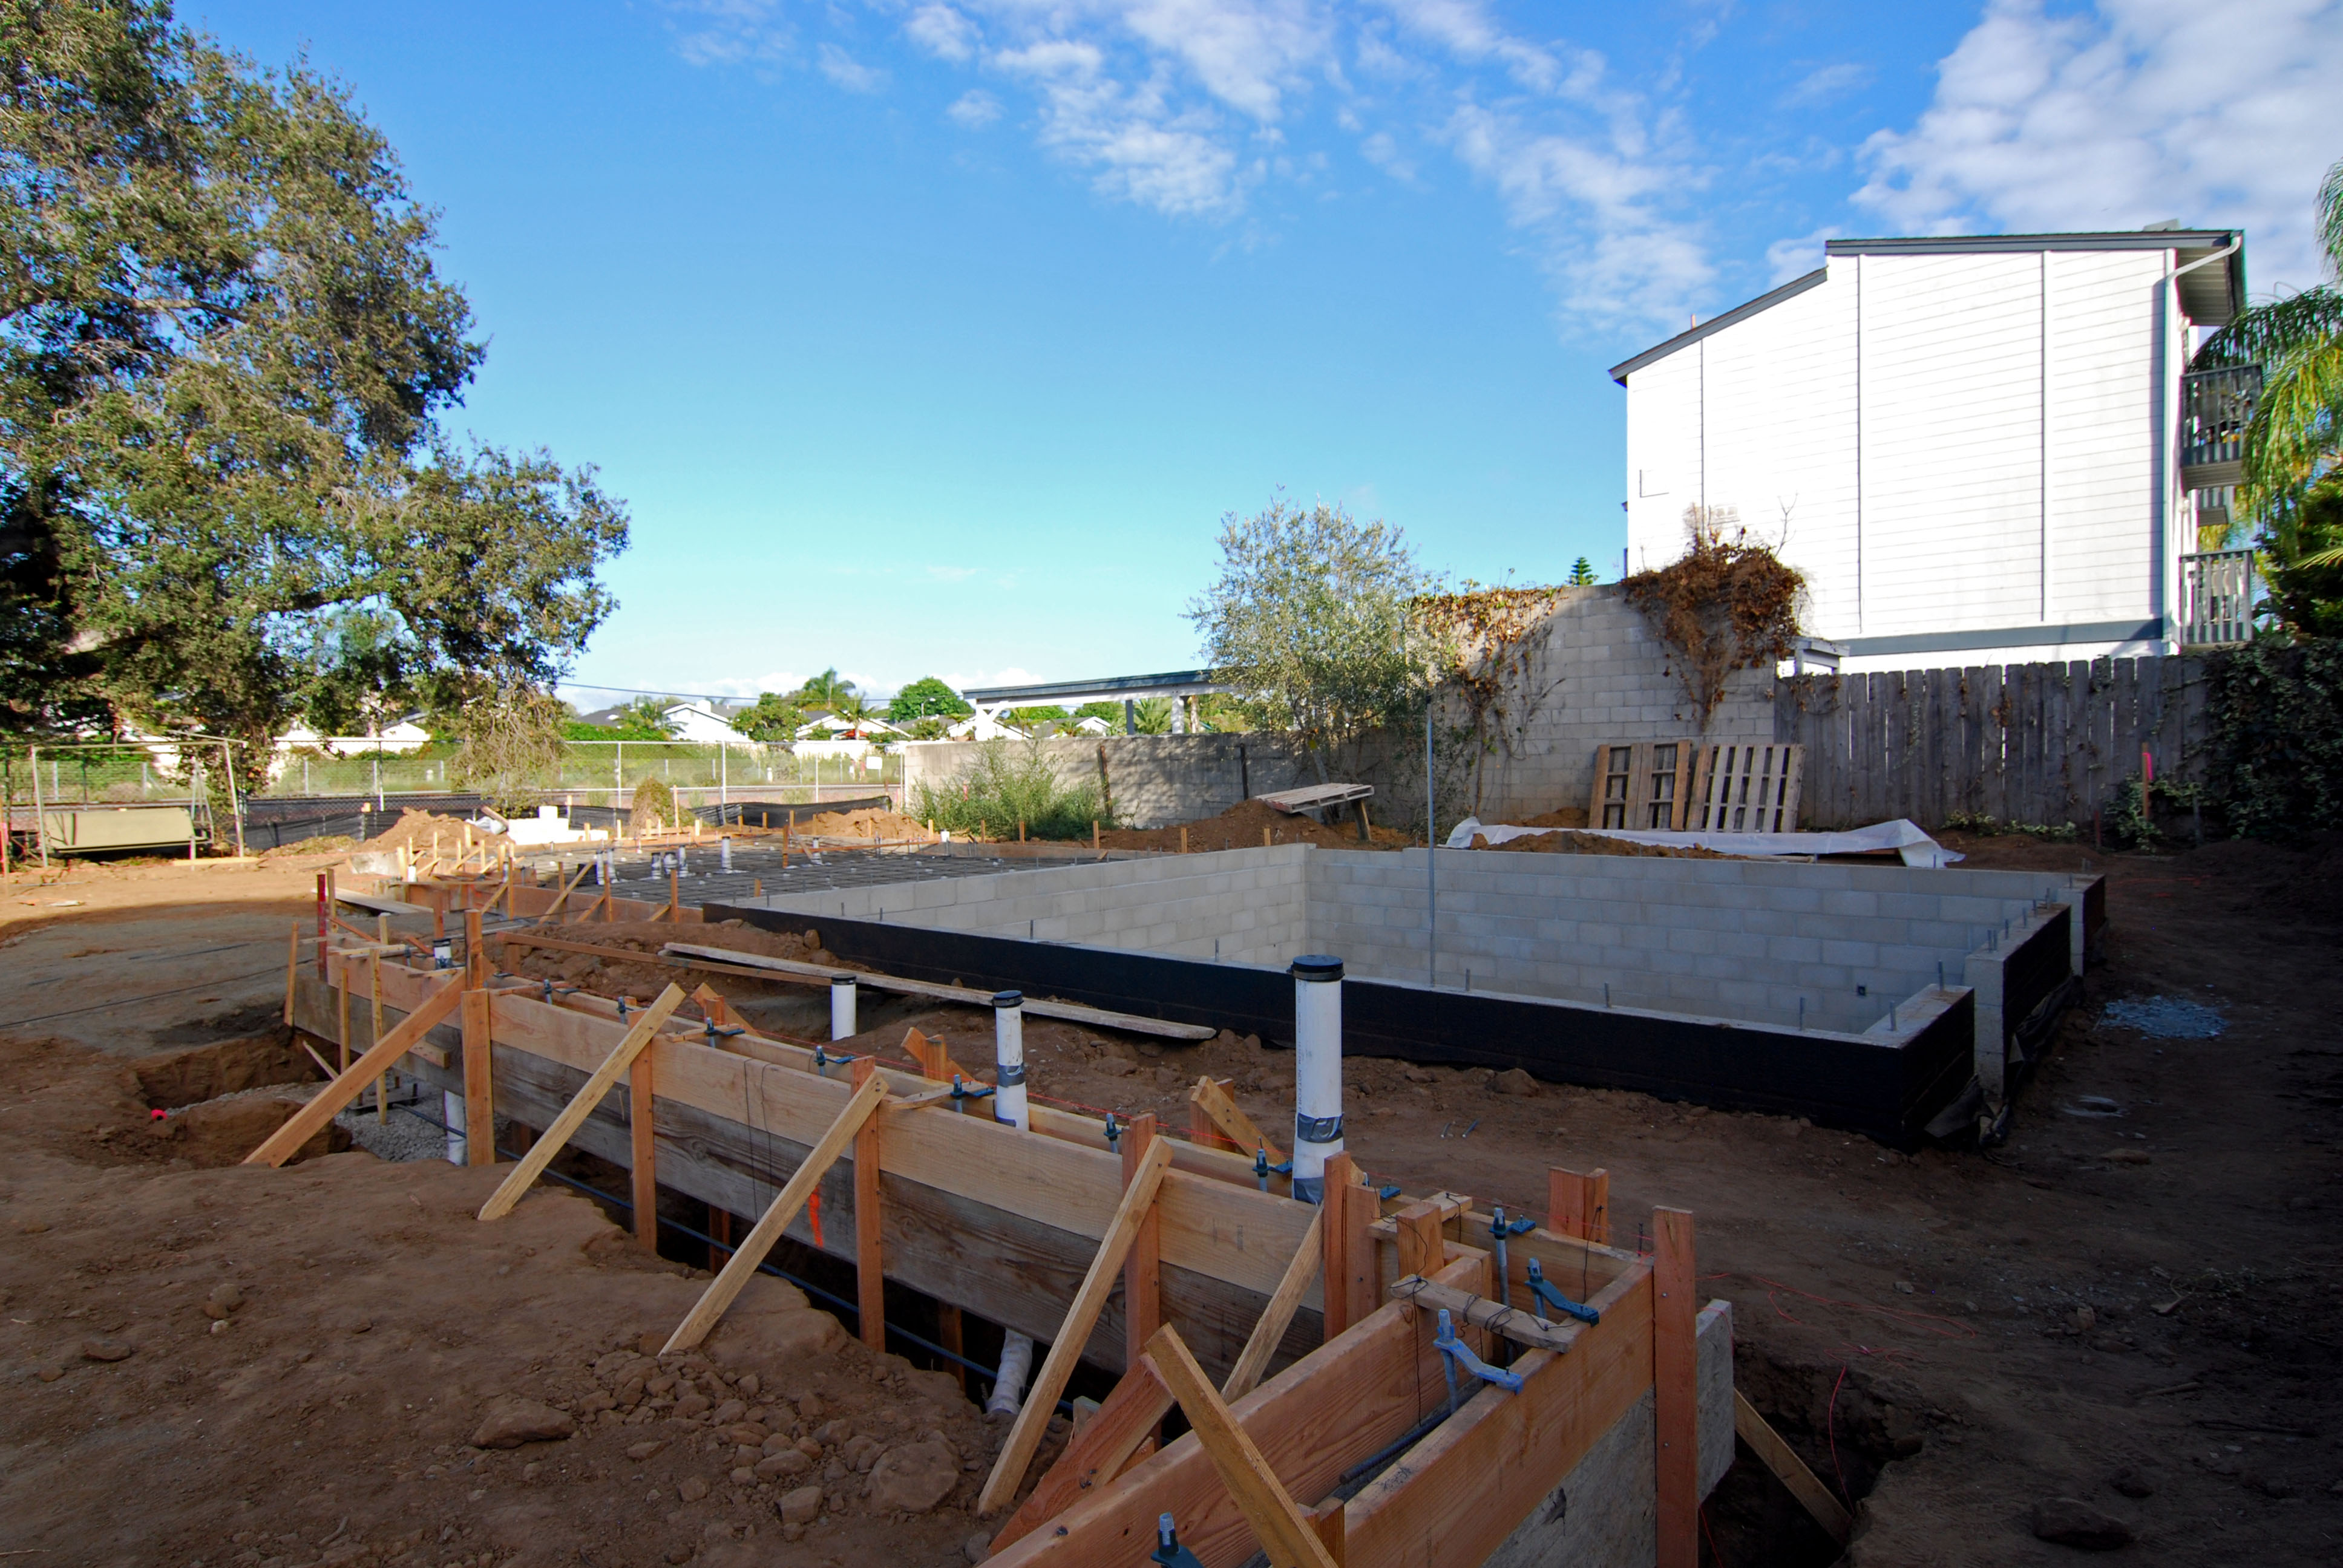
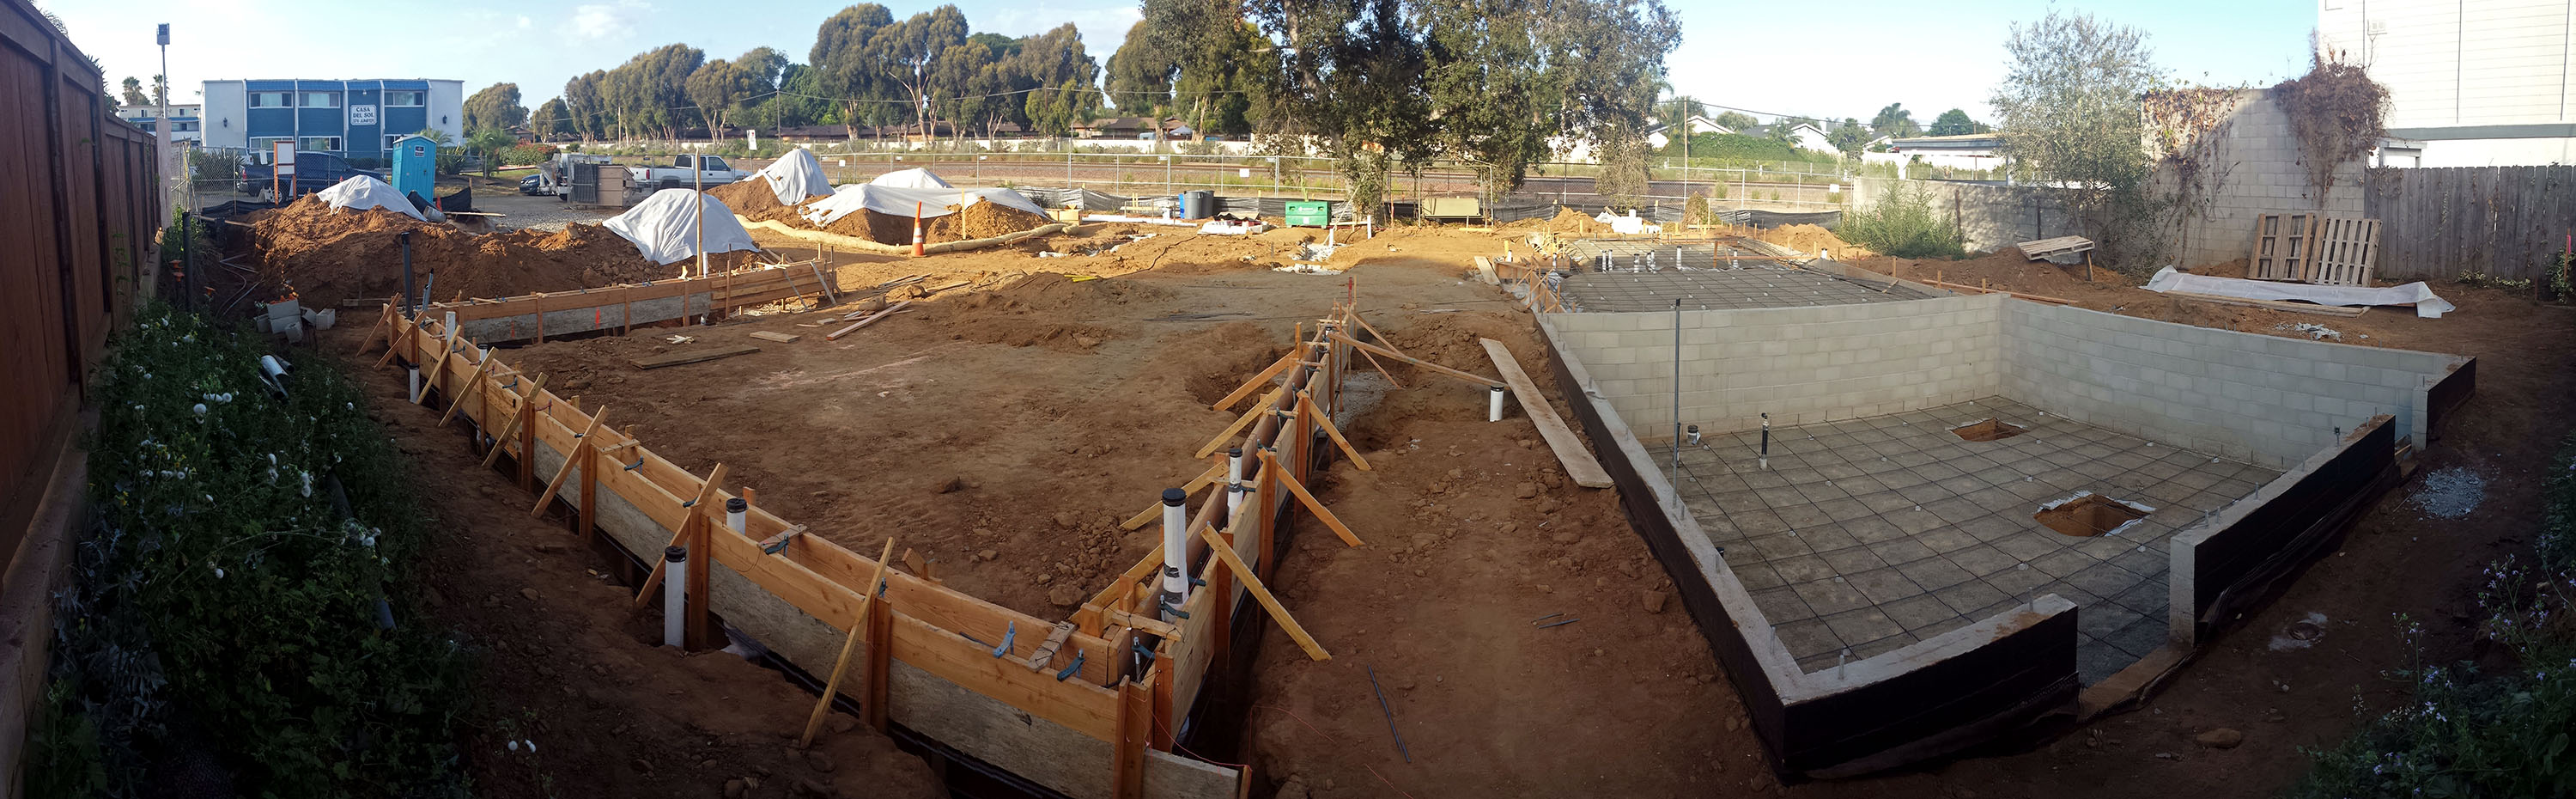
Concrete should be poured in about 7 hours and we’ll be coming out of the ground shortly after. More updates coming soon.